
Nail art is a fun and creative way to express yourself, but it can feel intimidating when you see all the specialized tools and intricate designs. What if you could create stunning nail designs using only simple tools you probably already have at home? Well, you absolutely can! Whether you’re a beginner or a seasoned nail artist, doing nail art with minimal equipment can be just as satisfying and chic. Let’s dive into how you can get creative with simple tools and achieve beautiful nail art at home!
Step 1: Gather Your Simple Tools
Before you begin, it’s important to gather all the tools you’ll need. Lucky for you, you don’t need an entire nail art kit. Here are some basics that will do the trick:
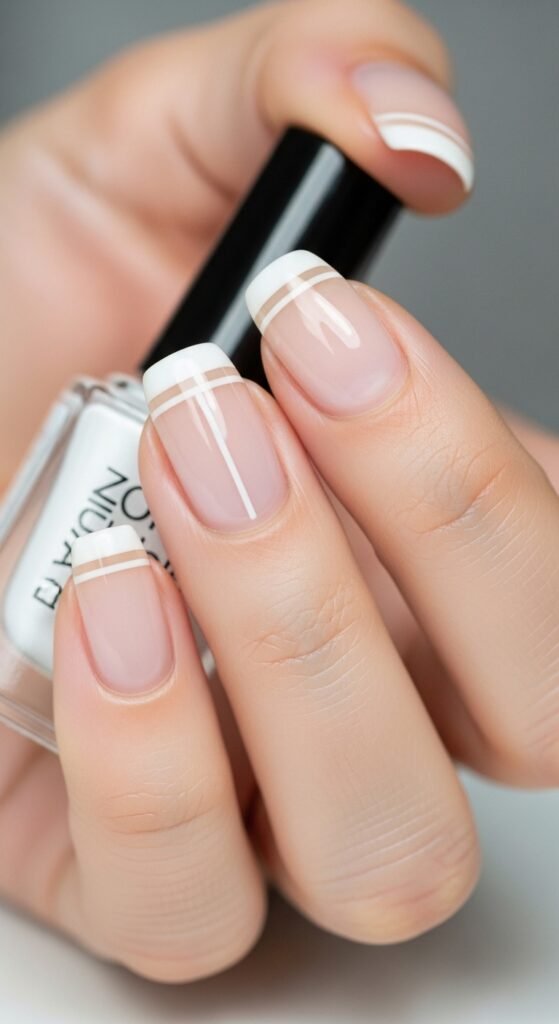
- Nail Polish: Choose a base color and some accent colors for designs.
- Toothpicks or Small Brushes: Toothpicks can be used for fine detailing, and small brushes can help create bigger patterns.
- Scotch Tape: A lifesaver for creating clean lines and geometric shapes.
- Cotton Swabs and Remover: For cleaning up any mistakes.
- Bobby Pins: Yes, bobby pins can help make fun designs like dots!

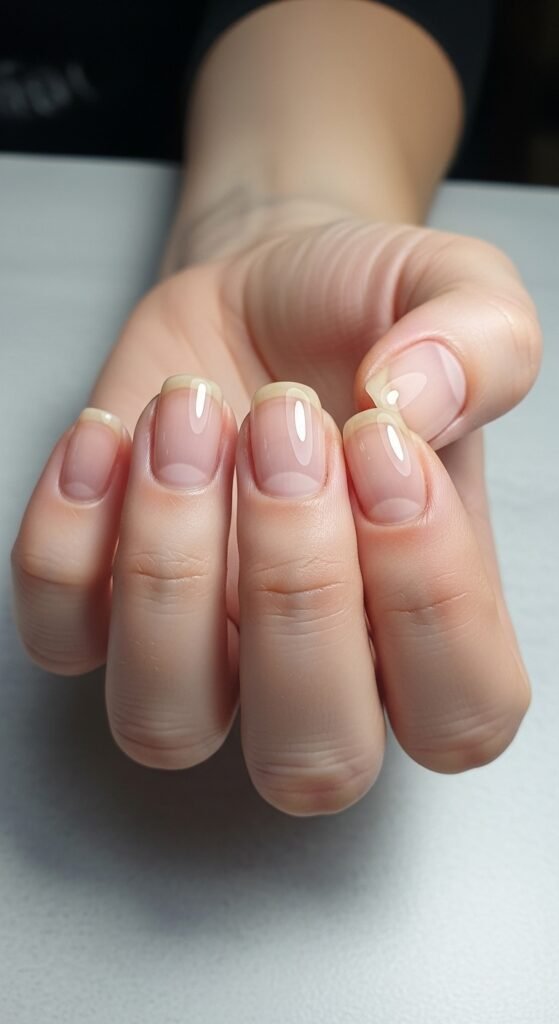
Step 2: Prep Your Nails
A beautiful nail art design starts with a clean, smooth canvas. Follow these steps to prep your nails:
- Remove Old Polish: Use nail polish remover to clean off any old polish and get a fresh start.
- Shape Your Nails: Trim and file your nails to your desired shape. Whether it’s square, round, or almond, a nice shape makes all the difference.
- Buff the Surface: Lightly buff your nails to remove any ridges and ensure your nail art will go on smoothly.
- Apply a Base Coat: This step helps the nail polish adhere better and protects your nails from staining.
Step 3: Create Simple Designs
Now, let’s get creative with your designs! Here are a few easy ideas you can try using those simple tools:
Dotted Design with a Bobby Pin
- Pick Your Colors: Choose two or three contrasting colors. For a fun design, pick a bold color for the base and a light color for the dots.
- Dip the Bobby Pin: Dip the rounded end of the bobby pin into the nail polish.
- Create Dots: Gently press the bobby pin onto your nail to create dots. Arrange them in a random or uniform pattern, depending on your preference.
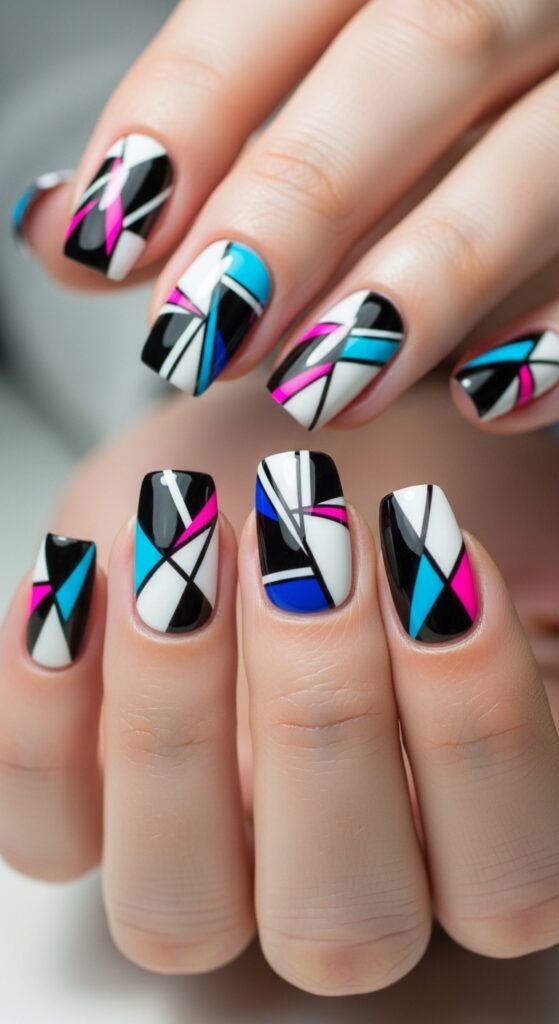
Stripes Using Scotch Tape
- Apply Your Base Color: Let the base coat dry completely before moving on.
- Use Tape for Clean Lines: Cut small strips of scotch tape and place them on your nails, leaving space in between where you want the stripe to be.
- Apply a Contrasting Color: Paint over the exposed nail with a different color. Once it’s dry, carefully peel off the tape for perfect stripes.
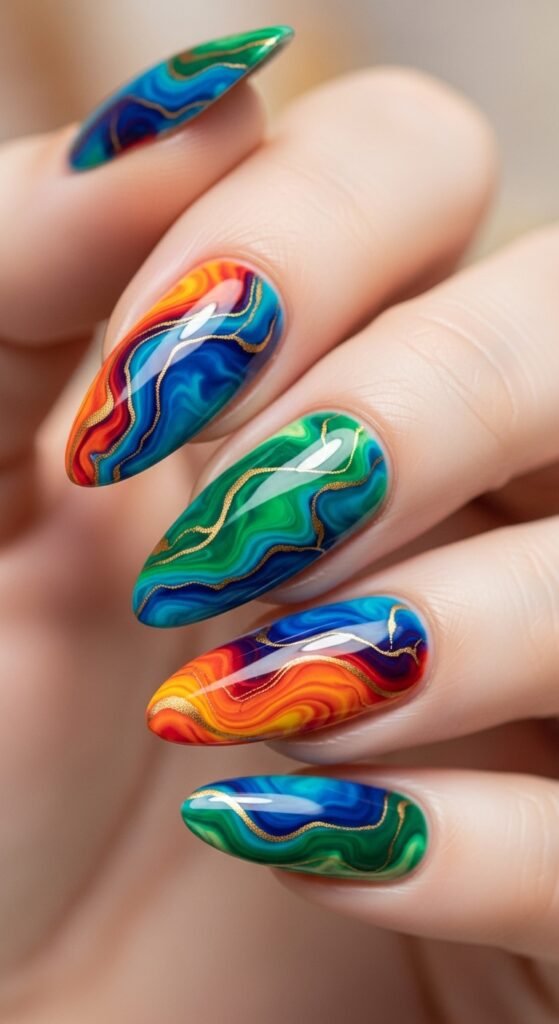
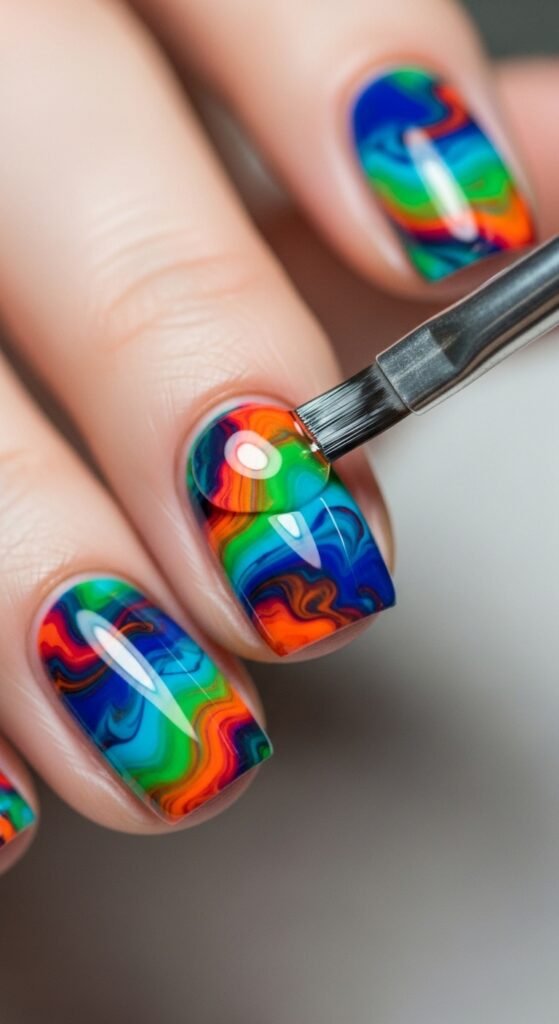
Marble Effect with a Toothpick
- Apply Two or Three Nail Polish Colors: While the base colors are still wet, drop a few drops of different colors on your nail.
- Swirl with a Toothpick: Take a toothpick and swirl the colors together for a marbled effect. The toothpick will blend the colors into a beautiful, organic pattern.
Step 4: Add a Top Coat
Once you’ve completed your design, it’s time to add a top coat! A top coat will give your nails a smooth, glossy finish and help the design last longer. Be sure to let your design dry completely before applying the top coat to avoid smudging.
Quick Tip: Apply a Thick Top Coat for Extra Shine
If you want a shinier finish, apply a thicker layer of top coat. It will give your nails a professional, salon-quality look without any extra tools.
Step 5: Clean Up Any Mistakes
Don’t worry if you made a few mistakes during the design process! You can easily clean up any excess polish around your nails.
- Use Cotton Swabs: Dip a cotton swab into nail polish remover and gently clean up any polish that has spilled onto the skin around your nails.
- Use a Tiny Brush: A small, fine-tipped brush can also be helpful for getting into tight spots and ensuring your nails are neat.
Final Thoughts
With just a few simple tools and some creativity, you can create beautiful nail art designs at home that will make you feel like a pro! Whether you’re using a bobby pin for dots, scotch tape for clean lines, or a toothpick for intricate details, the possibilities are endless.
So why wait? Grab your favorite nail polishes and start experimenting! Don’t forget to share your creations with friends or on social media to show off your new nail art skills.
Takeaway
Nail art doesn’t have to be complicated or require fancy tools. With just a few simple items, you can create beautiful, customized designs that reflect your style. So, grab those toothpicks, tape, and bobby pins, and let your creativity run wild!

Leave a Reply