
Looking fabulous doesn’t always have to mean hours at a salon or a drawer full of complicated nail tools. Sometimes, all it takes is a few clever tricks and the right colors to transform your nails from “meh” to wow in minutes. Whether you’re rushing for a last-minute date or just want to add a touch of sparkle to your everyday look, minimal-effort nail art can be chic, fun, and totally doable at home.
In this guide, we’ll show you easy ways to create stylish nail art without spending hours or stressing over perfection. Let’s dive in!
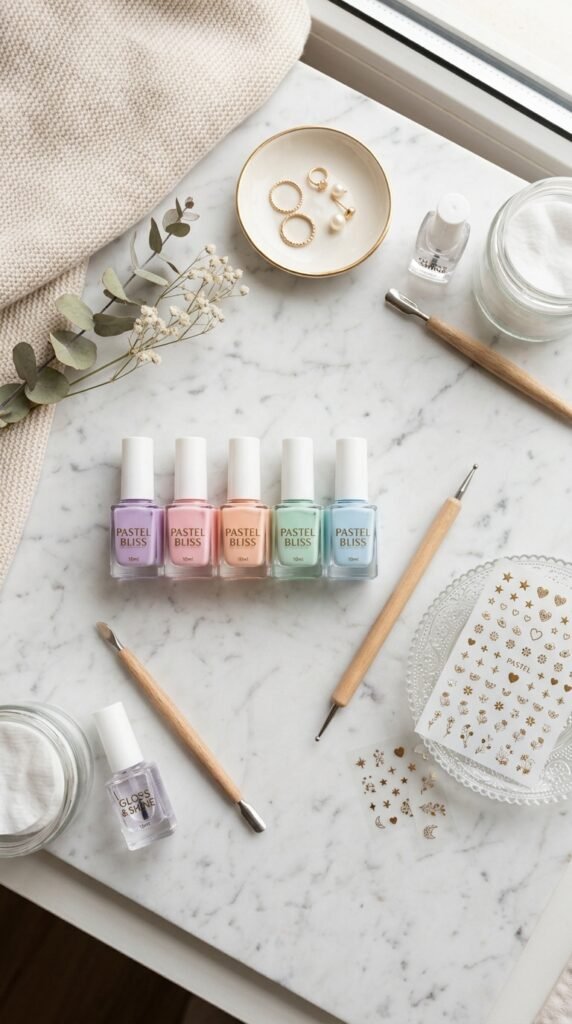
Start With a Clean Canvas
Before you jump into design, your nails need to be prepped. Clean nails are essential for polish to stick and last longer. Here’s how to get them ready quickly:
- Remove old polish: Use a gentle, acetone-free remover.
- Trim and shape: Keep nails uniform in length for a polished look.
- Buff lightly: Smooth the surface for even polish application.
- Optional: Apply a clear base coat to prevent staining and add a bit of shine.
Even a minimal effort design looks more professional on a well-prepared base.
Stickers, Stencils, and Decals: Your Best Friends
The easiest way to create nail art without painting freehand is by using pre-made designs. These tiny helpers are perfect for anyone short on time or skill.
- Nail stickers: Apply directly onto your dry polish, then seal with a top coat.
- Stencils: Place on the nail, paint over, and peel off for crisp shapes like hearts, stars, or geometric designs.
- Decals: Water-transfer or peel-off decals can create intricate designs instantly.
Tips for best results:
- Smooth the sticker or decal carefully to avoid bubbles.
- Seal with a clear top coat to make the design last longer.
- Mix and match designs for a playful look without any fuss.
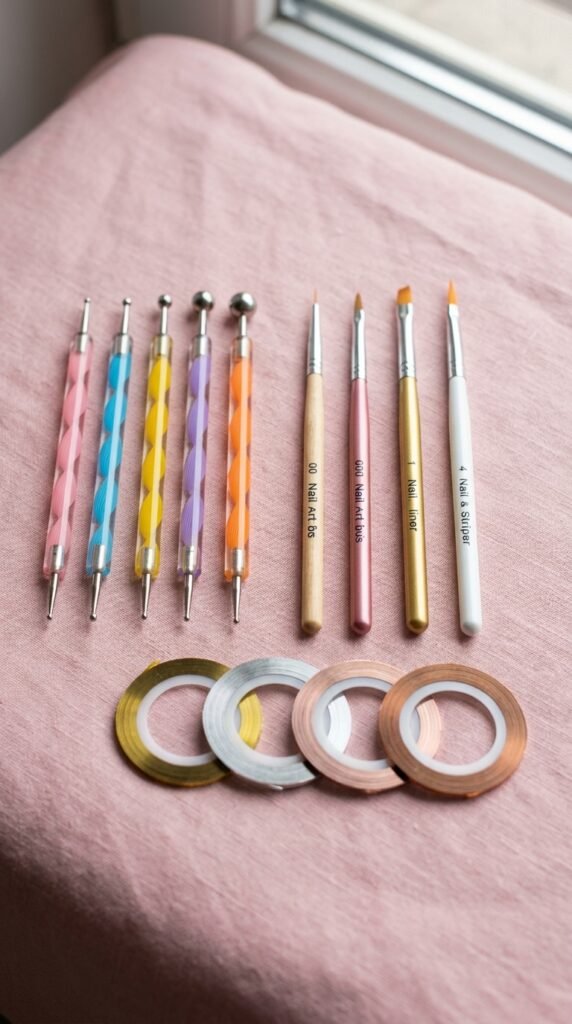
Simple Tools for Big Impact
Even if you don’t have an artistic streak, a few tools can help you create patterns with minimal effort:
- Dotting tools: Make perfect polka dots, flower centers, or tiny accents.
- Toothpicks or bobby pins: Double as makeshift dotting or drawing tools.
- Striping tape: Create stripes, chevrons, or color-blocked nails with ease.
Quick tips:
- Dip the tool lightly into polish to avoid huge blobs.
- Practice on a scrap piece of paper before applying to your nails.
- Less is more—simple designs often look more elegant.
Easy Techniques for Minimal Effort
Here are a few foolproof methods that look like you spent hours, but actually take minutes:
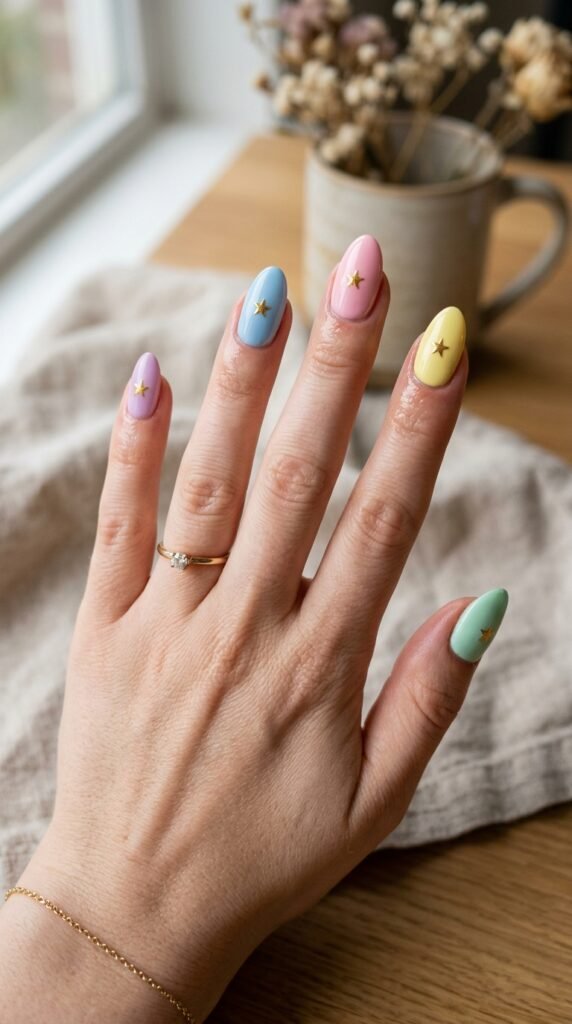
- Accent Nail: Paint one nail a different color or add a sticker—instant style.
- Polka Dots: Use a dotting tool to make uniform dots over a solid base.
- French Tips: Use tape or a stencil to create neat tips in your favorite color.
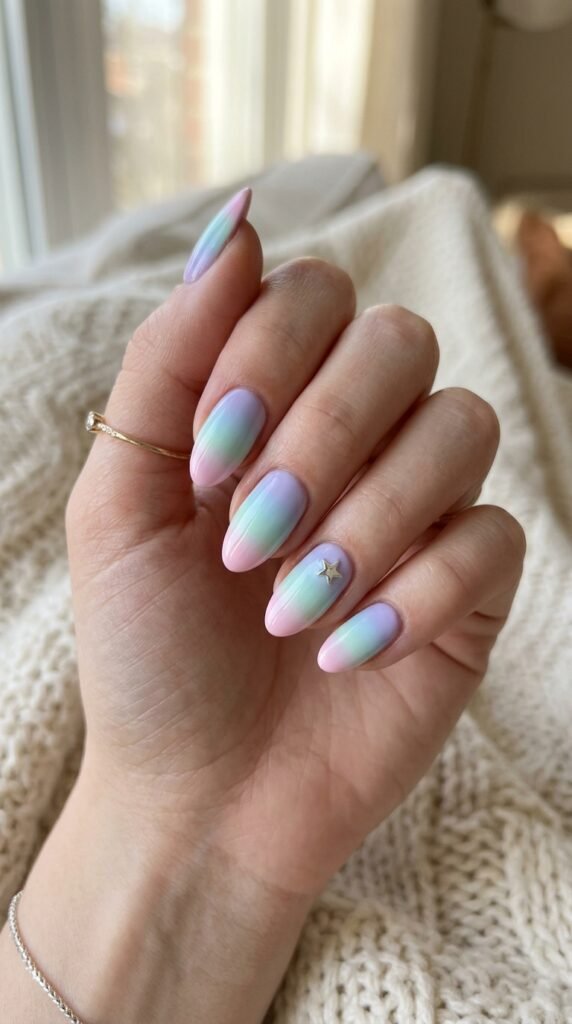
- Gradient/Ombré: Sponge two colors together lightly for a dreamy fade.
- Metallic Touch: Add a thin stripe of gold or silver polish to a corner of the nail.
These designs are visually striking without needing any steady-hand artistry.
Seal the Deal: Top Coat Magic
The final step is essential. A top coat will:
- Protect your design from chipping.
- Add a glossy finish that makes nails look professional.
- Smooth out small imperfections in stickers or polish.
Quick tip: Apply the top coat carefully in one smooth stroke to avoid smudging your design. A matte top coat can also give a trendy, understated look.
Final Thoughts
Minimal-effort nail art is all about working smart, not hard. By prepping nails properly, using stickers or simple tools, and choosing easy techniques, you can achieve salon-worthy designs in a fraction of the time. Perfect for busy mornings, spontaneous plans, or just treating yourself to a little self-care.
Keep a few favorite polishes, decals, and dotting tools on hand—you’ll always be ready for a quick nail upgrade. Your nails can go from plain to playful in just minutes!
Save this guide for later, and turn your nail art dreams into reality with minimal effort and maximum style.

Leave a Reply