
Want nails that sparkle like a salon manicure—but without the salon price? Glitter tip nail art is one of the easiest ways to upgrade your look at home. It’s stylish, beginner-friendly, and perfect for everything from casual days to special events.
The best part? You don’t need fancy tools. Just a little creativity and some glitter can transform your nails into something eye-catching and elegant.

Why Glitter Tips Are Perfect for Beginners
If you’re new to nail art, glitter tips are a great place to start. They are simple, forgiving, and don’t require precise drawing skills.
Here’s why people love them:
- Easy to apply, even with basic tools
- Mess-ups are less noticeable thanks to glitter
- Works on short and long nails
- Can be customized with colors, shapes, and styles
Whether you want a subtle shimmer or bold sparkle, glitter tips let you experiment without stress.
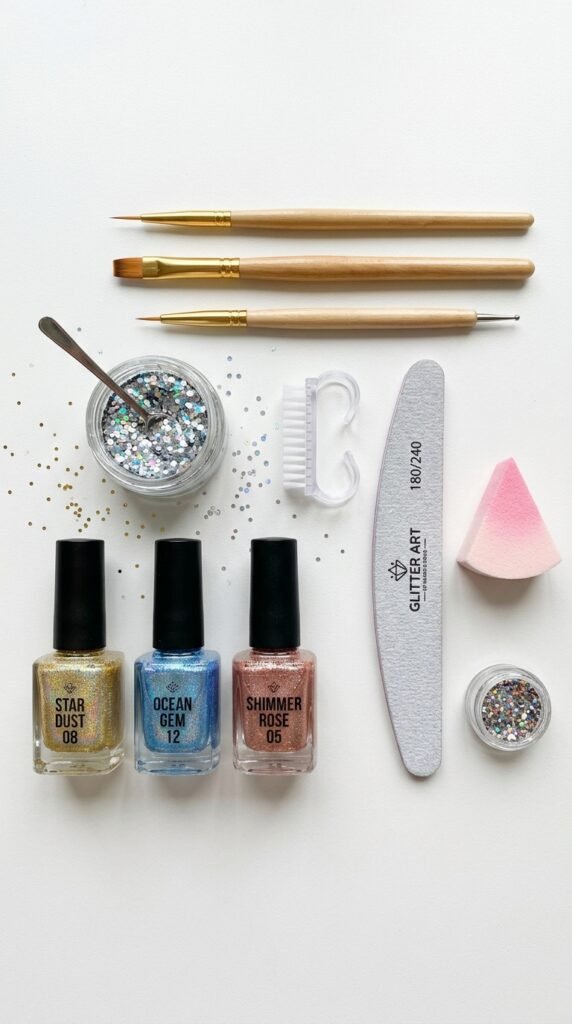
What You’ll Need
Before you begin, gather your supplies. Most of these are easy to find at home or in local stores.
- Base coat
- Nail polish (neutral, nude, or any color you like)
- Glitter nail polish or loose nail glitter
- Small makeup sponge (optional)
- Clear top coat
- Nail file and buffer
- Cotton swabs or toothpicks for cleanup
Step-by-Step Guide to Glitter Tip Nails
Let’s break it down into simple steps so you can follow along easily.
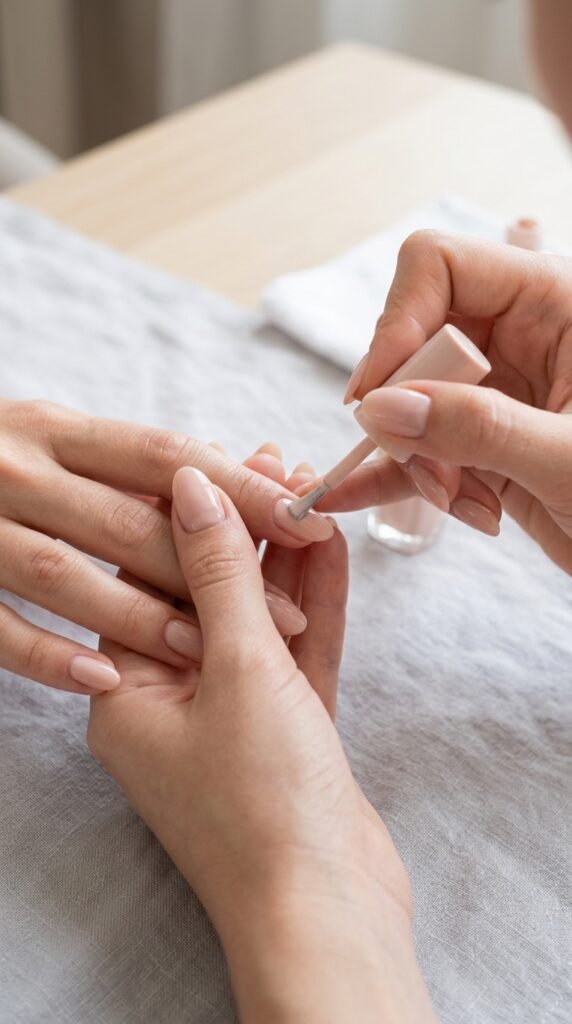
Step 1: Prep Your Nails
Start with clean, dry nails.
- Remove any old polish
- Shape your nails using a file
- Push back cuticles gently
- Apply a base coat to protect your nails
Good prep makes your nail art last longer and look smoother.
Step 2: Apply Your Base Color
Choose a base color that complements your glitter.
- Nude or light pink for a classy look
- Black or dark shades for bold contrast
- Clear polish for a natural vibe
Apply 1–2 thin coats and let them dry completely.
Step 3: Add the Glitter Tips
This is where the magic happens.
Method 1: Using Glitter Nail Polish
- Take glitter polish and apply it to the tips of your nails
- Start at the edge and gently drag inward
- Build up glitter gradually for a gradient effect
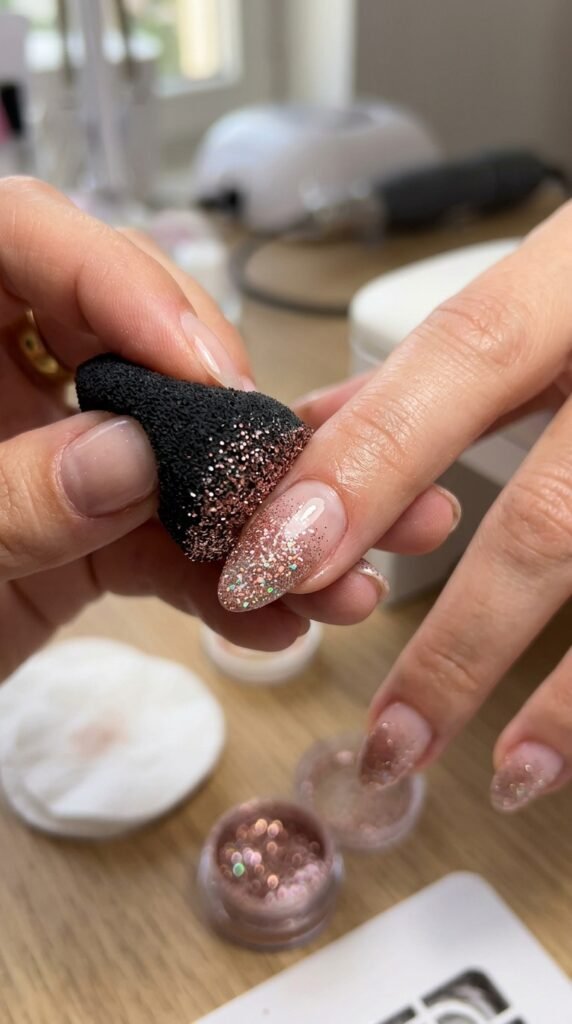
Method 2: Using Loose Glitter
- Apply a thin layer of clear polish to the tips
- Dip your nail into loose glitter or sprinkle it on
- Tap off excess glitter
For a smooth gradient, you can use a sponge to dab glitter lightly.
Step 4: Clean the Edges
Glitter can get messy, so take a moment to clean up.
- Use a cotton swab dipped in remover
- Or a toothpick to tidy around the edges
This step makes your nails look neat and professional.
Step 5: Seal with Top Coat
Finish with a clear top coat to lock everything in place.
- Adds shine and smoothness
- Prevents glitter from chipping
- Helps your manicure last longer
Apply 1–2 coats if needed for a glossy finish.
Easy Glitter Tip Design Ideas
Once you master the basics, try these fun variations:
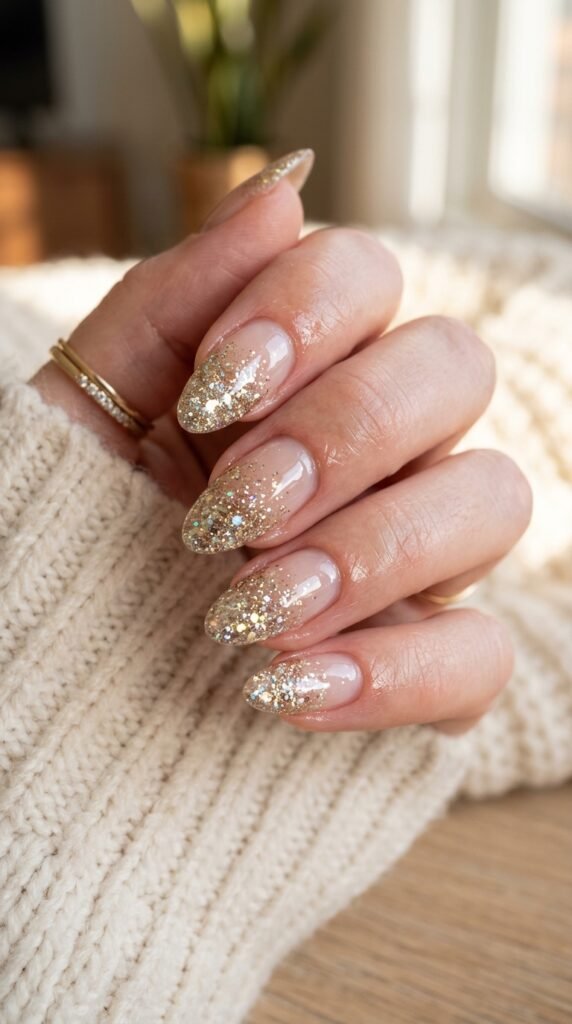
Classic French Glitter Tips
Replace the white tip with silver or gold glitter for a modern twist.
Ombre Glitter Fade
Blend glitter from the tip downward for a soft gradient look.
Colored Glitter Tips
Match glitter with your outfit—pink, blue, or even multicolor.
Double Glitter Line
Add a thin glitter line above the tip for a layered effect.
These small changes can completely transform your nail style.
Tips for Long-Lasting Results
Want your glitter nails to stay fresh for days? Follow these simple tips:
- Always use thin layers of polish
- Let each layer dry before applying the next
- Avoid water immediately after finishing
- Reapply top coat every 2–3 days
- Wear gloves while doing household chores
Consistency is key to keeping that salon-like shine.
Common Mistakes to Avoid
Even simple nail art can go wrong if you rush. Watch out for these:
- Applying thick layers (causes smudging)
- Not letting polish dry properly
- Using too much glitter at once
- Skipping base or top coat
Take your time and enjoy the process—it makes a big difference.
Final Thoughts
Glitter tip nail art is one of the easiest ways to create a stunning manicure at home. It’s quick, affordable, and perfect for beginners who want something stylish without complicated techniques.
With just a few tools and a bit of practice, you can achieve beautiful, sparkling nails anytime you want.
Save this idea for your next self-care day and try your own glitter tip design—you might just fall in love with DIY nail art.

Leave a Reply