
Want salon-style nails without spending a fortune or hours at the salon? A nail pen might just be your new best friend. It’s simple, precise, and perfect for beginners who want to create stunning designs at home. Whether you love cute florals, minimal lines, or bold patterns, a nail pen makes it easy to bring your ideas to life.
Let’s walk through everything you need to know to create beautiful nail art using a nail pen—even if you’ve never tried it before.
What Is a Nail Pen and Why Use It?
A nail pen is a tool designed specifically for nail art. It looks like a marker or pen but contains nail polish or gel, allowing you to draw directly on your nails with control and precision.
Why beginners love it:
- Easy to handle (like holding a regular pen)
- Perfect for detailed designs
- Less mess compared to brushes
- Great for quick touch-ups and corrections
If you struggle with steady hands or thin brushes, a nail pen is a game changer.
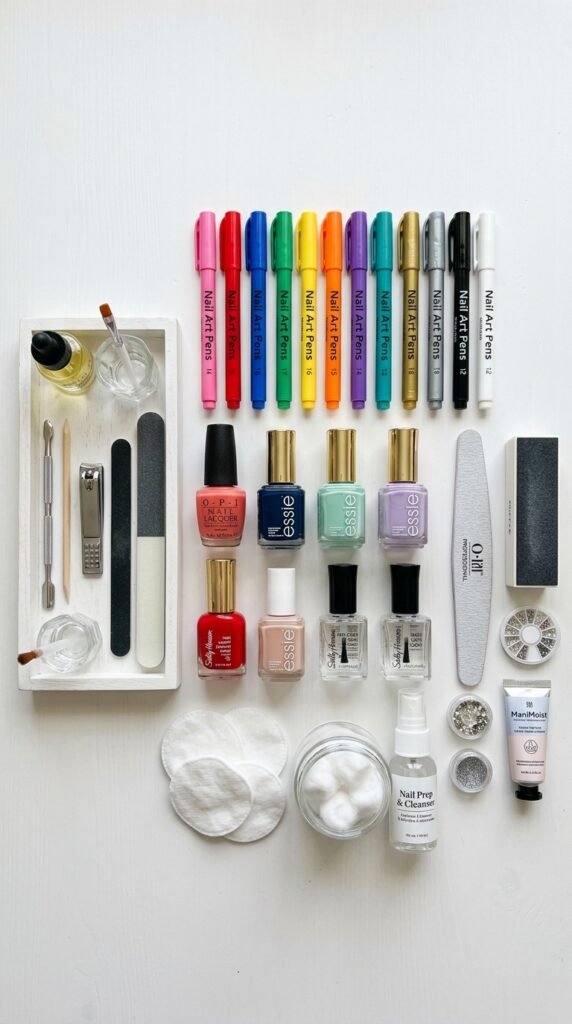
Gather Your Supplies
Before you start, make sure you have everything ready. This will make the process smoother and more fun.
You’ll need:
- Nail pen (in your desired color)
- Base coat
- Nail polish (for base color)
- Top coat
- Nail polish remover (for cleanup)
- Cotton pads or buds
Prep Your Nails Like a Pro
Good nail prep is the secret to long-lasting nail art. Don’t skip this step.
Follow these steps:
- Clean your nails to remove oil and dirt
- Trim and shape them as desired
- Push back your cuticles gently
- Apply a base coat to protect your nails
Let the base coat dry completely before moving on.
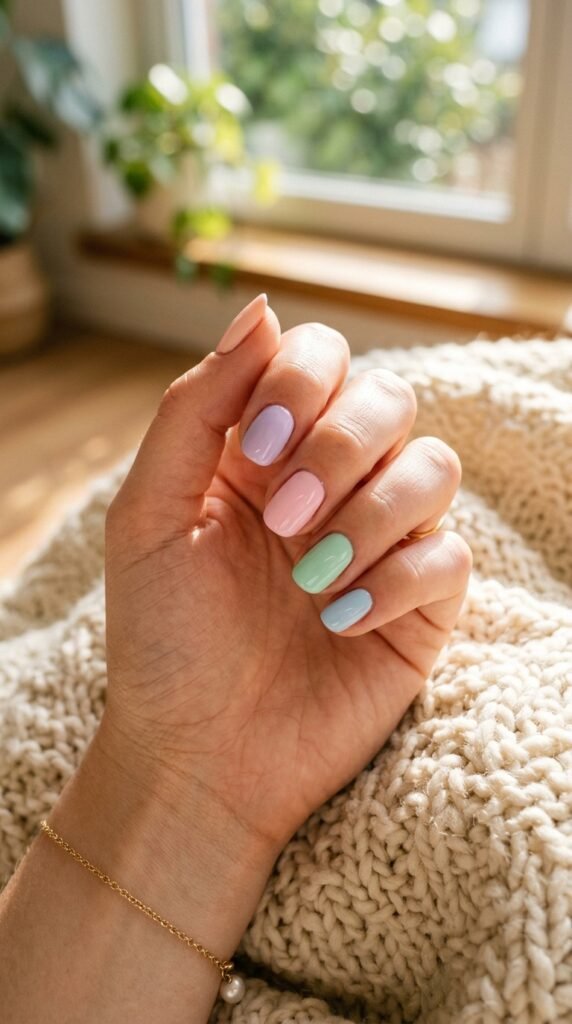
Apply Your Base Color
Your base color sets the stage for your design. Choose something that complements your nail pen color.
Tips for a perfect base:
- Apply 1–2 thin coats instead of one thick coat
- Let each layer dry fully
- Light colors work well for detailed designs
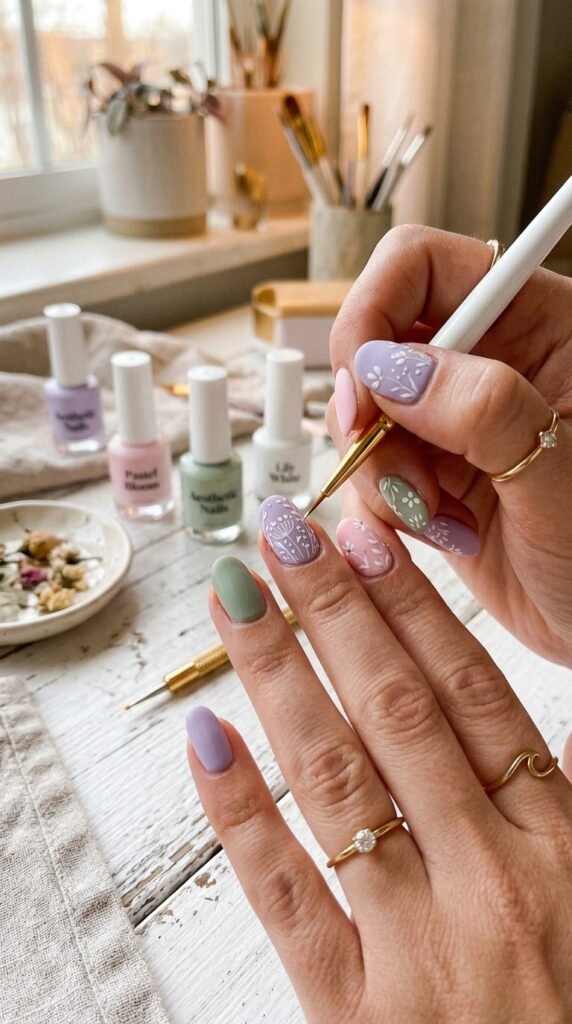
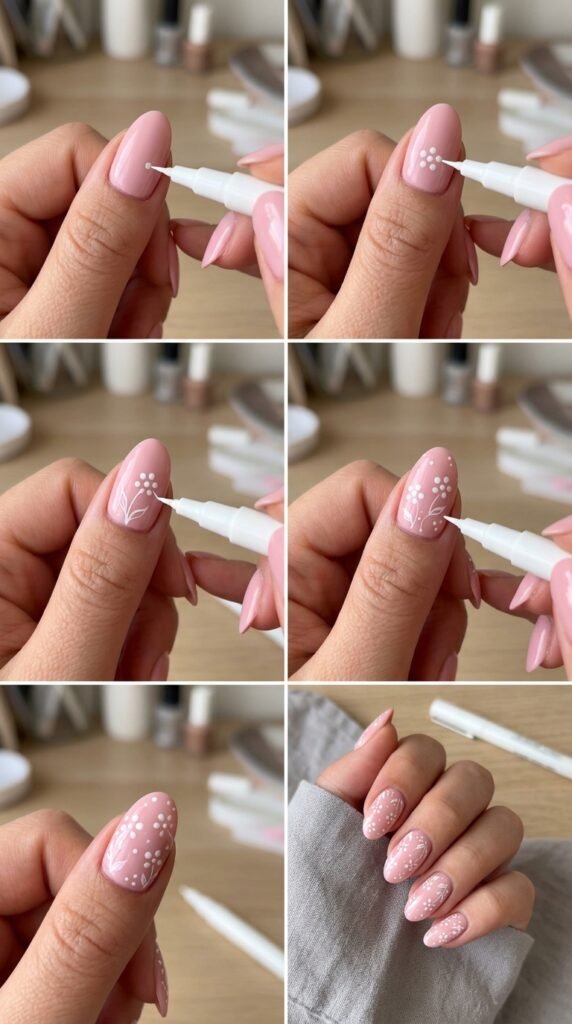
Start Designing With Your Nail Pen
Now comes the fun part—creating your design!
Shake your nail pen well and test it on paper before applying it to your nails.
Beginner-friendly design ideas:
- Dots (great for polka dot nails)
- Lines (minimalist and trendy)
- Flowers (simple petals and centers)
- Hearts or stars
How to apply:
- Hold the pen like a regular writing pen
- Use light pressure for thin lines
- Go slow and steady
If you make a mistake, don’t worry. You can clean it up with a cotton bud dipped in remover.
Let It Dry and Seal the Design
Once your design is complete, patience is key.
- Let your nail art dry completely
- Avoid touching anything during this time
- Apply a clear top coat to seal and protect your design
The top coat also adds shine and makes your nail art last longer.
Tips for Better Results
Want your nail art to look even more professional? Keep these tips in mind:
- Start simple: Don’t overcomplicate your first design
- Practice on paper: Try designs before applying them
- Use contrast colors: Designs pop more on contrasting shades
- Work in good lighting: It helps you see details clearly
- Clean the pen tip: Keeps your lines sharp and neat
Common Mistakes to Avoid
Even simple nail art can go wrong if you’re not careful. Here’s what to watch out for:
- Applying design on wet polish (it will smudge)
- Pressing too hard with the pen
- Skipping the top coat
- Rushing the drying process
Take your time—it makes a big difference.
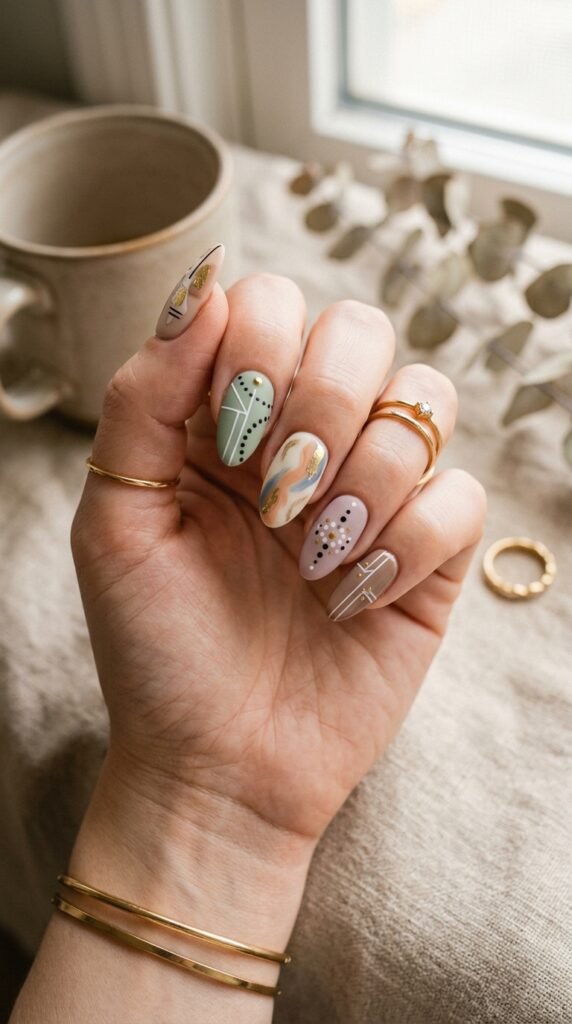
Easy Nail Art Ideas to Try
If you’re looking for inspiration, here are a few quick ideas:
- Minimal dots: One or two dots on each nail
- Accent nail: Design only one nail per hand
- French tip twist: Add a thin line or pattern on tips
- Abstract art: Random lines and shapes
Final Thoughts
Nail art with a nail pen is one of the easiest ways to get creative at home. You don’t need professional skills—just a little patience and practice. Start small, experiment with designs, and most importantly, enjoy the process.
Your nails are your canvas—so have fun with it.
Save this guide for later and try your first nail pen design today!

Leave a Reply