
Nail art is the perfect way to express your creativity and add a personal touch to your look. Whether you’re preparing for a special occasion or just want to spice up your everyday routine, learning the basics of nail art is both fun and rewarding. If you’re new to the world of nail design, don’t worry—this guide will walk you through each step to create beautiful, DIY nail art that will impress everyone. Ready to give your nails some love? Let’s get started!
Step 1: Gather Your Nail Art Supplies
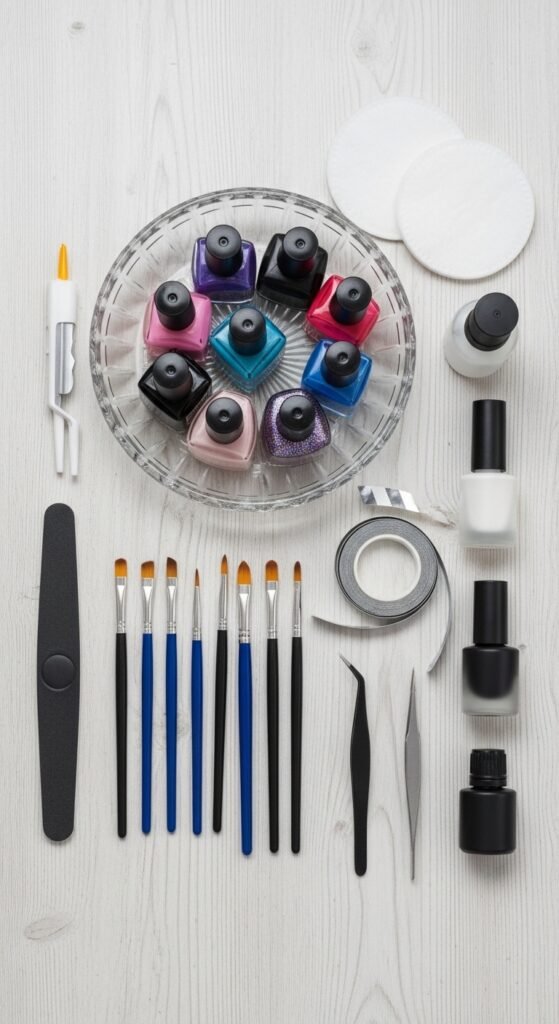
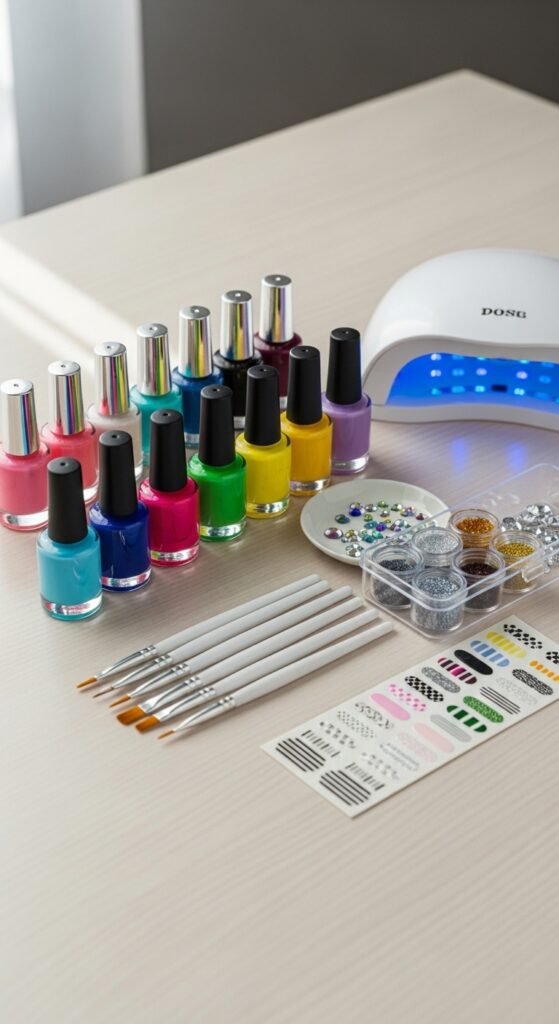
Before diving into the creative process, it’s essential to have the right tools. Here’s what you’ll need to get started:
- Nail polishes: Choose a base color (like nude or white) and any accent colors you like.
- Nail art brushes: Thin brushes are perfect for detailed designs.
- Nail tape: For creating sharp lines and geometric designs.
- Dotting tools: Ideal for making polka dots and creating floral patterns.
- Top coat: To seal your designs and keep them looking fresh.
- Nail file and buffer: To shape your nails and smooth the surface.
- Cotton pads and nail polish remover: For any clean-up or mistakes.
Step 2: Prep Your Nails
The first step to beautiful nail art is a clean, smooth canvas. Here’s how to prepare your nails:
- Trim and file: Shape your nails into your preferred style, whether square, round, or almond.
- Buff the surface: Gently buff your nails to remove any ridges, giving them a smooth surface.
- Clean your nails: Use a cotton pad and nail polish remover to wipe away any oils or leftover polish.
- Moisturize: Apply some cuticle oil or hand cream to keep your nails hydrated.
Taking the time to properly prep your nails will ensure that your nail art goes on smoothly and lasts longer.
Step 3: Apply the Base Coat
A base coat is essential for protecting your nails from staining and helping the polish adhere better. Apply a thin, even layer of base coat to each nail. Let it dry completely before moving on to the next step.
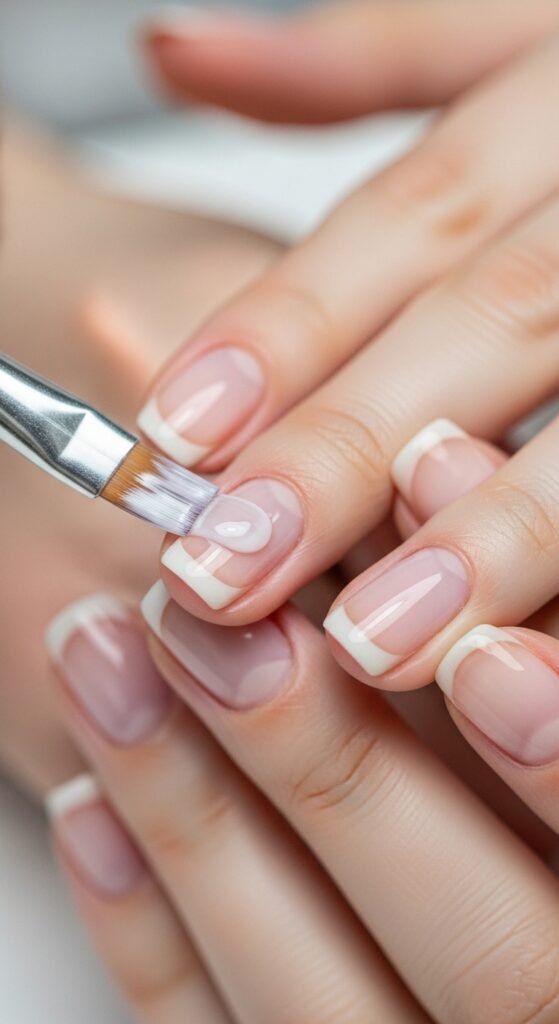
Step 4: Choose Your Base Color and Apply
Now it’s time to select your base color! Pick a shade that complements your design or your mood for the day. Here’s how to apply your base color:
- Apply the first coat: Start by painting the entire nail with your base color. Be sure to use smooth strokes to avoid streaks.
- Let it dry: Allow the first coat to dry for a few minutes.
- Apply the second coat: For full opacity, apply a second layer of color and let it dry completely.
Tip: If you’re new to nail art, it’s best to start with a neutral base color, like white, pale pink, or nude, as they make the design colors pop.
Step 5: Add Your Nail Art Design
Now comes the fun part—creating your design! Here are some easy ideas for beginners:
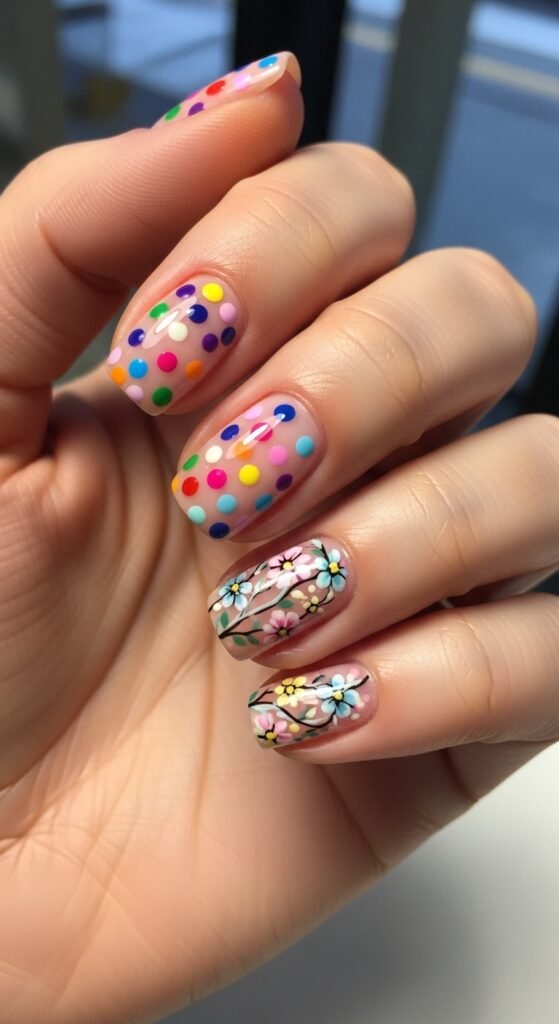
Dots and Stripes
- Polka dots: Use a dotting tool or a bobby pin to create dots. You can mix different sizes for a fun effect.
- Stripes: Use nail tape to create crisp, straight lines. Place the tape on your nail and paint over it, then remove the tape for a clean stripe.
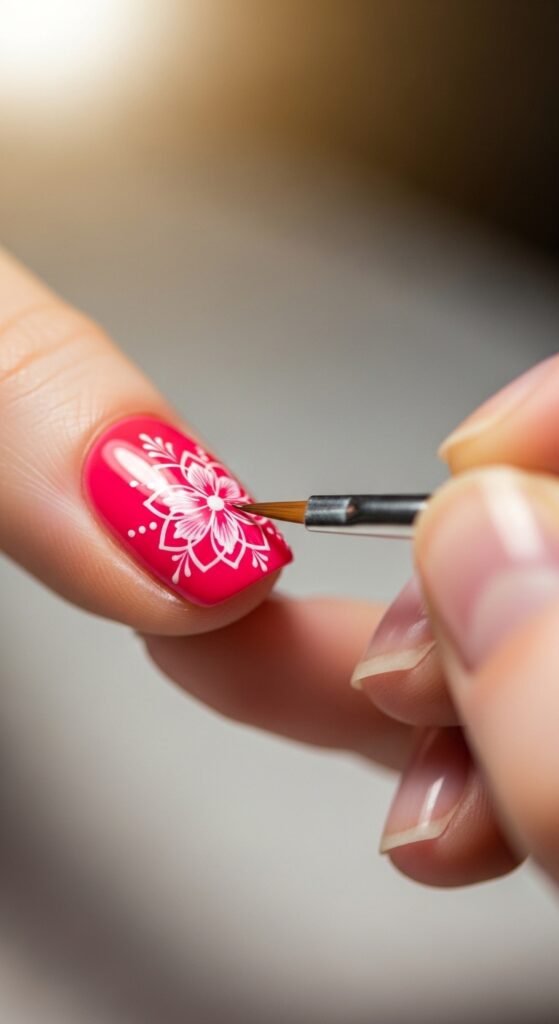
Floral Accents
- Simple flowers: Use a dotting tool to create petals by placing five dots in a flower shape. Add a dot in the center for the flower’s middle.
- Leafy designs: For a chic, nature-inspired look, add leaves with a fine brush using a simple green color.
Tip: Keep the designs simple at first, such as accent nails on one or two fingers, until you get more comfortable.
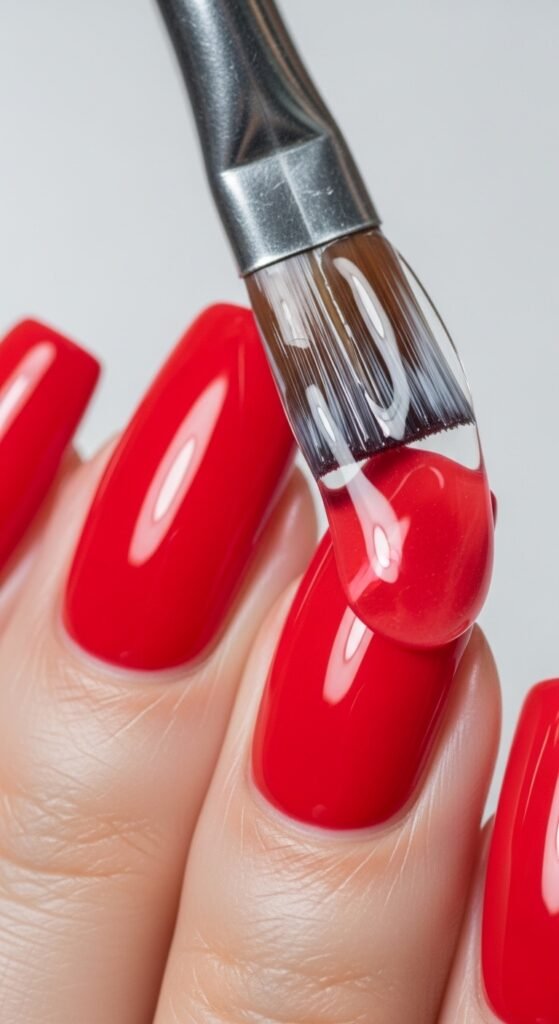
Step 6: Seal Your Design with a Top Coat
Once your nail art design is complete, it’s time to protect it! Apply a generous layer of top coat to your nails. This will seal your design, giving it a glossy finish and ensuring it lasts longer.
- Apply top coat carefully: Ensure you cover the entire nail, including the tips, to prevent chipping.
- Let it dry: Wait a few minutes for the top coat to dry completely.
Step 7: Clean Up Any Mistakes
If you made any mistakes, don’t worry! Use a small brush dipped in nail polish remover to clean up the edges and around your nails. This will give your manicure a professional, polished look.
Step 8: Show Off Your Nail Art!
Now that your nail art is complete, it’s time to admire your handiwork! Whether you’re showing off to friends or taking some Instagram photos, don’t forget to take pride in your creative designs.

Final Thoughts
Nail art doesn’t have to be complicated to look amazing. With a little practice, you can create beautiful designs right at home. So grab your supplies, follow these steps, and let your creativity flow! Nail art is all about fun, so don’t be afraid to experiment and make it your own.
Save this guide for later and start creating your own masterpiece!

Leave a Reply