
Ever stared at beautifully designed nails and thought, “I wish I could do that at home”? Good news—you absolutely can. Nail art doesn’t have to be complicated, expensive, or time-consuming. With a few simple tools and a little creativity, you can create stunning designs right from your bedroom.
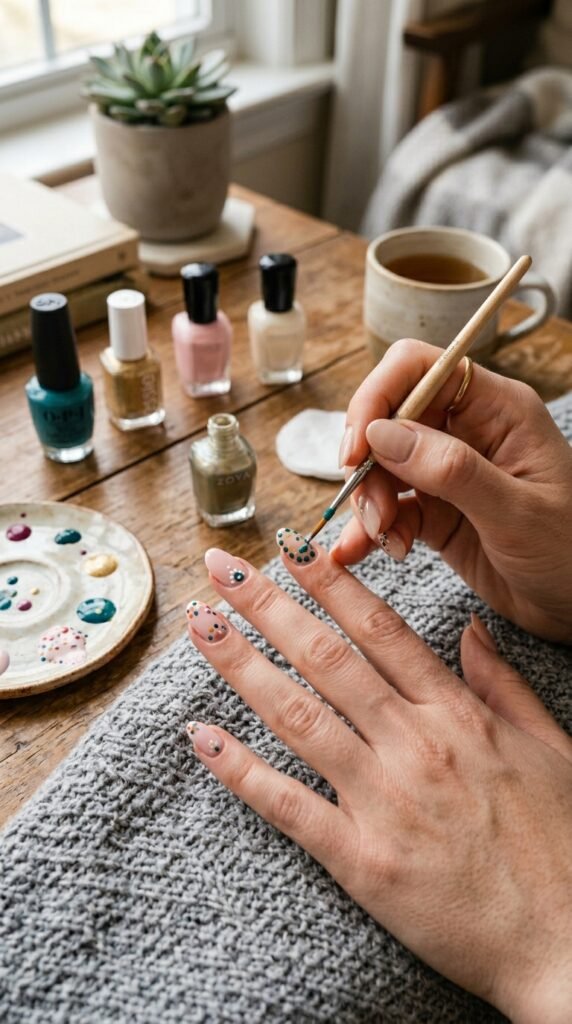
Let’s break it down step by step so even complete beginners can follow along with confidence.
What You Need to Get Started
Before you begin, gather a few basic items. You don’t need professional tools—most things are already at home.
Essentials:
- Nail polish (2–3 colors to start)
- A base coat (optional but recommended)
- A top coat (for shine and protection)
- Toothpicks or bobby pins (for designs)
- Cotton pads and nail polish remover
- Tape (for clean lines)
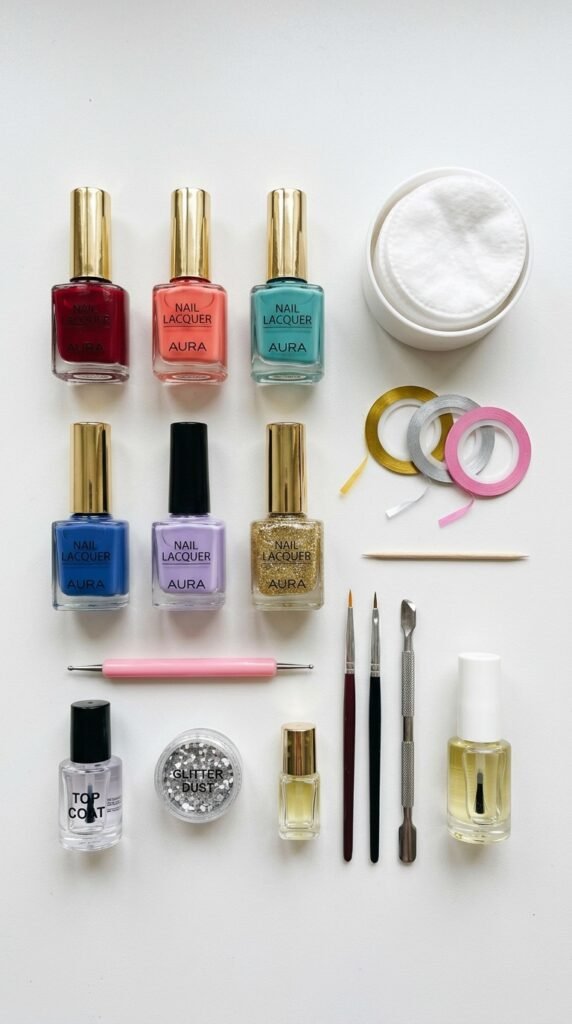
Keep your setup simple. As you improve, you can add more tools later.
Prep Your Nails Like a Pro
Good nail art starts with clean and well-prepped nails. Skipping this step can ruin even the best design.
Follow these steps:
- Remove any old nail polish
- Trim and file your nails into your desired shape
- Gently push back your cuticles
- Wash and dry your hands
- Apply a base coat to protect your nails
A smooth base helps your design last longer and look more polished.
Start with Simple Designs
As a beginner, focus on easy nail art styles. You don’t need to draw complex patterns to make your nails look cute.
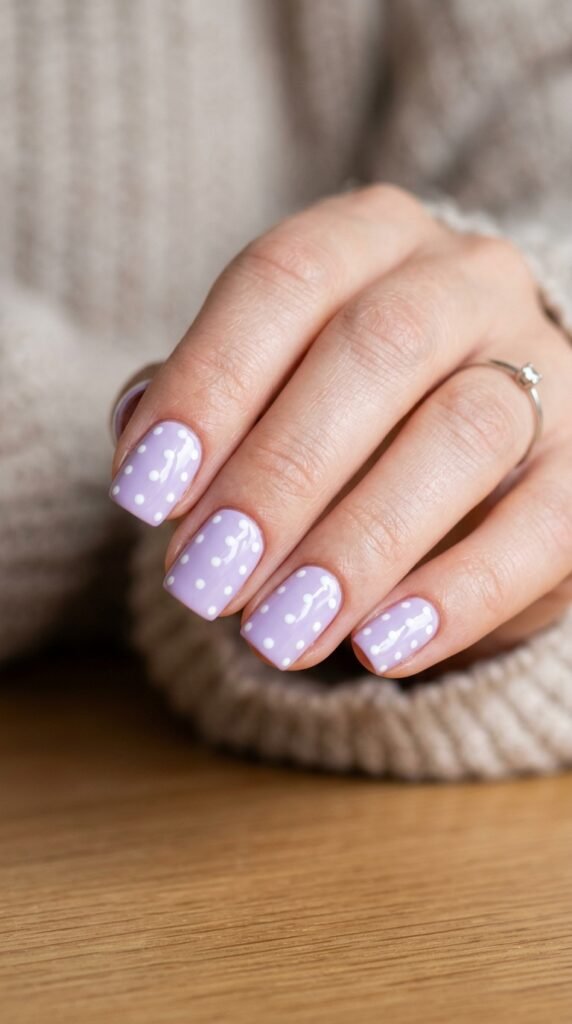
1. Polka Dots
This is one of the easiest designs to try.
How to do it:
- Apply your base color and let it dry
- Dip a toothpick or bobby pin into another polish color
- Gently dot it onto your nails
You can create patterns or random dots—it always looks stylish.
2. Accent Nail
If you’re nervous about doing all nails, try just one.
Steps:
- Paint all nails in one color
- Choose one nail (usually ring finger)
- Add glitter, dots, or a simple design
This keeps things easy but still eye-catching.
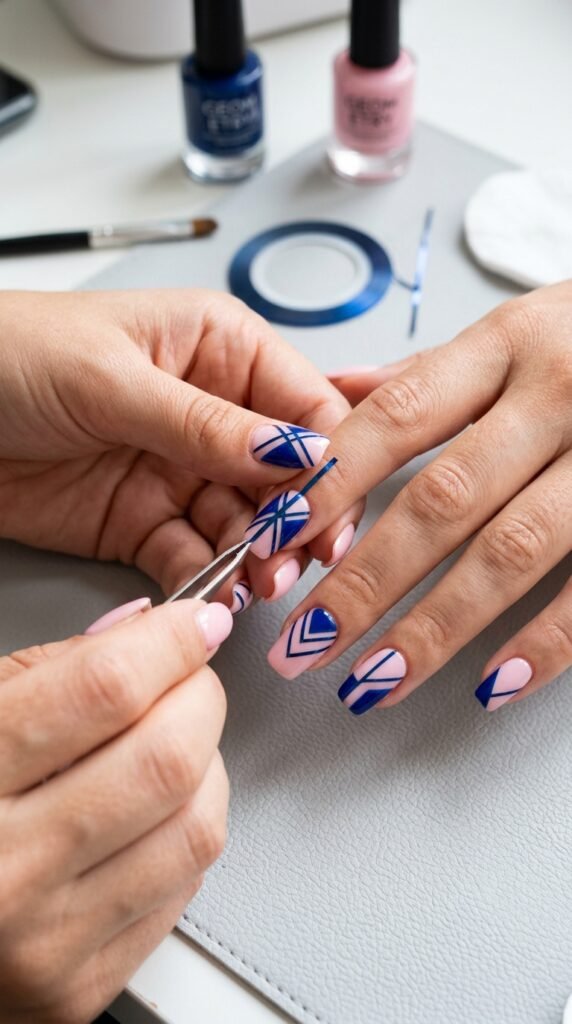
3. Tape Nail Art
Tape helps create clean, sharp lines.
How to use it:
- Paint your nails and let them dry completely
- Place tape strips in a pattern (like stripes or triangles)
- Paint over with another color
- Peel off the tape carefully
You’ll get neat designs without needing a steady hand.
Try Easy Color Combinations
Choosing the right colors can make your nail art stand out even more.
Beginner-friendly combos:
- Nude + white
- Pink + gold
- Black + silver
- Pastel shades together
You don’t need bright or bold colors—soft tones often look more elegant and are easier to work with.
Keep Your Design Neat
Messy edges can make even good nail art look untidy. Here’s how to fix that:
- Dip a cotton swab in remover and clean around your nails
- Use a thin brush for precision cleanup
- Take your time between layers
Patience is key. Let each layer dry before adding the next.
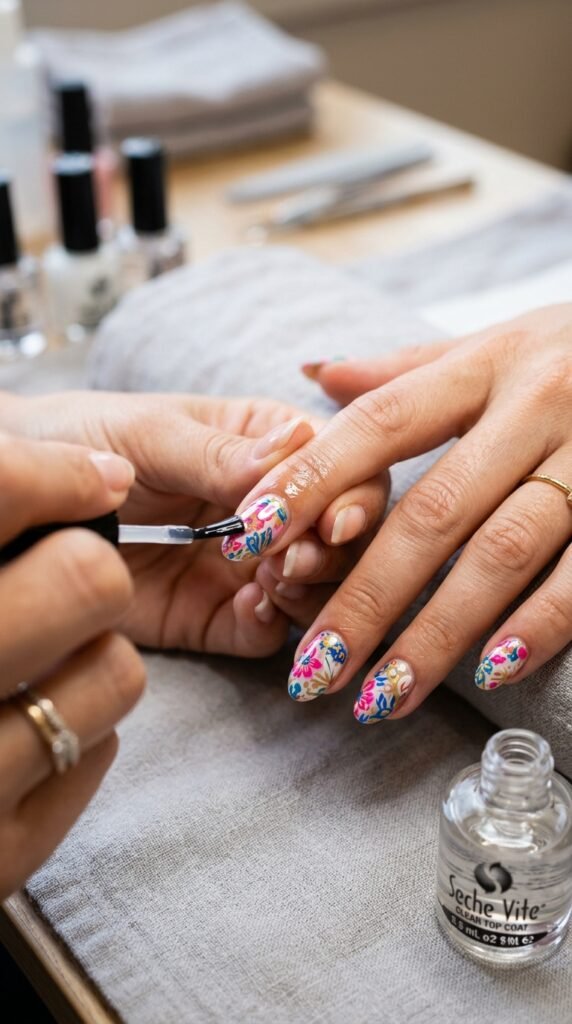
Seal with a Top Coat
Never skip this step. A top coat makes a big difference.
Why it matters:
- Adds shine
- Prevents chipping
- Smooths out your design
Apply it gently so you don’t smudge your artwork.
Common Mistakes to Avoid
Even simple nail art can go wrong if you rush or skip basics.
Avoid these mistakes:
- Applying thick layers of polish
- Not letting layers dry properly
- Using too many colors at once
- Skipping nail prep
Keep it simple, especially when you’re just starting.
Practice Makes Perfect
Don’t worry if your first attempt isn’t perfect. Nail art improves with practice.
Try this:
- Practice designs on paper first
- Experiment with different tools
- Redo designs until you’re happy
Over time, your hands will become steadier and your designs cleaner.
Final Thoughts
Doing nail art at home is fun, relaxing, and surprisingly easy once you get the hang of it. You don’t need expensive tools or salon visits to have beautiful nails. Start with simple designs like dots, stripes, or accent nails, and slowly build your skills.
Your nails are like a tiny canvas—so enjoy the process and get creative.
Save this guide for later and try a new nail design this weekend.

Leave a Reply