
Want gorgeous salon-style nails without buying expensive equipment? You are not alone. Many nail lovers think stunning nail art requires a UV lamp, but the truth is you can create beautiful, long-lasting designs right at home using simple tools and regular polish. Whether you are a beginner or just looking for budget-friendly beauty hacks, this guide will show you exactly how to do nail art without a UV lamp.
Why Skip the UV Lamp?
UV lamps are commonly used for gel manicures, but they are not essential for creative nail art. In fact, using regular polish has some great advantages.
Benefits of UV-free nail art:
- Budget friendly and beginner friendly
- No risk of UV exposure
- Easy to remove and change designs
- Works with tools you already have at home
If you love switching up your nail look often, traditional polish nail art is actually more flexible.
Tools You Will Need
Before you start, gather a few basic supplies. Most of these are easy to find at home or in any beauty store.
Essential items:
- Regular nail polish (2 to 4 colors)
- Base coat
- Top coat (quick-dry preferred)
- Dotting tool or toothpick
- Thin nail art brush or bobby pin
- Nail polish remover and cotton pads
- Small piece of sponge (for gradients)
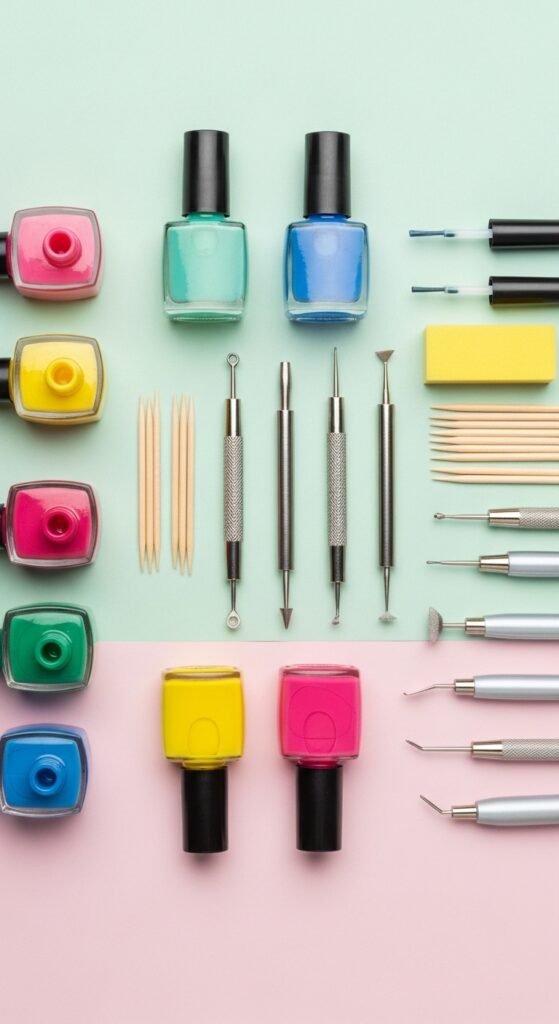
Pro tip: If you do not have nail tools, household items like toothpicks, safety pins, or makeup sponges work perfectly.
Step 1: Prep Your Nails Properly
Good nail art starts with good prep. Do not skip this step if you want your design to last.
Prep routine:
- Remove old polish completely
- Trim and file nails to your desired shape
- Push back cuticles gently
- Wash and dry hands thoroughly
- Apply a thin base coat
Let the base coat dry fully before moving on. This creates a smooth surface and prevents staining.
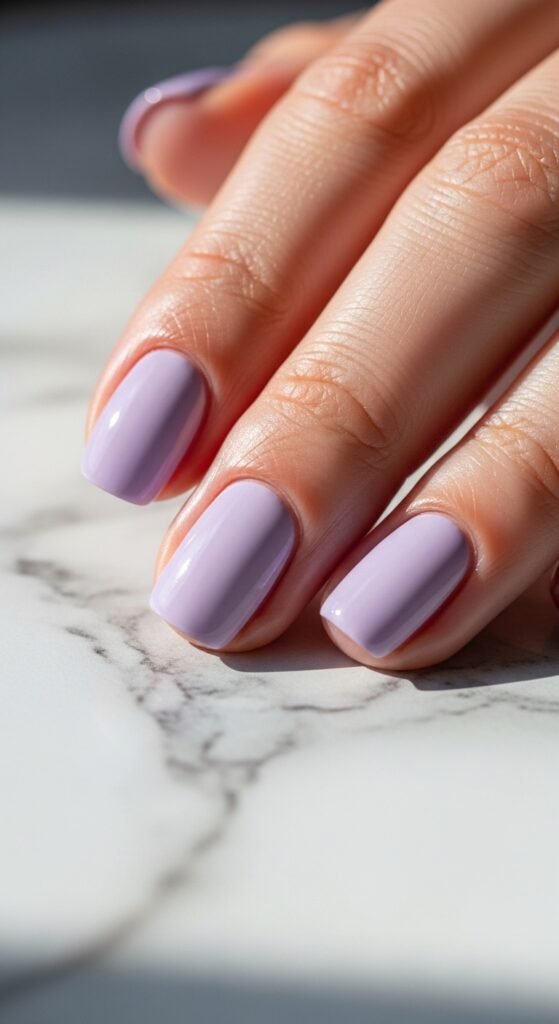
Step 2: Apply Your Base Color
Now comes the fun part. Choose your main color and apply it evenly.
How to do it right:
- Apply thin coats instead of one thick coat
- Wait 1 to 2 minutes between layers
- Usually 2 coats give the best opacity
Allow your base color to dry about 70 to 80 percent before adding designs. Slight tackiness helps details stick better.
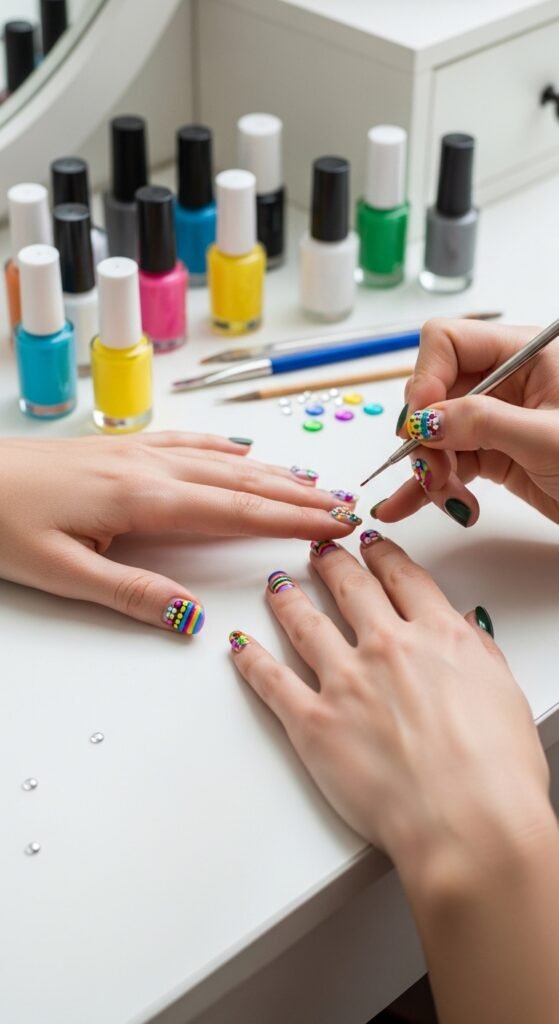
Step 3: Create Easy Nail Art Designs
You do not need professional skills to make cute nail art. Start with beginner-friendly patterns.
Simple Dot Design
Perfect for beginners.
Steps:
- Dip a dotting tool or toothpick into polish
- Gently place dots on the nail
- Mix sizes for a playful look
Toothpick Marble Effect
This gives a trendy swirled look.
Steps:
- Add tiny drops of different colors on the nail
- Use a toothpick to swirl gently
- Do not overmix
Sponge Gradient (Ombre)
This looks salon-level but is easy.
Steps:
- Paint two colors onto a sponge
- Dab lightly onto the nail
- Repeat until the blend looks smooth
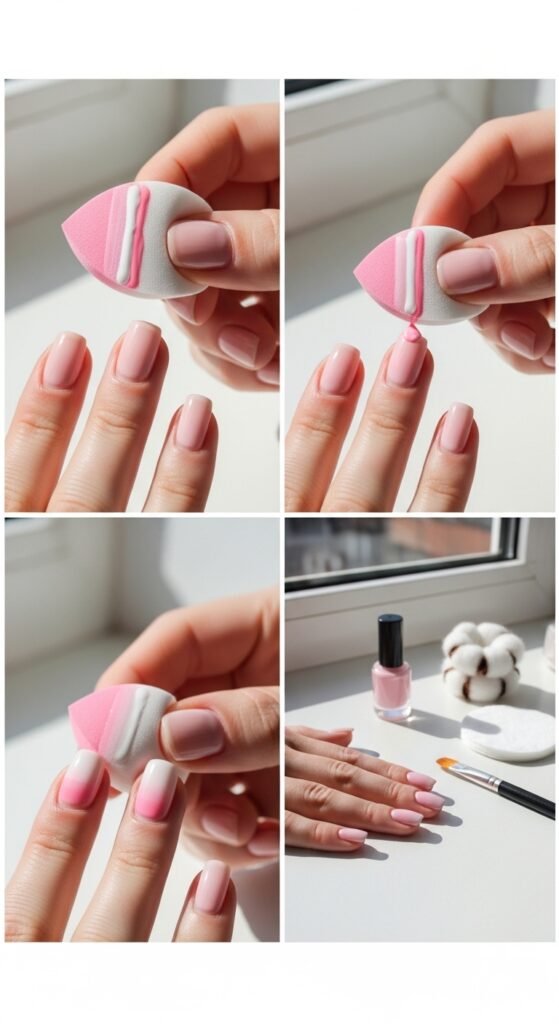
Beginner tip: Work on one nail at a time to prevent smudging.
Step 4: Let Your Design Dry Naturally
Since you are not using a UV lamp, drying time matters.
Speed up air drying:
- Use thin polish layers
- Wait at least 5 minutes before the next step
- Dip nails briefly in cold water after 2 to 3 minutes
- Use quick-dry drops if available
Avoid touching anything during this stage. Regular polish needs patience.
Step 5: Seal with a Good Top Coat
This step makes the biggest difference in shine and longevity.
Apply top coat like a pro:
- Use a floating motion (do not press hard)
- Cover the nail edges to prevent chipping
- Apply one generous but controlled layer

A good top coat can make regular polish look almost gel-like.
Tips to Make Your Nail Art Last Longer
Want your UV-free manicure to stay fresh for days? Follow these smart tips.
Longevity hacks:
- Always start with a base coat
- Avoid thick polish layers
- Reapply top coat every 2 to 3 days
- Wear gloves while doing dishes
- Keep nails moisturized with cuticle oil
With proper care, regular polish nail art can last 5 to 7 days easily.
Common Mistakes to Avoid
Even simple nail art can go wrong if you rush.
Watch out for:
- Applying polish too thick
- Not letting layers dry
- Skipping base or top coat
- Using too much pressure with tools
- Working in a humid environment
Take your time. Nail art is more about patience than perfection.
Final Thoughts
Beautiful nail art does not require expensive tools or a UV lamp. With regular nail polish, a few household tools, and a little creativity, you can achieve stunning Pinterest-worthy nails at home. Start simple, practice often, and soon your DIY manicures will look professionally done.
Save this guide for later and try your first UV-free nail art today!

Leave a Reply