
Nail art doesn’t have to be a salon-only luxury. With a few tools, some creativity, and a little practice, you can create stunning nails right at home—without spending hours or breaking the bank. Whether you’re prepping for a special occasion or just want to jazz up your everyday look, fast and easy nail art is totally achievable.
In this guide, we’ll walk you through simple techniques, time-saving tips, and creative ideas to achieve professional-looking nails from your own living room. Let’s dive in!
Gather Your Tools
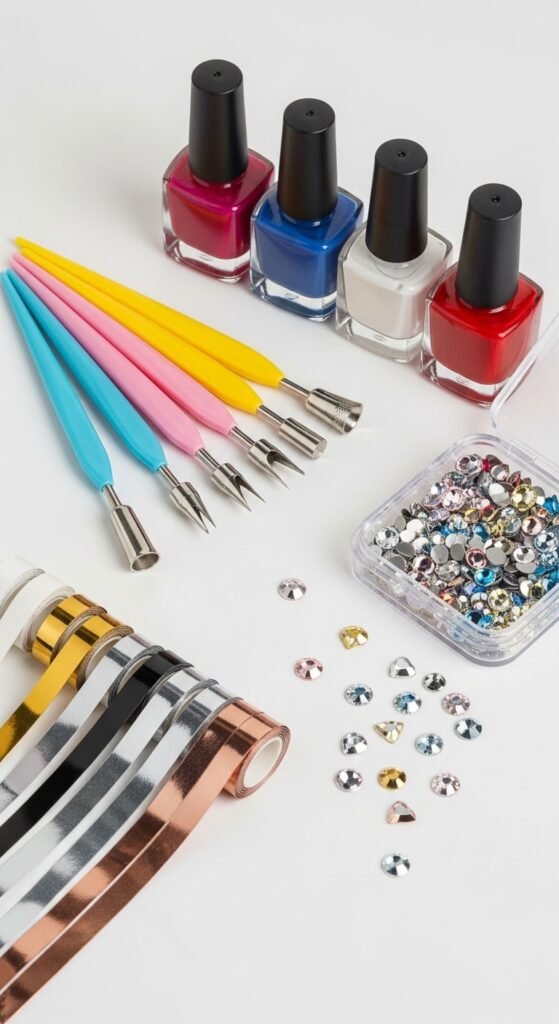
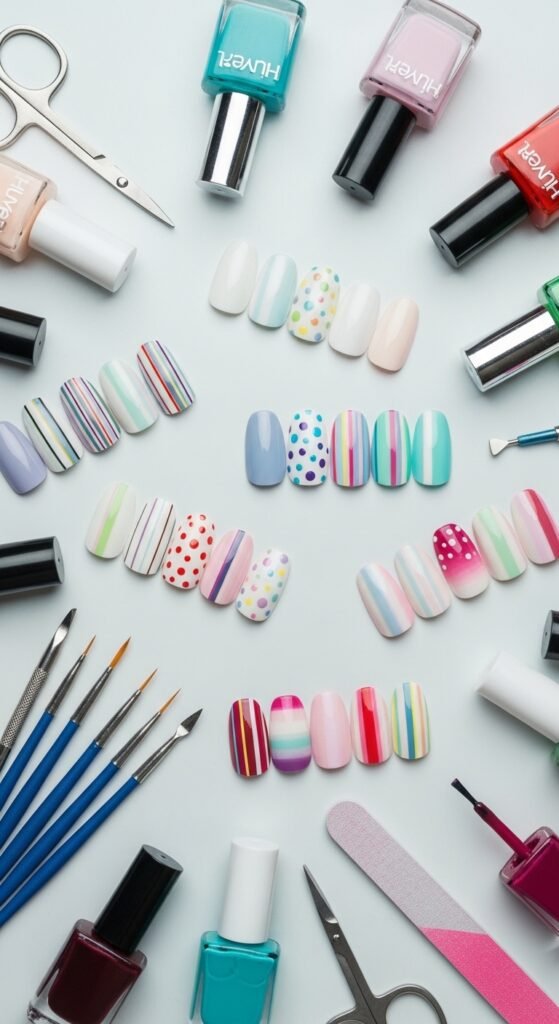
Before you start, make sure you have the essentials for quick nail art. Having the right tools will make the process smoother and faster.
Must-Have Tools:
- Base coat and top coat
- Nail polish in a few favorite colors
- Dotting tools or toothpicks
- Thin brushes or striping tape
- Nail polish remover and cotton pads
- Quick-dry spray or drops
Optional Extras:
- Rhinestones or studs
- Nail stickers or decals
- Small sponges for gradient effects
Prep Your Nails Quickly
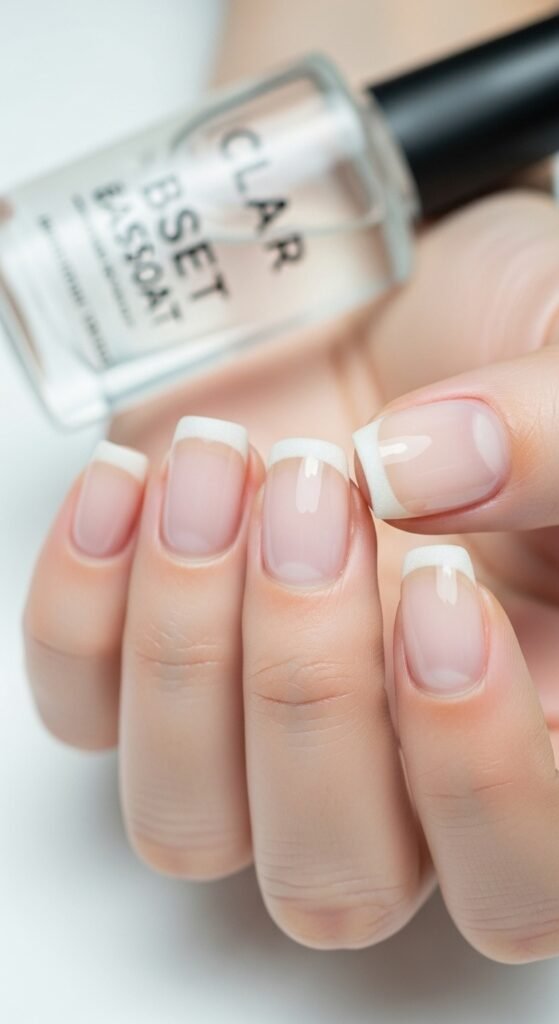
Clean, prepped nails are the secret to a smooth nail art application. Luckily, you can speed this up without skipping steps.
- Trim and file nails – Shape your nails evenly to make painting easier.
- Push back cuticles – Use a cuticle stick to gently push them back; this gives a clean canvas.
- Buff lightly – A quick buff removes ridges for a smoother polish application.
- Apply base coat – This protects your nails and helps the polish last longer.
Pro Tip: Use quick-dry base and top coats to shave off extra drying time.
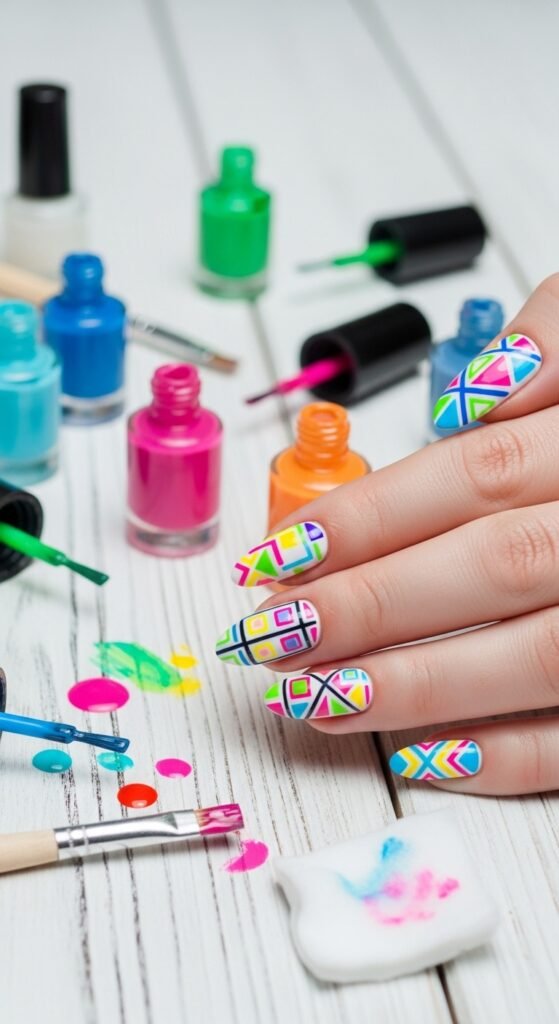
Easy Techniques for Fast Nail Art
You don’t need to be a pro to create eye-catching designs. Here are some beginner-friendly techniques that save time:
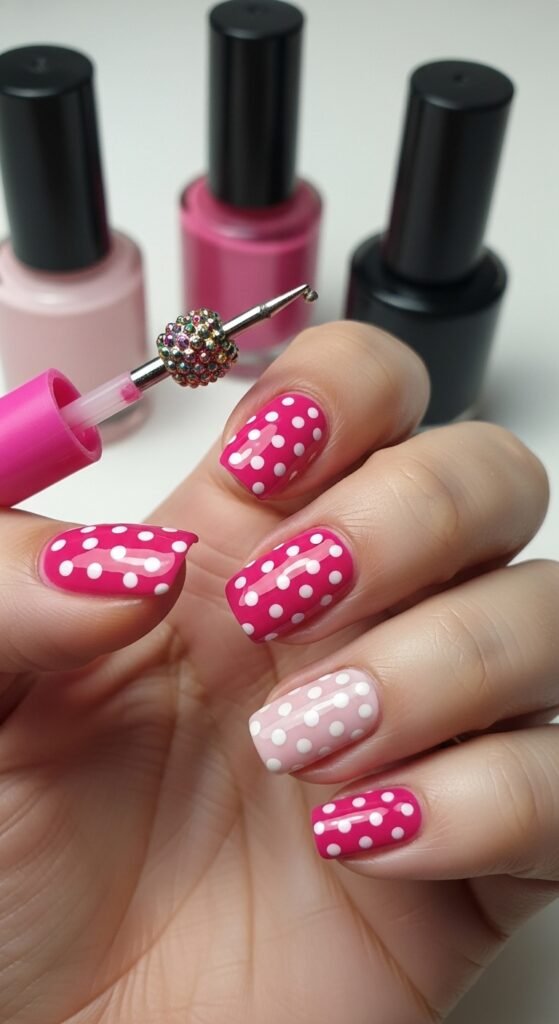
1. Dotting Patterns
- Use a toothpick or dotting tool to create polka dots, flowers, or abstract designs.
- Tip: Dip the tool in polish and gently press onto the nail in a pattern.
2. Stripes & Lines
- Apply striping tape for clean, straight lines.
- Paint over with a contrasting color and peel the tape while wet.
3. Gradient/Ombré Nails
- Dab two colors on a small sponge and gently press onto your nail for a blended effect.
4. Quick Stickers & Decals
- Nail stickers or water decals instantly give you intricate designs in seconds.
Tips to Speed Up Drying
Fast drying is key to finishing your nail art quickly:
- Quick-dry drops or sprays – Instantly speed up drying time.
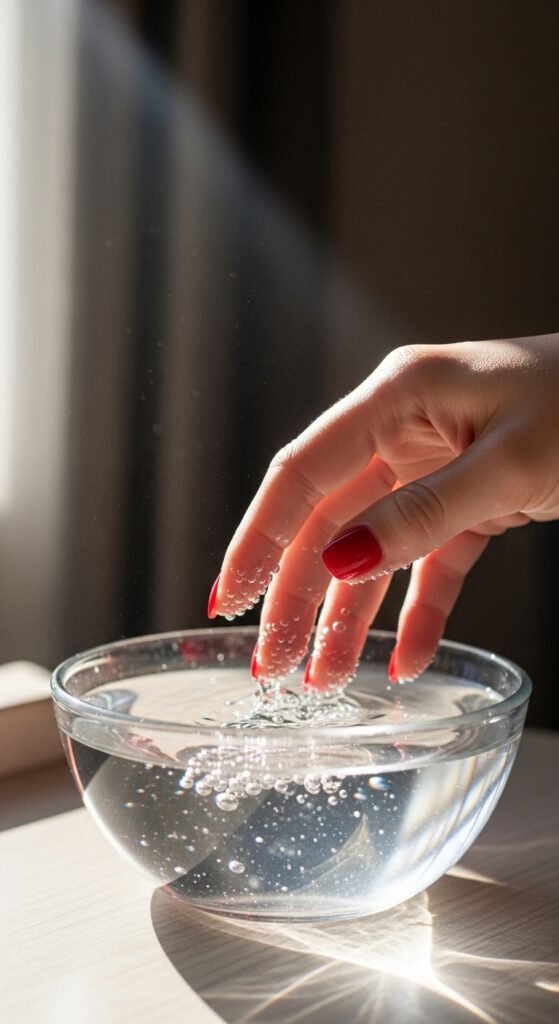
- Cold water trick – Dip nails in cold water for a minute to help set the polish.
- Thin layers – Apply 2–3 thin coats instead of one thick coat to prevent smudging.
Pro Tip: Keep your hands elevated and avoid touching anything for at least 10 minutes for flawless results.
Add Finishing Touches
The final steps make your nails look polished and professional:
- Apply a top coat to seal your design and add shine.
- Use a nail brush dipped in remover to clean up any mistakes around the edges.
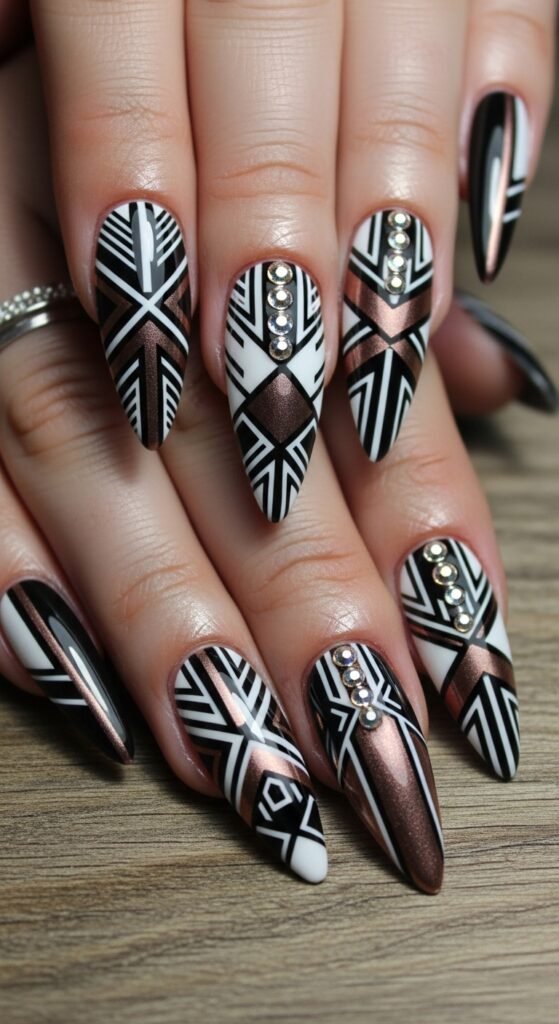
- For a little extra flair, add small rhinestones or glitter accents.
Maintenance Tip: Avoid using nails as tools, and apply a fresh top coat every few days to extend the life of your art.
Quick Nail Art Ideas to Try Today
- Minimalist lines with gold or silver polish
- Polka dots with contrasting colors
- Ombre gradients in pastel shades
- Flower patterns with dotting tools
- Simple stickers with a pop of glitter
These designs are perfect for when you want a quick but stylish look without spending hours.
Creating gorgeous nail art at home doesn’t have to be complicated. With the right tools, quick techniques, and a few creative touches, you can achieve salon-worthy nails in no time. Experiment with patterns, colors, and textures to find your signature style.
Save this guide for later and start your at-home nail art journey—your nails will thank you!

Leave a Reply