
If you’ve ever admired stunning nail designs on Pinterest but felt intimidated by all the brushes, dotting tools, and stamping kits, you’re not alone. The good news? You don’t need fancy tools to create eye-catching nail art at home. With just your fingers, a few household items, and a splash of creativity, you can turn your nails into tiny canvases of fun and style.
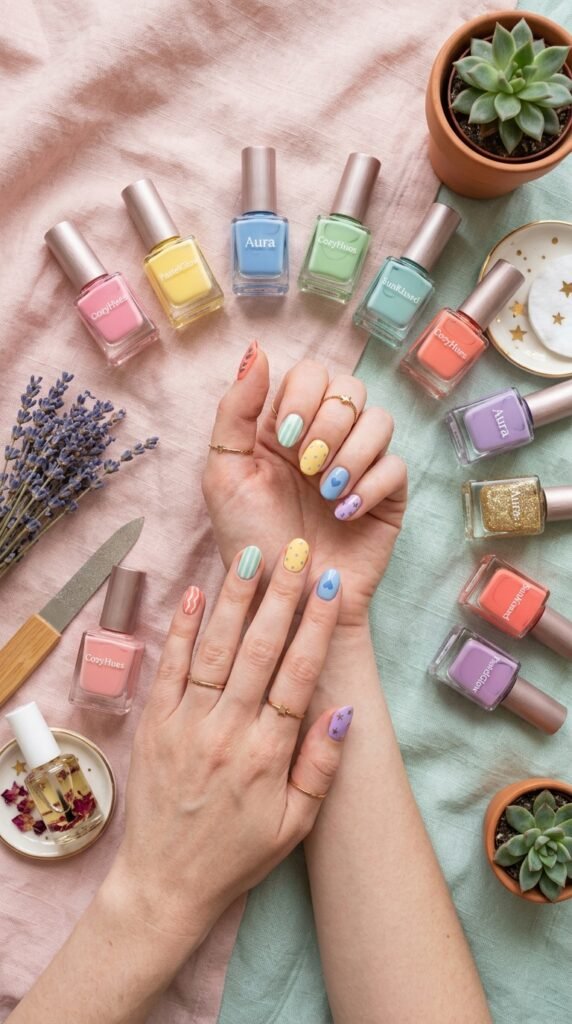
Let’s dive into easy, beginner-friendly techniques that anyone can try, even if you’re new to the world of nail art.
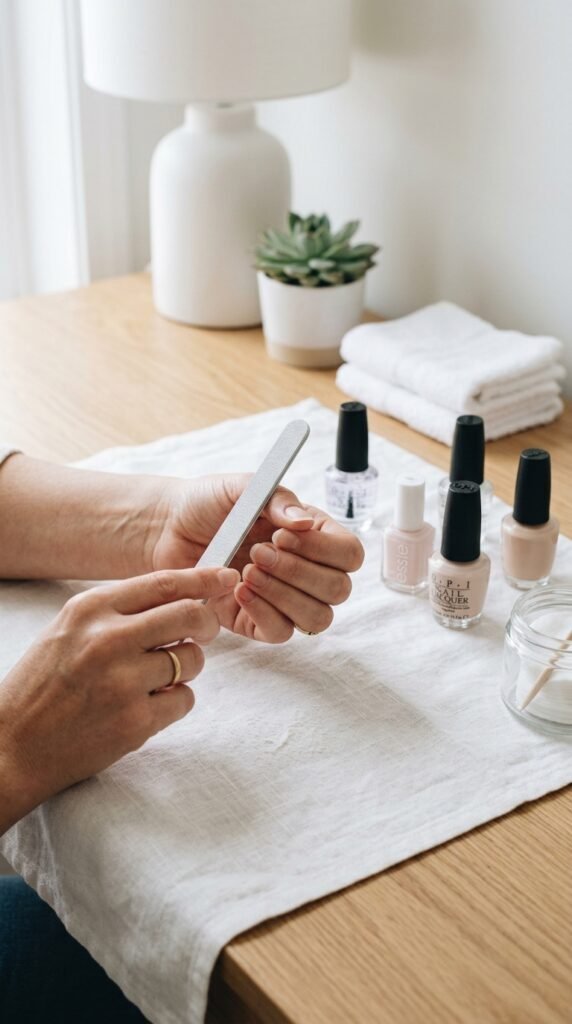
Prep Your Nails First
Before starting any design, make sure your nails are clean and ready. Proper prep gives your nail art a smooth, long-lasting finish.
Steps for prepping your nails:
- Remove old polish – Use nail polish remover and cotton pads.
- Shape your nails – File gently in one direction to avoid splitting.
- Push back cuticles – Use a cuticle stick or simply your fingers.
- Apply a base coat – Protects nails from staining and helps polish last longer.
Once your nails are prepped, it’s time to get creative—with no fancy tools required!
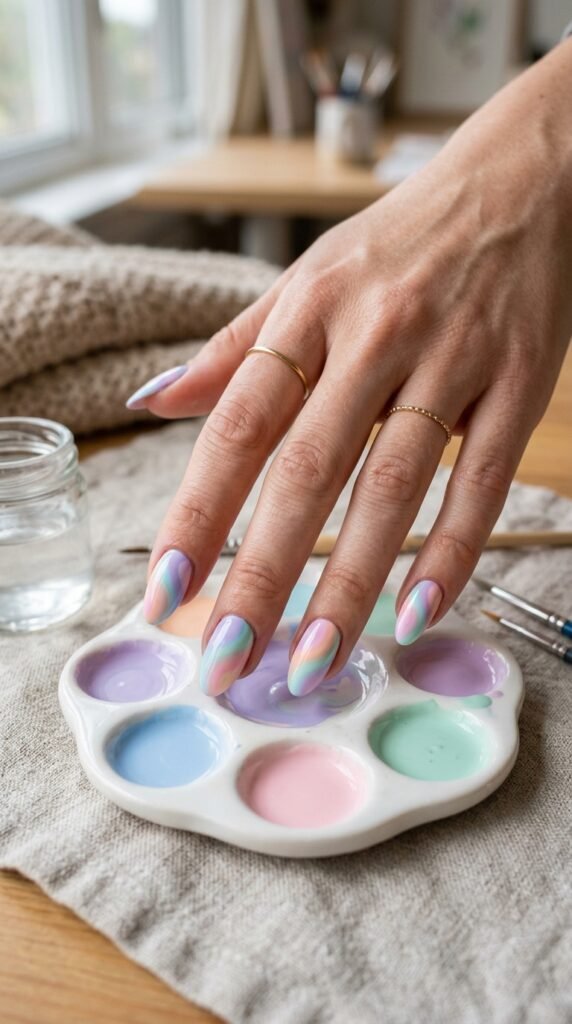
Finger-Painting Fun
Your fingers are some of the best tools you have. Thumb tips, index fingers, or even the side of a finger can create unique effects.
Ideas to try:
- Swirls and waves – Use your fingertip to swirl two nail polish colors together.
- Dabs and dots – Lightly touch your nail with your fingertip for playful dot patterns.
- Gradient effect – Use your finger to gently blend two colors for an ombré look.
Tips:
- Work on one nail at a time to avoid smudging.
- Keep a tissue or cotton pad nearby to clean up mistakes quickly.
Finger painting is beginner-friendly and perfect for creating personalized, one-of-a-kind designs.
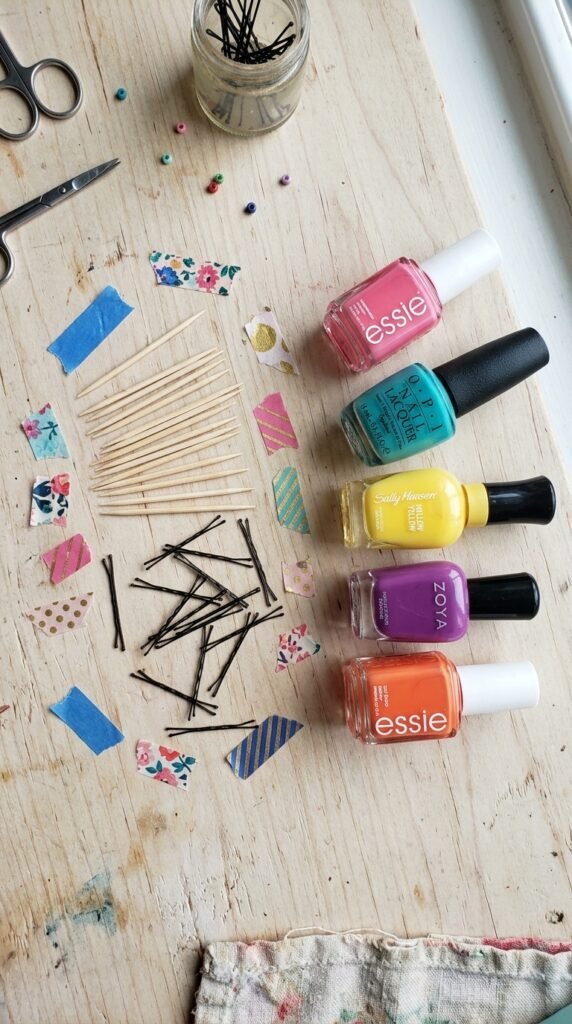
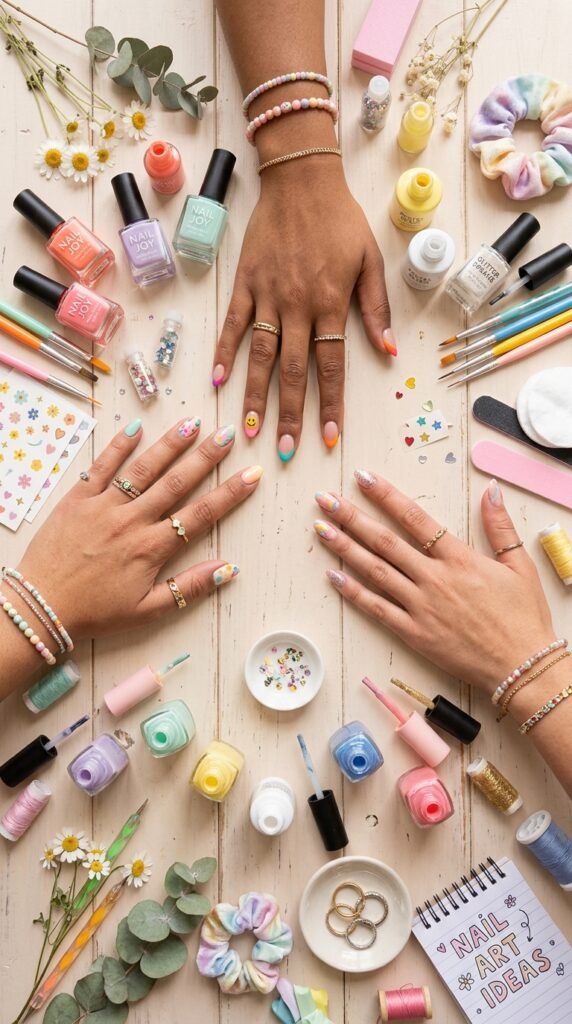
Everyday Household Items as Tools
You don’t need to buy expensive nail art tools—look around your home.
Household items that double as tools:
- Toothpicks – Tiny dots, lines, or swirl designs.
- Bobby pins – Dip the rounded end into polish for perfectly round dots.
- Tape or stickers – Create stripes or geometric patterns.
- Plastic wrap – Crumple it slightly and dab over wet polish for a marbled look.
How to use them:
- Dip your item lightly in nail polish.
- Gently press or dab it on your nail.
- Let it dry completely before adding another layer.
These simple hacks let you explore fun designs without buying any extra tools.
Easy Patterns for Beginners
Even without tools, you can create a variety of simple and chic patterns.
Beginner-friendly pattern ideas:
- Polka dots – Use your fingertip or a bobby pin.
- Stripes – Use tape to mask sections of your nail.
- Half-moons – Paint the tip of your nail a contrasting color.
- Minimalist lines – Drag a toothpick through wet polish for delicate lines.
Pro tips:
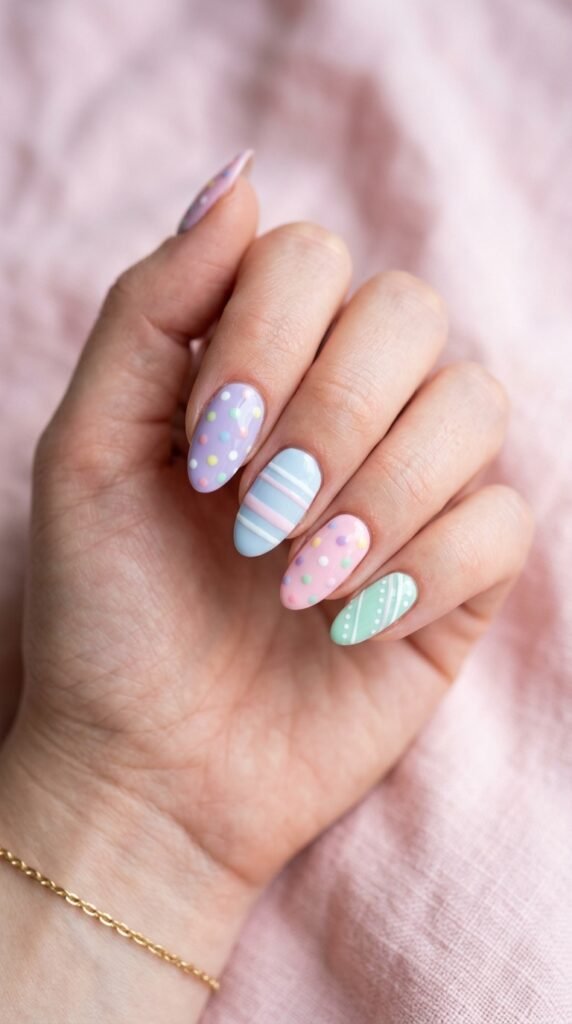
- Always let each layer dry fully to avoid smudging.
- Use neutral or pastel colors for a soft, beginner-friendly palette.
- Finish with a clear top coat for shine and durability.

Finish and Care
After your nail art is complete, it’s time to make it last.
Steps for a professional finish:
- Apply a clear top coat to seal your designs.
- Avoid heavy hand use for a few hours to let nails fully dry.
- Moisturize your cuticles with oil or cream to keep nails healthy.
Extra tip: Keep a small nail polish remover pen handy for quick fixes and smudges.
Takeaway
Creating beautiful nail art doesn’t have to be complicated or expensive. With a little creativity, your fingers and household items can transform your nails into tiny works of art. Experiment with colors, patterns, and techniques until you find what you love most.
Save this guide for later, and start your nail art journey today—no tools required!

Leave a Reply