
Nail art doesn’t have to be complicated or expensive to look beautiful. With just a few tools and a little creativity, you can create stunning designs right at home—even if you’re a complete beginner. Simple patterns like dots, stripes, and tiny shapes can instantly upgrade your nails from basic to eye-catching.
If you’ve ever thought nail art was too hard, this guide will prove otherwise. Let’s break it down into easy steps so you can start creating Pinterest-worthy nails today.
Start With Clean and Prepared Nails
Before you jump into patterns, you need a good base. Clean nails help your design last longer and look more polished.
Here’s what to do:
- Remove old nail polish completely
- Trim and shape your nails (square or round—your choice)
- Gently push back cuticles
- Wash your hands and dry thoroughly
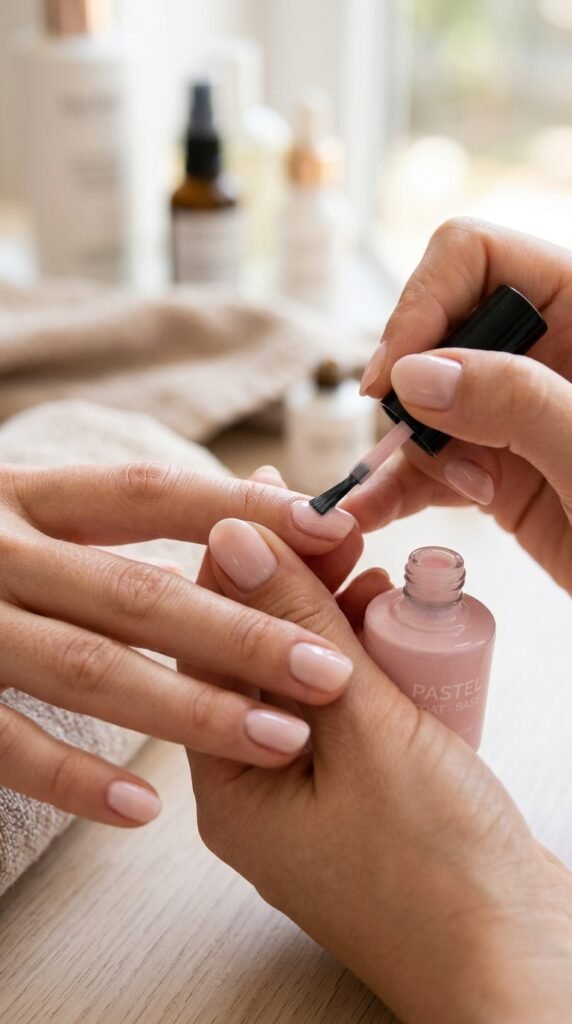
Apply a base coat to protect your nails and create a smooth surface. This step is simple but makes a big difference.
Choose Your Base Color
Your base color sets the tone for your entire nail design. For simple patterns, lighter shades often work best because patterns stand out more clearly.
Popular base color ideas:
- Soft pink or nude for a clean look
- White for bold contrast
- Pastels for a trendy vibe
- Black for dramatic designs
Let your base coat dry completely before moving to the next step. Patience here prevents smudging later.
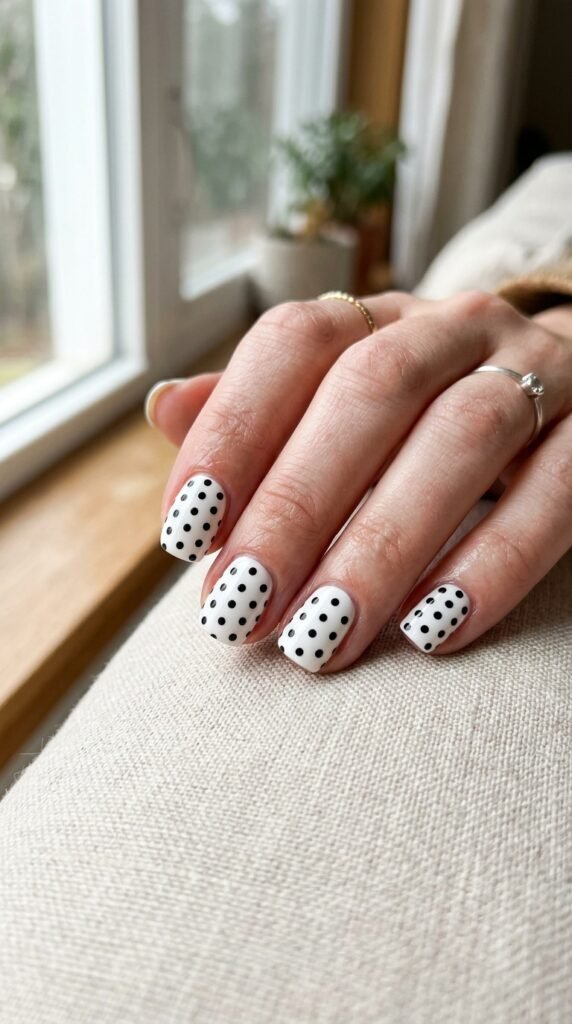
Create Easy Dot Patterns
Dots are the easiest nail art design—and they look super cute.
How to make dots:
- Use a dotting tool, toothpick, or bobby pin
- Dip it lightly into nail polish
- Gently press onto your nail
Pattern ideas:
- One dot in the center for a minimal look
- Polka dots across the nail
- Gradient dots (bigger to smaller)
- A line of dots near the cuticle
Tip: Use contrasting colors like white on red or black on nude to make the dots pop.
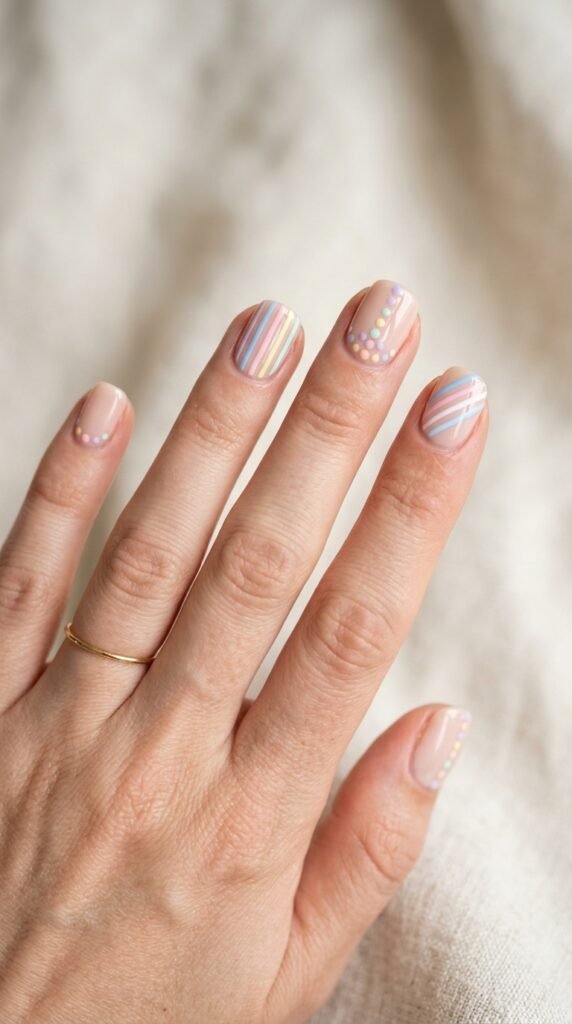
Try Simple Stripe Designs
Stripes are clean, modern, and very easy to create.
You can use:
- Thin nail art brushes
- Striping tape
- Toothpicks for freehand lines
Stripe ideas to try:
- Vertical stripes for a lengthening effect
- Horizontal stripes for a bold look
- Diagonal lines for something trendy
- One single stripe for minimal style
Let each stripe dry before adding another to avoid mixing colors.
Experiment With Basic Shapes
Once you’re comfortable with dots and lines, try small shapes. These add personality without being too difficult.
Easy shapes you can create:
- Tiny hearts (use two dots and drag them down)
- Small triangles at the tip
- Half-moons near the cuticle
- Simple flowers using five dots
Don’t worry about perfection. Slight imperfections actually make your nail art look more handmade and unique.
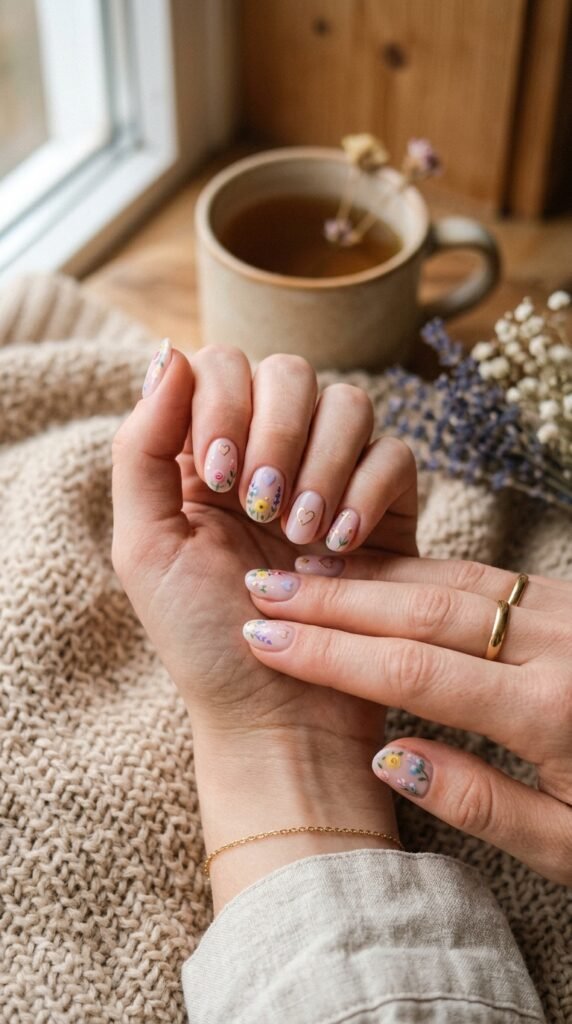
Mix and Match Patterns
You don’t need every nail to look the same. Mixing patterns can make your manicure more interesting.
Try this combination:
- One nail with dots
- One with stripes
- One with a small shape
- Keep one nail plain for balance
Stick to a consistent color palette (2–3 colors) so everything looks cohesive.
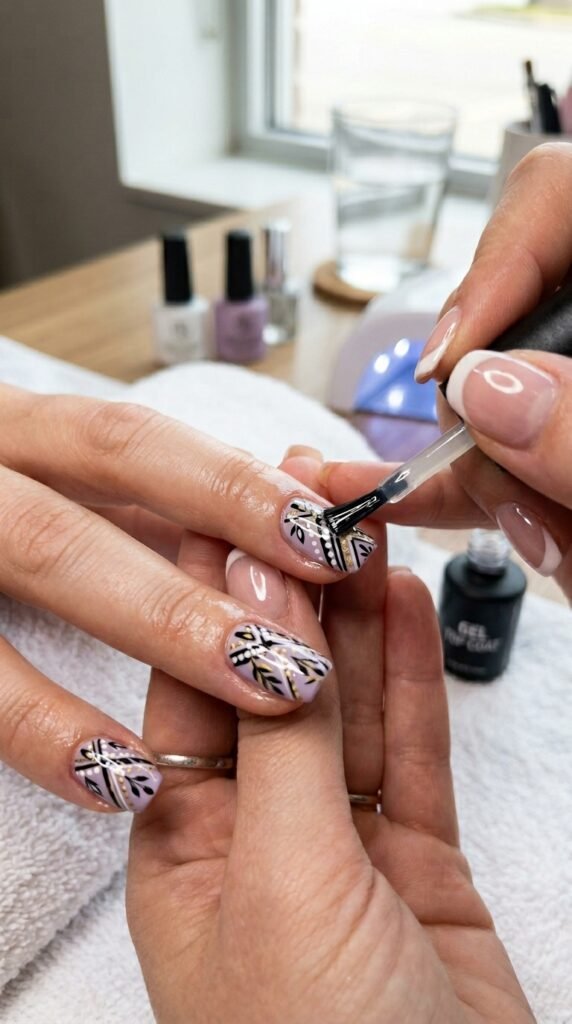
Seal Your Design With a Top Coat
Once your designs are dry, apply a top coat. This step:
- Adds shine
- Protects your design
- Helps your nail art last longer
Be gentle when applying so you don’t smudge your patterns. A quick swipe is enough.
Helpful Tips for Beginners
If you’re just starting out, keep these tips in mind:
- Start simple: Master dots and lines first
- Use thin layers: Thick polish takes longer to dry
- Clean mistakes easily: Use a cotton swab with remover
- Practice on paper first: Test your patterns before applying
- Be patient: Let each layer dry fully
Nail art is all about practice. The more you try, the better you get.
Final Thoughts
Simple nail patterns can look just as stunning as complex designs. With dots, stripes, and small shapes, you can create endless combinations that match your mood, outfit, or occasion.
You don’t need fancy tools or professional skills—just a little creativity and time.
So grab your nail polish and start experimenting today. Save this guide for later and try a new pattern every week. Your perfect DIY manicure is just a few brush strokes away.

Leave a Reply