
Ever looked at beautifully designed nails and thought you needed a full kit of colors and tools to recreate them? Think again. Clear polish—yes, the simple, glossy one sitting quietly in your drawer—can be your secret weapon for elegant, minimal, and surprisingly creative nail art.
Whether you love subtle designs or want something chic and modern, clear polish opens up a world of possibilities without the mess of multiple colors.
Why Use Clear Polish for Nail Art?
Clear polish isn’t just a finishing touch—it can actually be the design.
Here’s why it works so well:
- Minimalist aesthetic: Perfect for clean, understated looks
- Beginner-friendly: Mistakes are less noticeable
- Versatile base: Works with glitter, foil, stickers, and more
- Low maintenance: Chips are less obvious than bold colors
It’s ideal if you want something stylish but effortless.
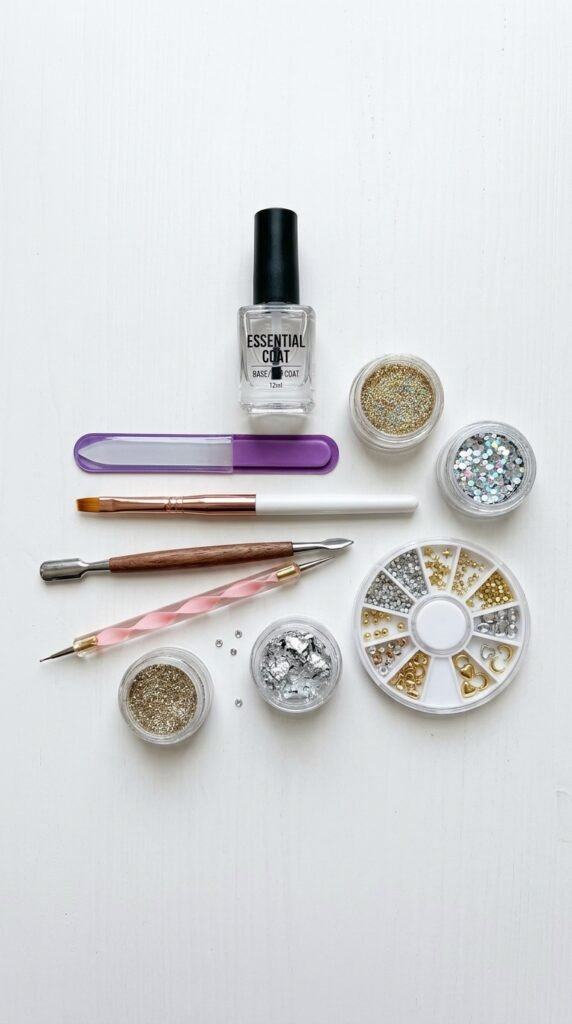
Tools & Supplies You’ll Need
Before you start, gather a few simple items. You probably already have most of these at home:
- Clear nail polish (glossy or matte)
- Nail file and buffer
- Cuticle pusher
- Cotton swabs or a thin brush
- Optional extras:
- Glitter
- Rhinestones
- Gold foil
- Nail stickers or decals
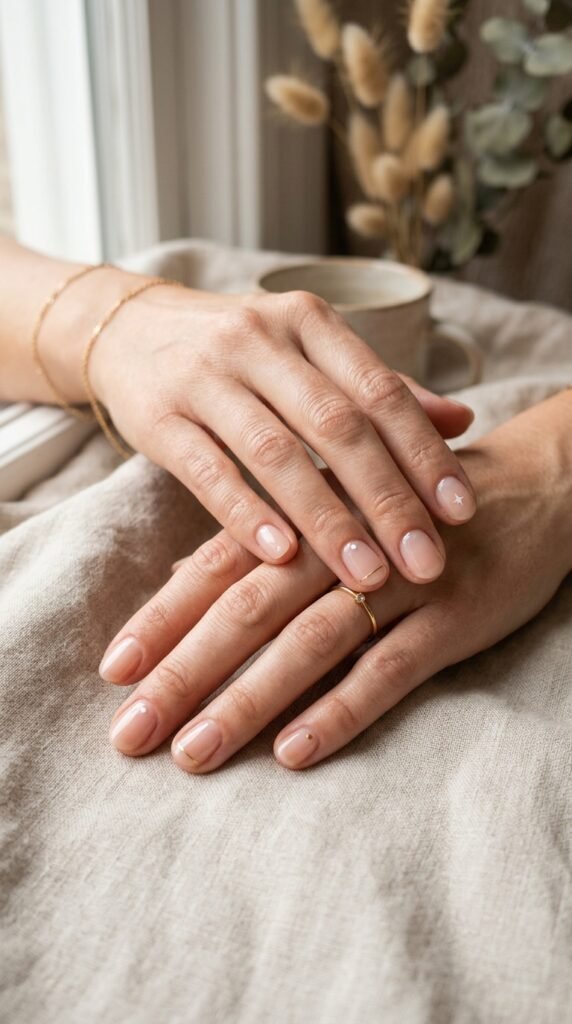
Step 1: Prep Your Nails Like a Pro
Good nail art always starts with good prep. Don’t skip this part—it makes a huge difference.
- Clean your nails: Remove old polish and wash your hands
- Shape your nails: File them into your preferred shape (square, oval, almond)
- Push back cuticles: This gives a clean canvas
- Buff lightly: Smooth the nail surface for better polish application
Once your nails are ready, apply a thin layer of clear polish as your base.
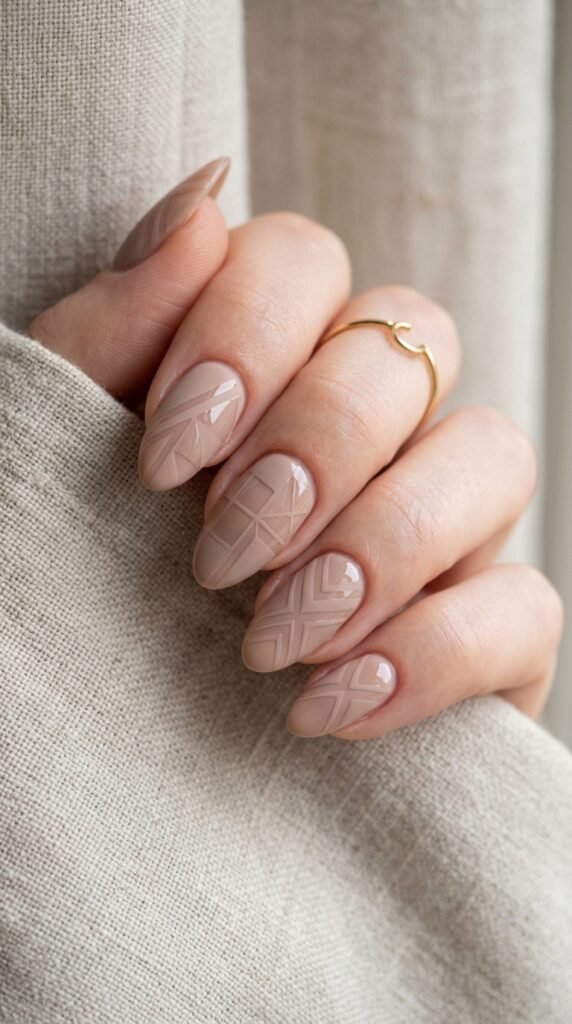
Step 2: Create Simple Clear Polish Designs
This is where the fun begins. Clear polish can be used in subtle but creative ways.
1. Glossy Patterns on Matte Nails
- Apply a matte top coat first
- Use clear polish to draw lines, dots, or shapes
- The glossy finish will stand out beautifully against matte
2. Invisible French Tips
- Instead of white tips, use clear polish to create a slightly raised edge
- It gives a clean, natural look with a modern twist
3. Negative Space Designs
- Leave parts of your nail bare
- Use clear polish to outline shapes or patterns
- This creates a trendy, airy design
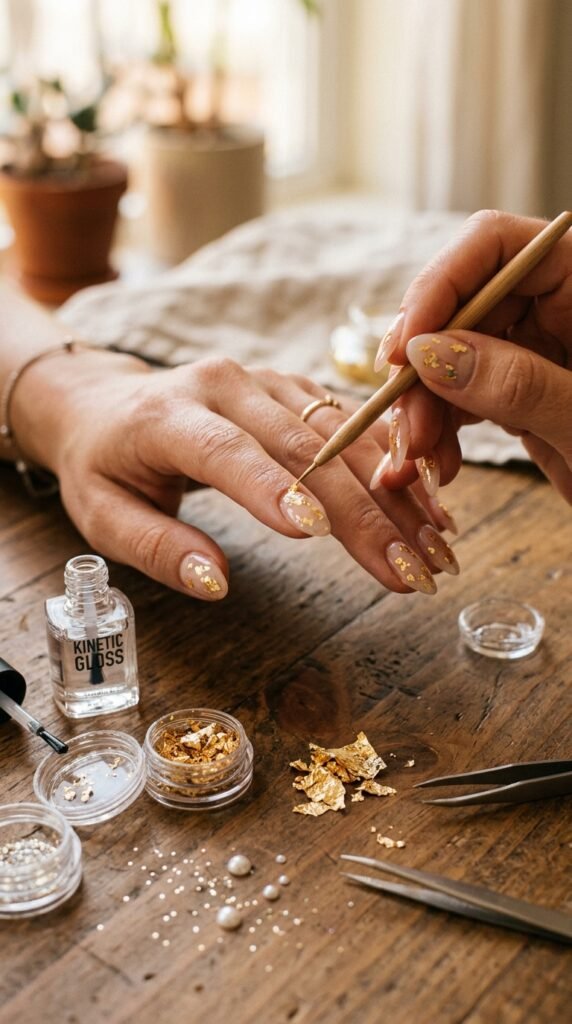
Step 3: Add Texture and Embellishments
Clear polish works like glue for nail decorations, making it perfect for textured nail art.
Try these ideas:
- Glitter accents: Dab clear polish and sprinkle glitter on top
- Foil flakes: Press small gold or silver foil pieces onto wet polish
- Rhinestones: Place tiny gems for a delicate sparkle
- Dried flowers: Add a soft, natural look
Pro Tip: Use a toothpick or dotting tool to place small decorations precisely.
Step 4: Layer for Depth and Shine
One of the best things about clear polish is layering.
- Apply multiple thin coats instead of one thick layer
- Seal in designs and decorations with a final top coat
- Let each layer dry completely before adding the next
This creates a smooth, glass-like finish and helps your design last longer.
Step 5: Keep It Clean and Polished
Even minimal nail art needs clean edges.
- Use a small brush dipped in remover to clean around nails
- Avoid overloading polish to prevent bubbling
- Let nails dry fully to avoid smudging
Taking a few extra minutes here makes your manicure look salon-quality.
Easy Nail Art Ideas Using Clear Polish
If you’re not sure where to start, try these beginner-friendly designs:
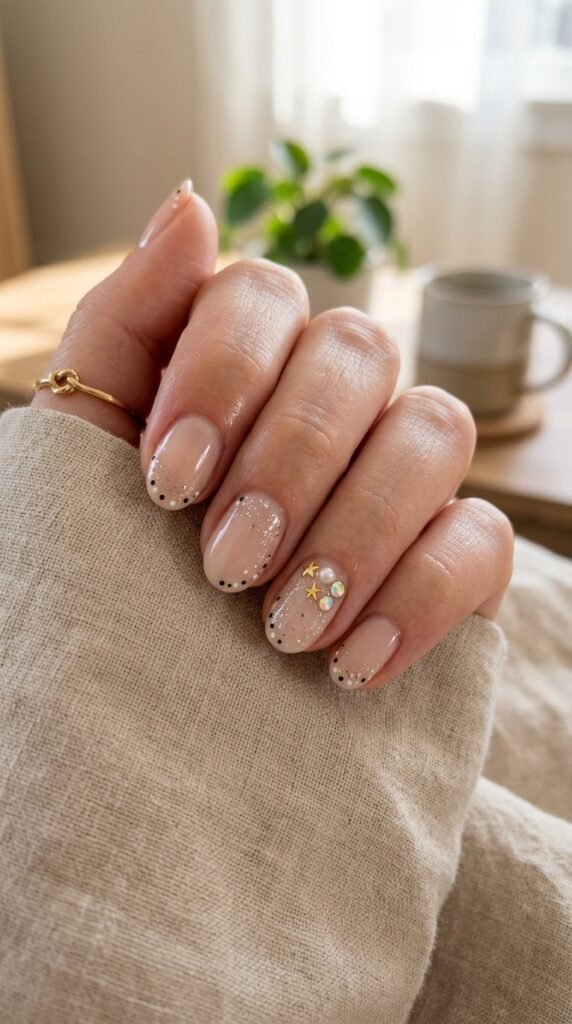
- Dotted nails: Use clear polish to place tiny dots over a nude base
- Glossy stripes: Add thin lines for a sleek look
- Accent nail: Decorate just one nail for subtle style
- Crystal nails: Add a few rhinestones for sparkle
- Sheer shimmer: Mix clear polish with a tiny bit of glitter
Tips for Long-Lasting Results
Want your clear polish nail art to last longer? Keep these tips in mind:
- Apply thin layers for better drying
- Seal everything with a strong top coat
- Avoid water exposure for at least an hour after application
- Reapply a top coat every few days for extra shine
Consistency makes a big difference in durability.
Final Thoughts
Clear polish nail art proves that you don’t need bold colors to make a statement. With just one bottle and a little creativity, you can create elegant, modern designs that suit any occasion.
The best part? It’s simple, affordable, and perfect for beginners.
So grab your clear polish and start experimenting—you might be surprised at how stunning simplicity can be.
Save this idea for later and try it on your next manicure day!

Leave a Reply