
Are you tired of expensive salon visits but still want gorgeous, eye-catching nails? Doing nail art at home isn’t as intimidating as it seems. With a few tools, some creativity, and a bit of practice, you can achieve salon-worthy designs from the comfort of your own living room. Whether you love minimalistic styles, bold patterns, or intricate designs, this guide will help you master nail art like a pro—no professional license required!
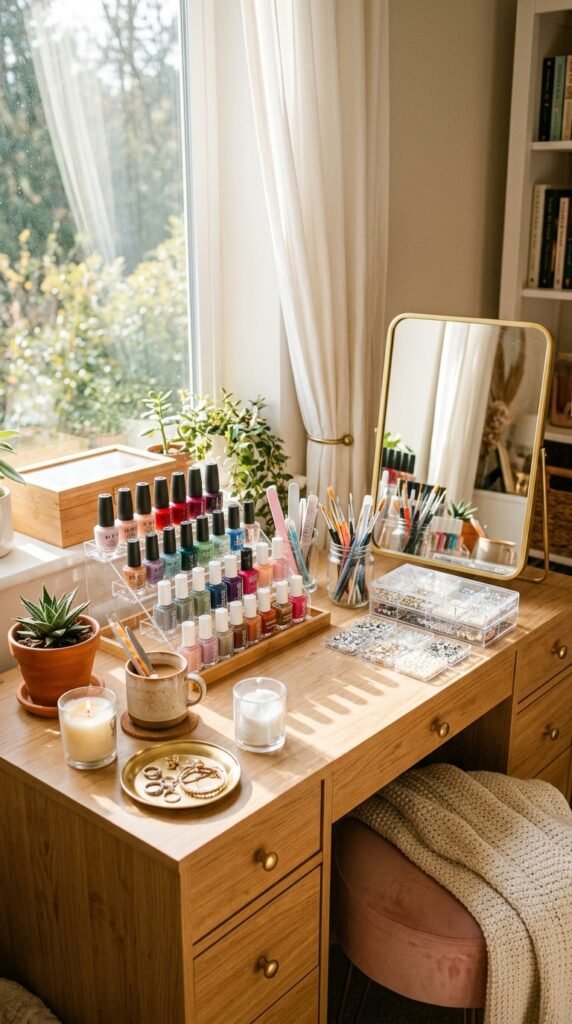
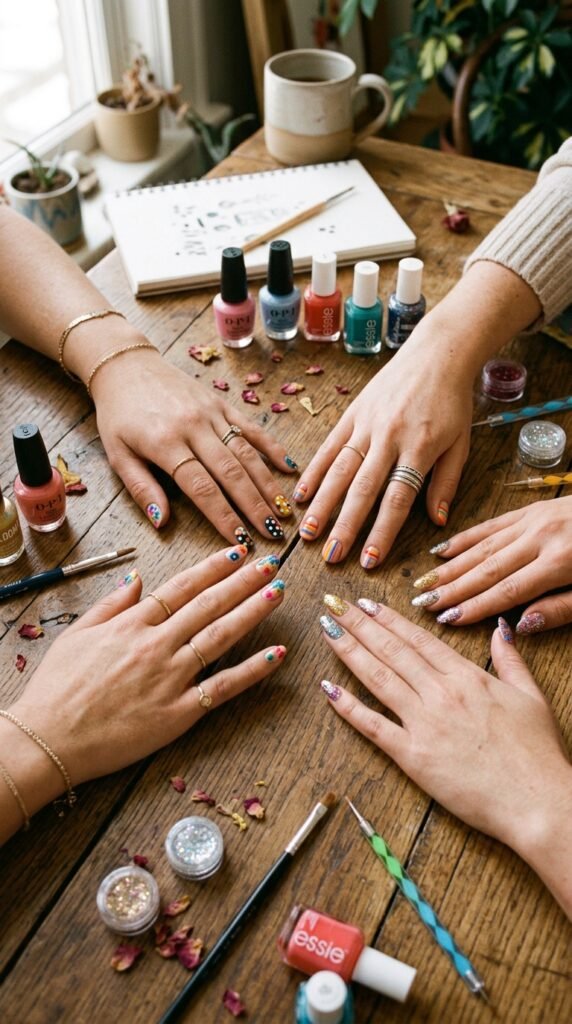
Gather Your Nail Art Essentials
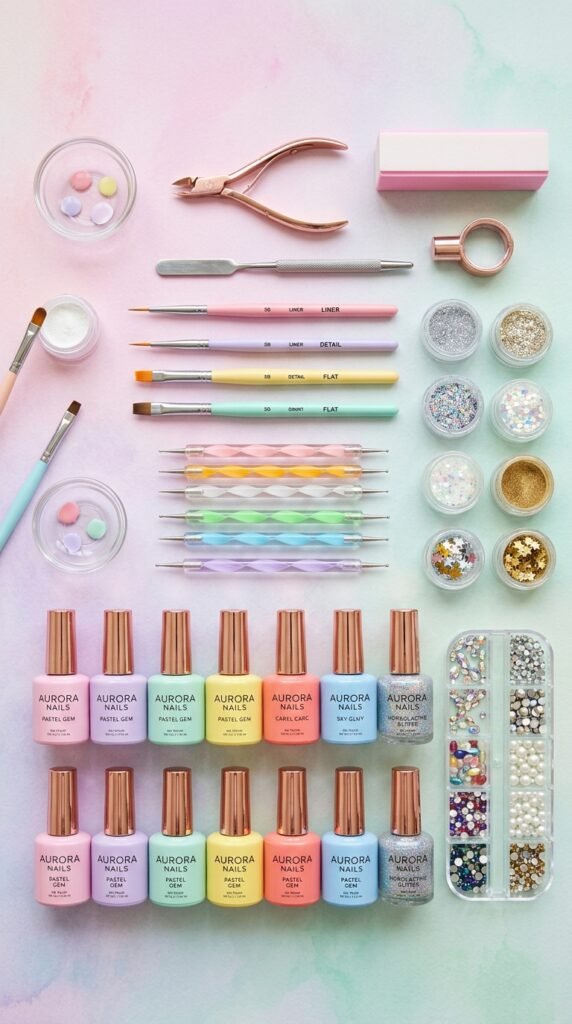
Before diving into designs, it’s crucial to have the right tools at hand. You don’t need a million items, but a few essentials will make your life so much easier:
- Base coat and top coat – Protects nails and ensures your design lasts longer.
- Nail polishes – Choose a mix of neutral and bold colors for versatility.
- Nail art brushes – Fine brushes are perfect for details; angled brushes work well for stripes.
- Dotting tools – Create polka dots, flower centers, or geometric designs effortlessly.
- Nail stickers or decals – A quick way to add intricate designs if freehand isn’t your thing.
- Nail gems, glitter, and tape – For that extra sparkle and creative flair.
Pro Tip: Keep a small cup of nail polish remover and cotton swabs nearby for mistakes—it saves a lot of stress!
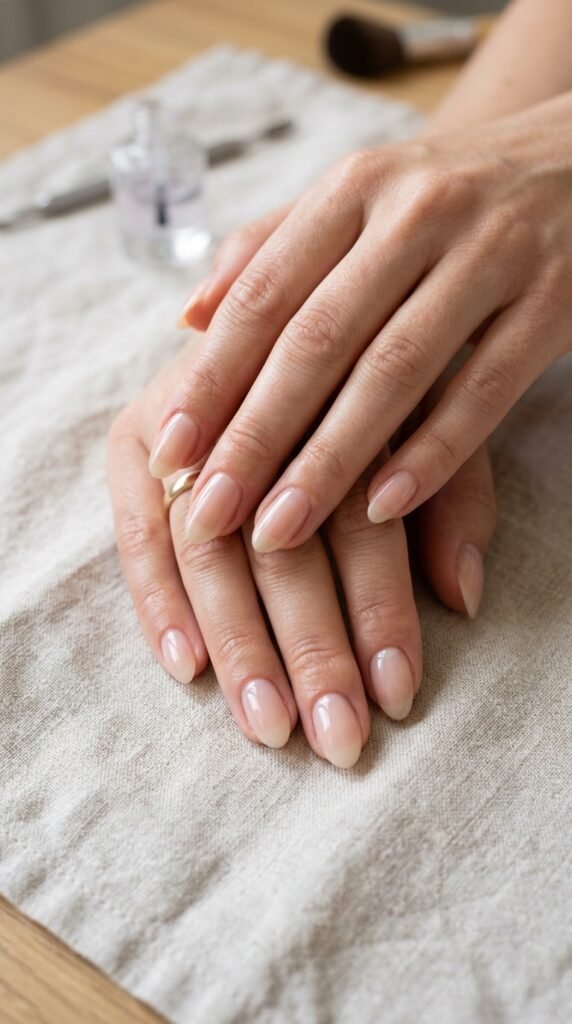
Prep Your Nails Like a Professional
Beautiful nail art starts with a flawless canvas. Follow these simple steps:
- Remove old polish – Make sure nails are clean and free of residue.
- Shape your nails – Use a nail file to achieve your desired shape—square, oval, or almond.
- Push back cuticles – Gently push them back with a cuticle stick; avoid cutting if possible.
- Apply a base coat – This prevents staining and gives your polish a smooth surface.
Pro Tip: A quick soak in warm, soapy water for 5–10 minutes softens cuticles and makes nail prep much easier.
Master Simple Nail Art Techniques
Once your nails are prepped, it’s time to play! Here are a few beginner-friendly techniques that look professional:
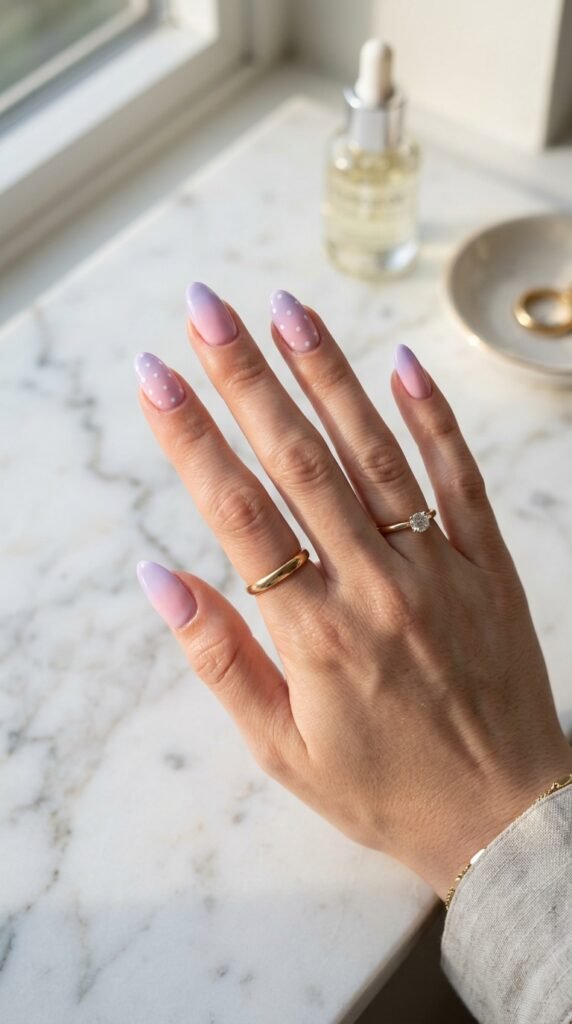
- Polka Dots: Use a dotting tool or the back of a bobby pin. Dip in polish and gently press onto your nails.
- Stripes & Lines: Use thin nail art brushes or nail tape to create perfect stripes.
- Gradient Nails: Apply two colors and use a makeup sponge to blend them for an ombre effect.
- Floral Designs: Start with a dot in the center, then create small petals around it using a fine brush.
Pro Tip: Less is more. Start with simple designs and gradually try complex patterns as your confidence grows.
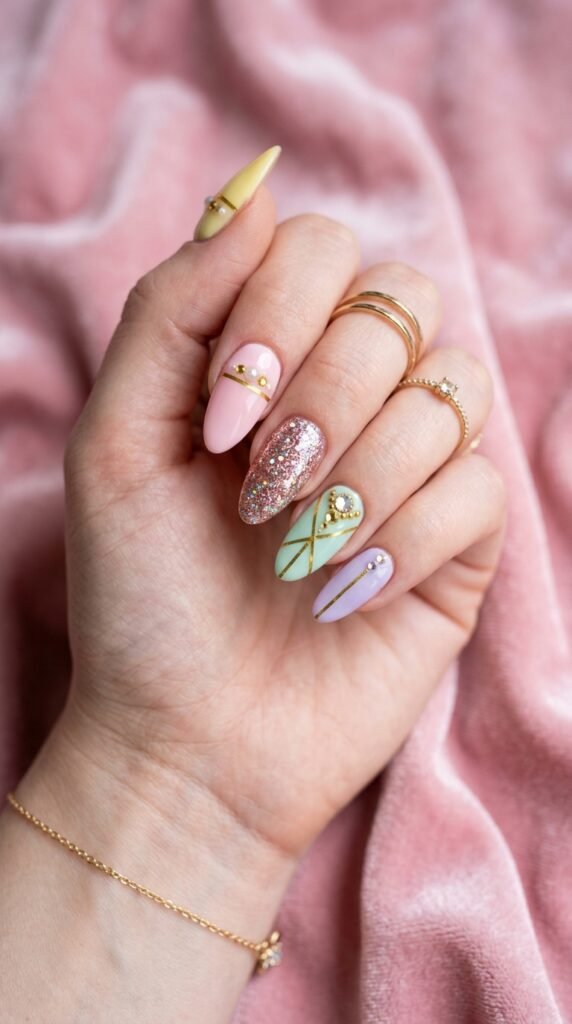
Add Glam with Accessories
If you’re looking to elevate your designs, consider accessories:
- Rhinestones & Gems: Place tiny gems with a dot of clear polish to secure them.
- Glitter Accents: Apply glitter polish on one or two accent nails for extra sparkle.
- Nail Stickers: Perfect for intricate designs like stars, hearts, or abstract patterns.
- Metallic Strips: Use for geometric patterns or borders on nails.
Pro Tip: Use tweezers for precise placement of gems or stickers—it avoids smudges and keeps your design neat.
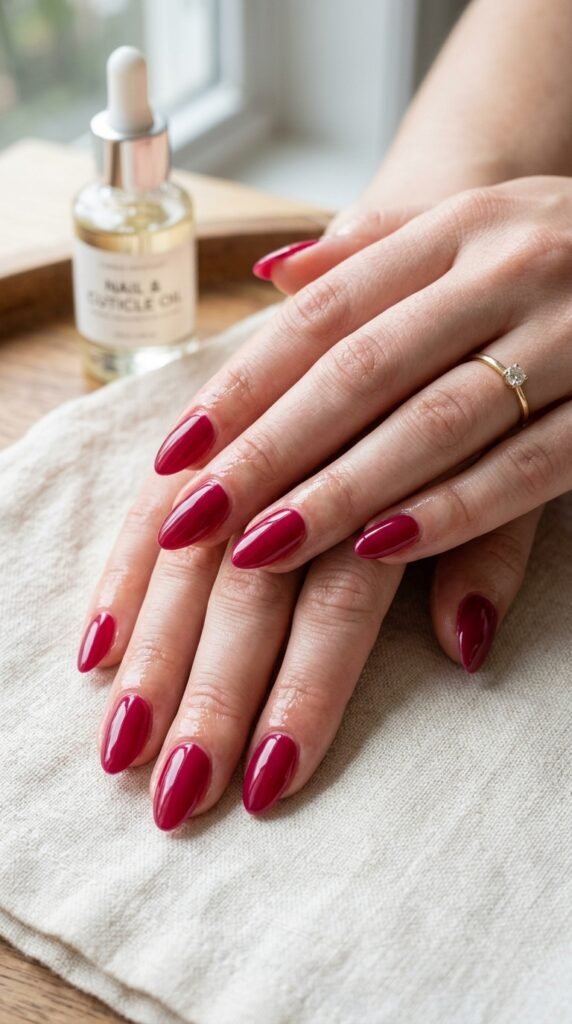
Seal and Maintain Your Masterpiece
Once your design is complete, protecting it ensures your hard work lasts:
- Apply a top coat – This locks in your design and adds a glossy finish.
- Allow nails to dry completely – Avoid rushing; a slow, steady approach prevents smudges.
- Moisturize – Keep cuticles healthy with nourishing oil or cream.
Maintenance Tips:
- Wear gloves when doing chores to protect your nails.
- Reapply top coat every 2–3 days for longevity.
- Avoid using nails as tools—they’re more fragile than they look!
Final Thoughts
Nail art is all about experimenting, having fun, and expressing your personal style. Start simple, gather inspiration from social media or magazines, and soon your home creations will rival salon designs. Once you’ve mastered the basics, you can mix patterns, try bold colors, and even create seasonal or themed designs.
Save this guide for your next self-care day, and let your nails do the talking!

Leave a Reply