
Want salon-worthy nails without spending a fortune? You are not alone. With a few budget tools and some creativity, you can create stunning nail art right from your bedroom. The best part is that cheap nail art at home is easier than most beginners think.
Whether you are getting ready for an event or just love cute nails, this step-by-step guide will help you achieve beautiful results without breaking the bank.
Why Do Nail Art at Home?
Before we jump into the steps, here is why DIY nail art is totally worth it:
- Saves money on salon visits
- Lets you experiment with your own style
- Works on your schedule
- Becomes a fun and relaxing hobby
Once you get the basics right, you will rarely feel the need to pay salon prices again.
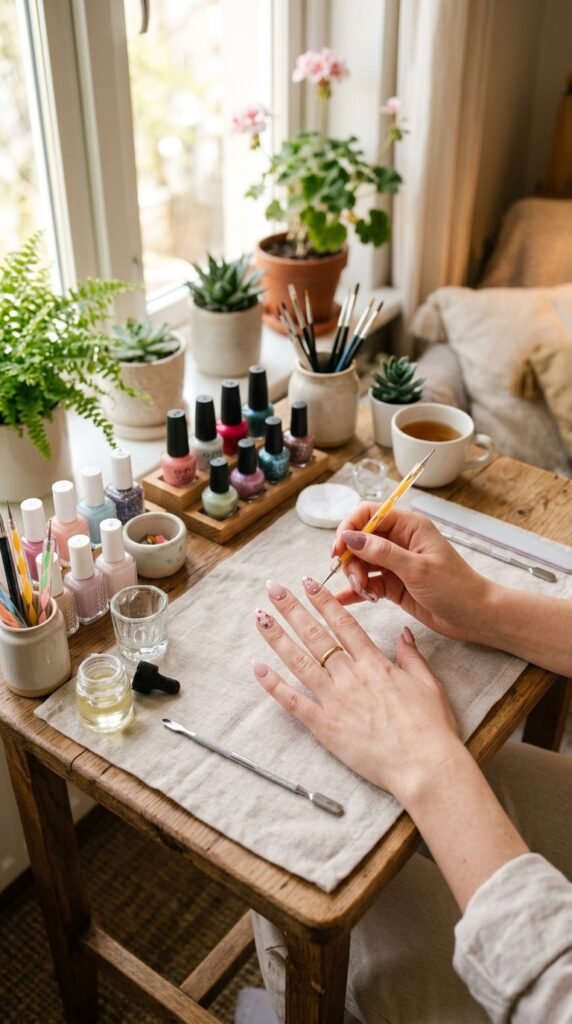
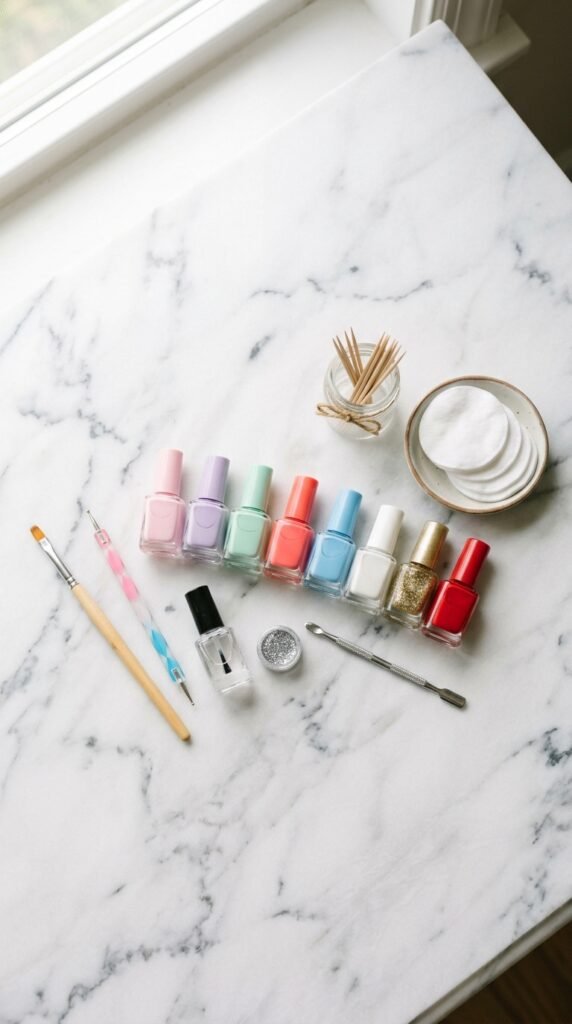
Step 1: Gather Budget-Friendly Nail Art Supplies
You do not need expensive professional kits. Many amazing nail looks come from simple, low-cost items.
Basic must-haves:
- Base coat and top coat
- 2 to 4 nail polish colors
- Toothpicks or bobby pins for dotting
- Small thin brush (or eyeliner brush)
- Nail polish remover
- Cotton pads
Optional but helpful:
- Nail tape
- Glitter polish
- Makeup sponge
Money-saving tip: Dollar stores and local cosmetic shops often carry perfectly good nail polishes for beginners.
Step 2: Prep Your Nails Properly
Great nail art starts with good preparation. Do not skip this step if you want a clean finish.
Follow this quick prep routine:
- Remove any old polish
- Trim and file nails evenly
- Push back cuticles gently
- Wash and dry hands
- Apply a thin base coat
The base coat protects your natural nails and helps polish last longer.
Step 3: Start With Easy Beginner Designs
If you are new, keep it simple. You can create beautiful nails using very basic techniques.
Easy ideas to try first:
- Polka dots
- Accent nail
- Glitter tips
- Color blocking
- Simple stripes
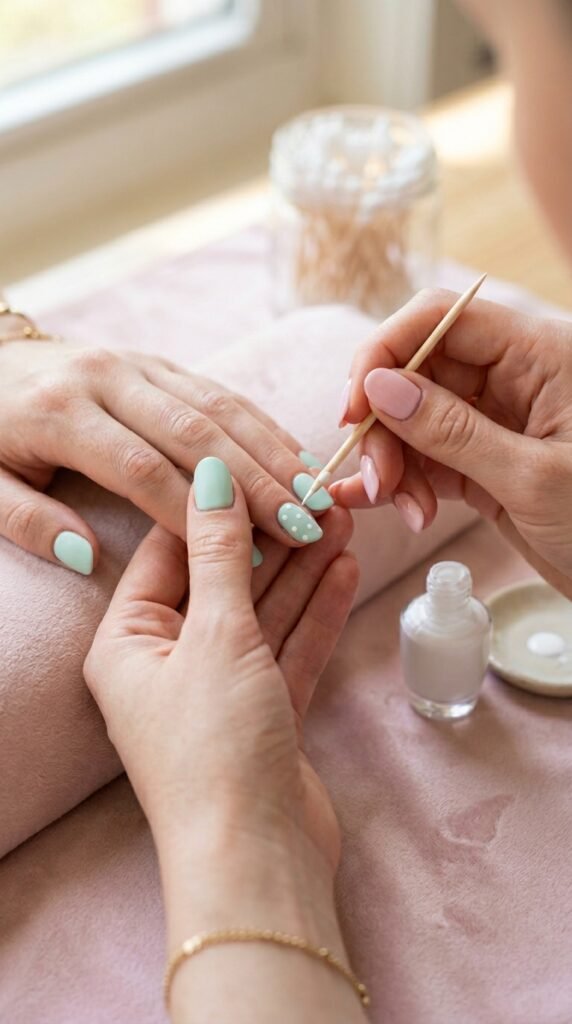
How to make simple dots:
- Paint your base color and let it dry
- Dip toothpick or bobby pin into polish
- Gently press dots onto nails
- Seal with top coat
This is one of the cheapest and cutest nail art methods.
Step 4: Use Household Items for Creative Effects
Here is where cheap nail art gets really fun. Many everyday items can create professional-looking designs.
Try these household hacks:
- Sponge: creates ombre nails
- Tape: makes clean geometric lines
- Plastic wrap: gives marble effect
- Bobby pin: perfect dotting tool
- Old makeup brush: works for nail art lines

Pro tip: Always dab lightly with the sponge to avoid thick polish buildup.
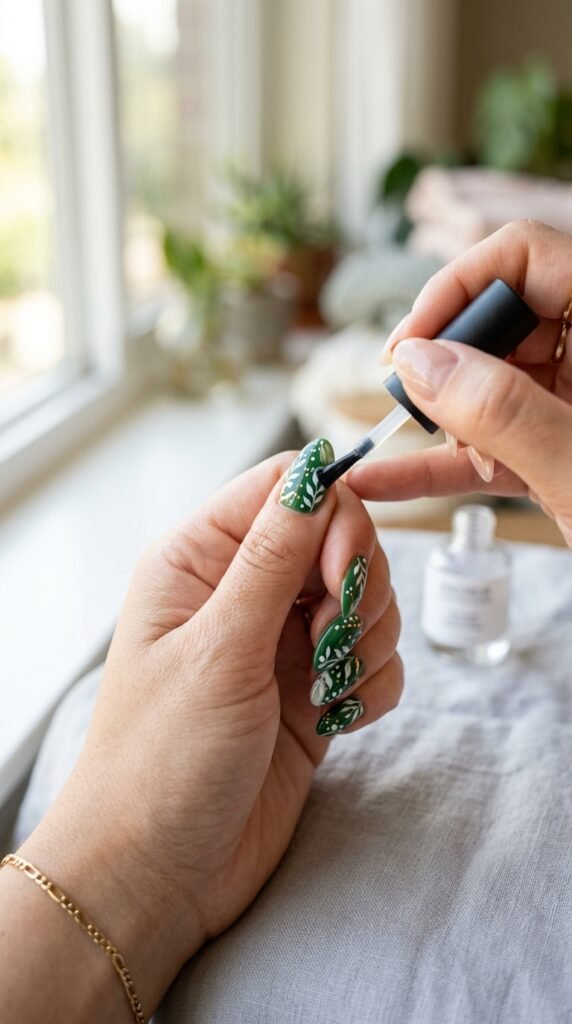
Step 5: Seal Everything With a Good Top Coat
This is the secret step many beginners forget.
A top coat:
- Adds shine
- Prevents chipping
- Smooths the design
- Makes nails look professional
Apply one thin, even layer and let your nails dry completely.
Common Mistakes to Avoid
Even simple nail art can go wrong if you rush. Watch out for these beginner mistakes:
- Applying thick polish layers
- Not letting layers dry
- Skipping base coat
- Overloading the sponge
- Touching nails too soon
Quick fix: If you smudge a nail, dip a thin brush in remover and gently clean the edges.
Budget Tips to Save Even More Money
Want to keep your nail art hobby super affordable? Try these smart tips:
- Buy mini polish bottles
- Use multipurpose tools (toothpicks, pins)
- Mix old polishes to create new shades
- Practice on one accent nail first
- Shop during cosmetic sales
Remember, creativity matters more than expensive products.
Final Thoughts
Doing nail art at home cheaply is not only possible, it is actually fun and addictive. With a few low-cost tools and a little patience, you can create designs that look straight out of a salon.
Start simple, practice often, and do not be afraid to experiment with colors and patterns. Your skills will improve faster than you expect.
Save this guide for later and try your first DIY nail art today!

Leave a Reply