
Ready to turn your nails into tiny works of art without buying fancy tools? You are in the right place. Needle nail art is one of the easiest and most budget friendly ways to create beautiful swirls, flowers, and marble effects right at home. With just a sewing needle and a little creativity, you can achieve salon worthy nails in minutes.
What Is Needle Nail Art
Needle nail art is a simple technique where you use a fine needle to drag, swirl, or dot wet nail polish to create intricate patterns. It works best while the polish is still wet, allowing you to blend colors smoothly.
Why people love it:
- No expensive tools required
- Beginner friendly
- Endless design possibilities
- Perfect for DIY nail lovers
Whether you want cute flowers or trendy marble nails, this method makes it surprisingly easy.
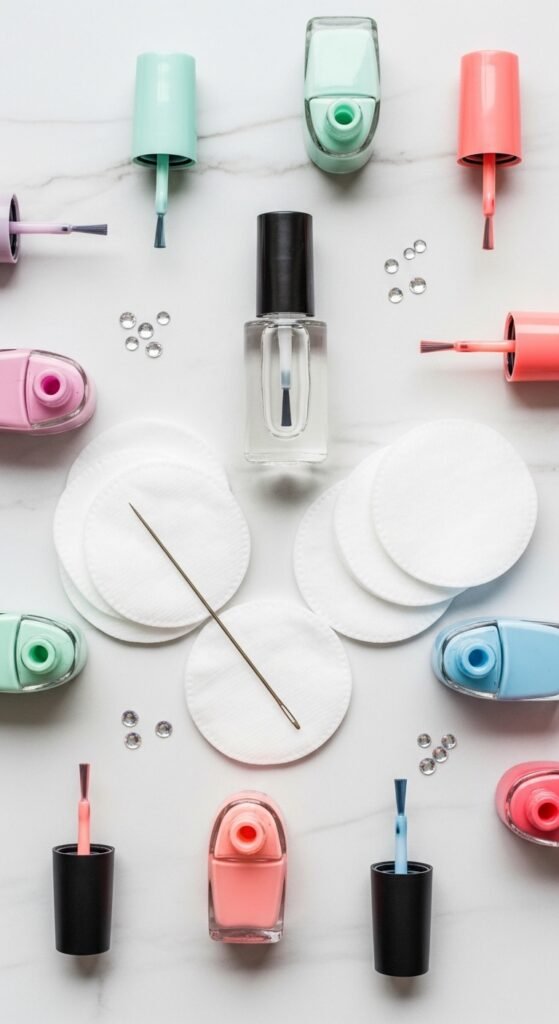
Tools and Materials You Will Need
Before you start, gather everything so the process stays smooth and mess free.
Essentials:
- Base coat
- Two or more nail polish colors
- Sewing needle or toothpick
- Top coat
- Nail polish remover
- Cotton buds
- Tissue or paper towel
Optional but helpful:
- Nail tape
- Dotting tool
- Cuticle oil
Step by Step Guide to Needle Nail Art
Follow these simple steps to create your first needle nail design.
Step 1 Prepare Your Nails
Good prep makes a huge difference.
- Remove old polish
- Trim and file nails
- Push back cuticles gently
- Apply a thin base coat
Let the base coat dry completely before moving on.
Pro tip: Clean nails help polish stick better and last longer.
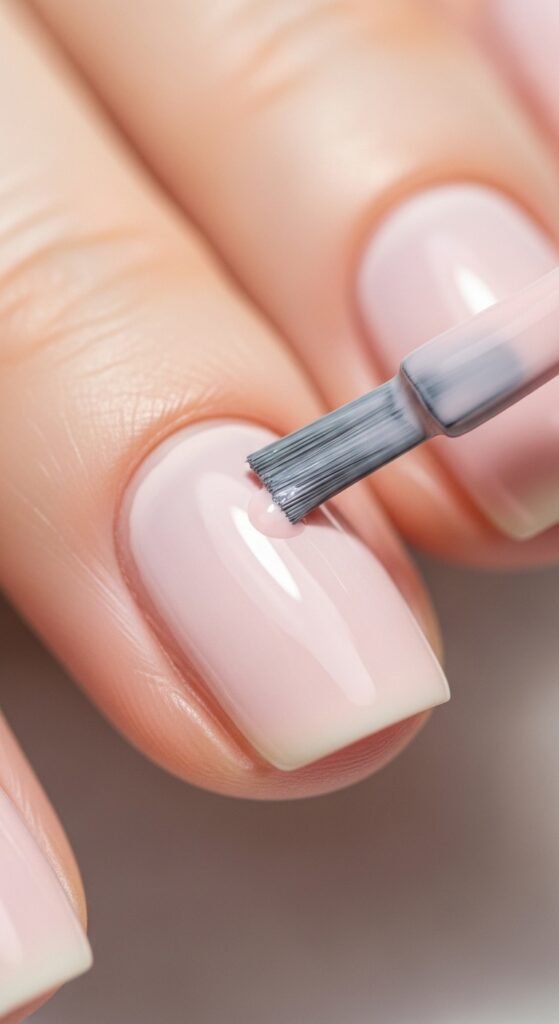
Step 2 Apply Your Base Color
Choose a light or neutral base color for best results.
- Apply one thin coat
- Let it dry
- Apply a second coat if needed
Make sure the final layer is smooth because your design will sit on top of it.
Step 3 Add Drops of Second Color
Here is where the magic begins.
While your base polish is still slightly wet or after adding a fresh wet layer:
- Add small dots or lines of a different color
- Work quickly so the polish does not dry
- Use contrasting colors for bold designs
Do not overload the nail with polish. Small amounts work best.
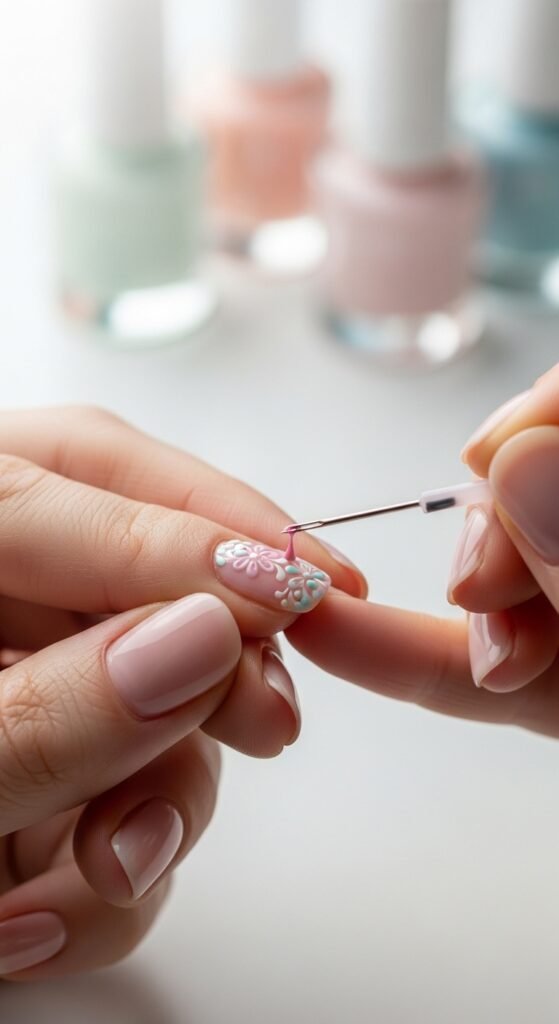
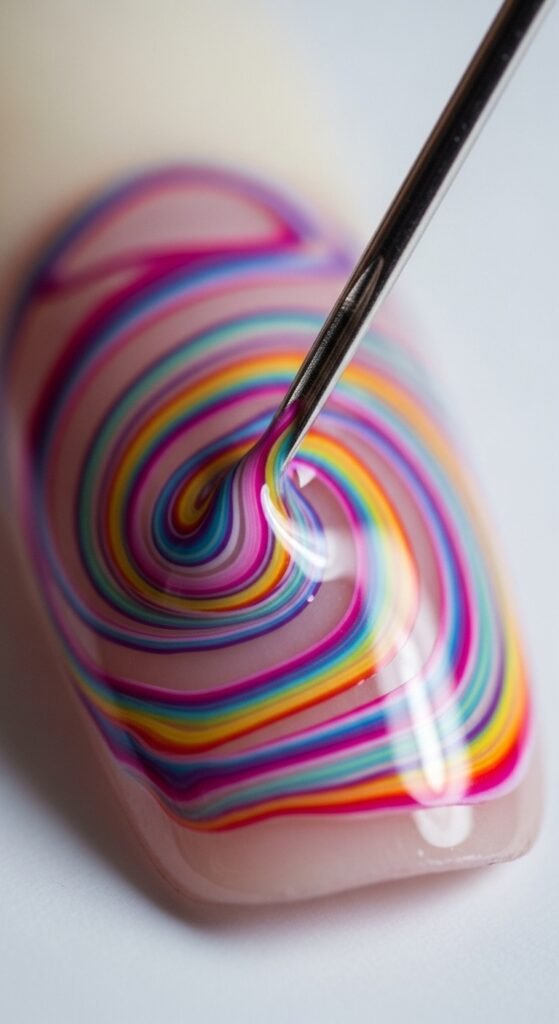
Step 4 Create Designs Using the Needle
Take your needle and gently drag through the wet polish.
Popular beginner patterns:
- Swirls
- Hearts
- Flowers
- Marble effect
- Feather patterns
How to do it:
- Hold the needle lightly
- Drag slowly through the polish
- Wipe the needle after each stroke
- Work nail by nail
Important: Do not press too hard or you may scratch the nail.
Step 5 Let It Dry and Seal
Once you are happy with the design:
- Allow nails to dry fully
- Apply a generous top coat
- Clean edges with remover and cotton bud
The top coat smooths the design and adds shine.
Easy Needle Nail Art Ideas for Beginners
If you are not sure what to try first, start with these simple designs.
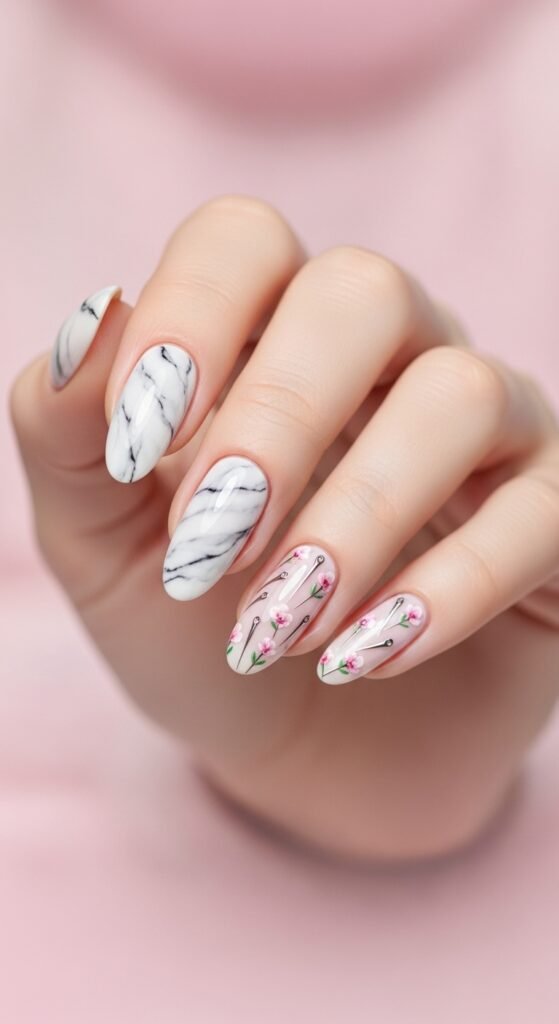
Simple Marble Nails
- Apply white base
- Add tiny drops of two colors
- Drag needle randomly
- Seal with top coat
Cute Flower Design
- Add five small dots in a circle
- Drag needle from outer edge to center
- Add a tiny dot in the middle
Elegant Swirl Pattern
- Paint thin lines of two colors
- Gently swirl with needle
- Keep movements light and fluid
Pro Tips for Perfect Results
Want salon level results? Keep these tips in mind.
- Work quickly while polish is wet
- Use thin layers of polish
- Clean your needle often
- Practice on paper first
- Start with simple patterns
- Use contrasting colors for visibility
Common mistakes to avoid:
- Using too much polish
- Waiting too long before dragging
- Pressing the needle too hard
- Skipping the top coat
How to Make Your Nail Art Last Longer
Beautiful nails should stay beautiful.
To extend wear time:
- Always use base and top coat
- Avoid hot water for the first few hours
- Apply cuticle oil daily
- Wear gloves during cleaning
- Reapply top coat every 2 to 3 days
These small habits make a big difference.
Final Thoughts
Needle nail art proves you do not need expensive tools to create stunning nails at home. With a little patience and practice, you can design swirls, flowers, and marble effects that look professionally done.
Try one design today and watch your creativity grow. Save this guide for later and share it with a friend who loves DIY beauty.

Leave a Reply