
If you’ve ever looked at those intricate nail designs online and thought, “There’s no way I could do that!”, think again. You don’t need fancy tools or expensive nail art kits to create stunning, professional-looking designs. All you really need is a simple bobby pin—a hair staple that doubles as a surprisingly versatile nail art tool. From polka dots to stripes, you can turn your nails into mini canvases with just a little creativity and patience.
Let’s dive into how to transform an everyday bobby pin into your ultimate nail art companion.
Why a Bobby Pin Works Wonders for Nail Art
Before we get hands-on, it’s worth understanding why a bobby pin is such a handy tool for nail art:
- Tiny Precision Tip: The rounded end allows you to create small, consistent dots.
- Dual Function: Use the rounded end for dots and the straight edge for lines or patterns.
- Affordable and Accessible: Everyone has one lying around at home.
- Easy to Clean: Just wipe it with nail polish remover and you’re ready for a new design.
Using a bobby pin can actually help you explore creative designs without investing in professional brushes or dotting tools. Plus, experimenting is half the fun!
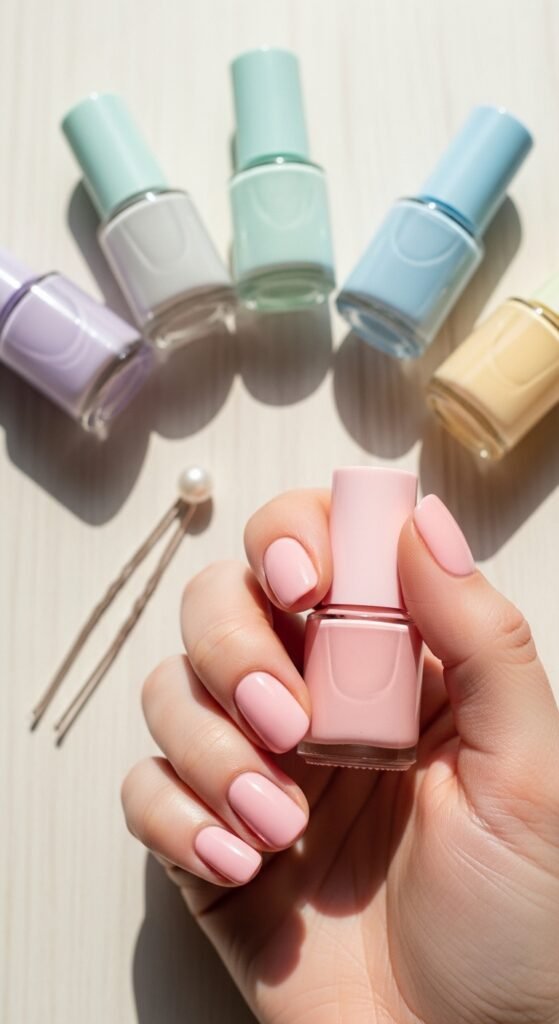
Step 1: Gather Your Supplies
To start, you’ll need just a few simple items:
- Nail polish in your favorite colors (base color + design colors)
- A bobby pin (preferably one with a rounded end)
- Cotton balls or pads
- Nail polish remover
- A small piece of foil or plastic for dipping the bobby pin
- Clear topcoat for sealing your designs
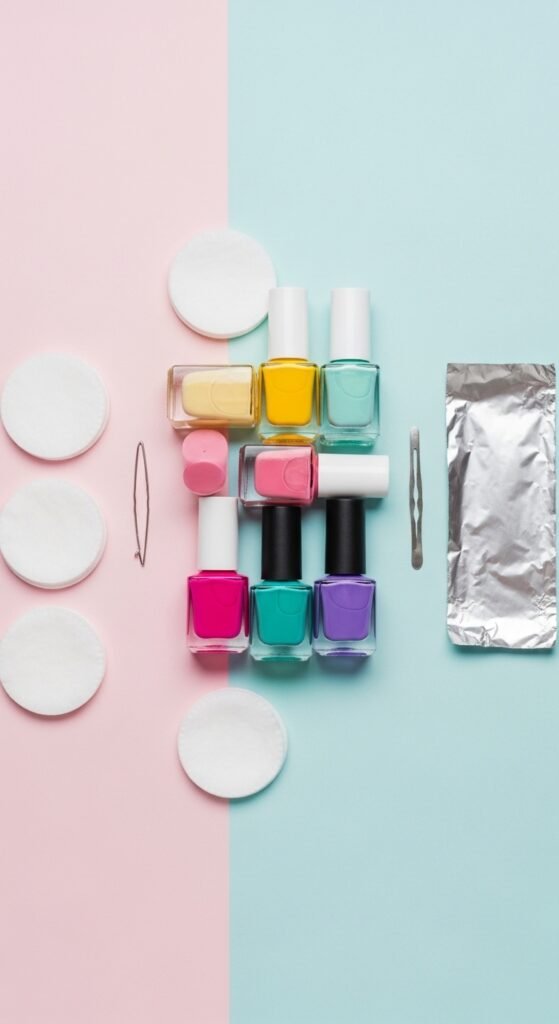
Having everything ready will make the process smoother and more enjoyable.
Step 2: Prep Your Nails
Good nail art starts with a clean, smooth canvas:
- Trim and shape your nails using a nail clipper and file.
- Push back cuticles gently to avoid polish smudges.
- Clean your nails with a cotton pad and nail polish remover to eliminate oils.
- Apply a base coat to protect your nails and help the color adhere better.
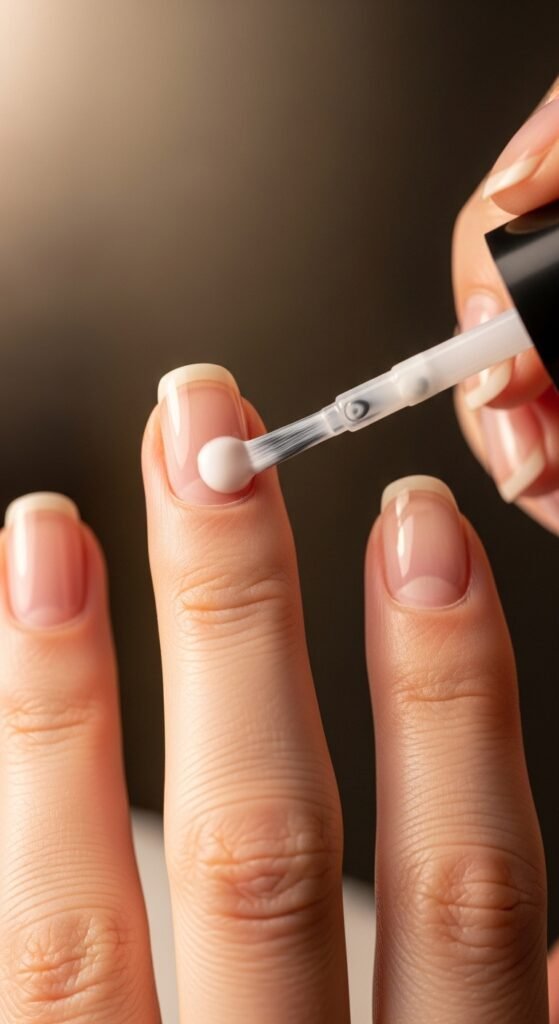
A clean base ensures your designs last longer and look polished.
Step 3: Create Dots with the Bobby Pin
Dots are a classic, easy nail art design:
- Dip the rounded end of the bobby pin into your nail polish.
- Gently press onto your nail to form a dot.
- Repeat for the desired pattern—random dots, straight lines, or cluster designs.
- Clean the bobby pin with a cotton pad or tissue dipped in remover to switch colors.
Tip: Start with small dots and gradually make them bigger if desired. Experimenting with different dot sizes creates a more dynamic look.

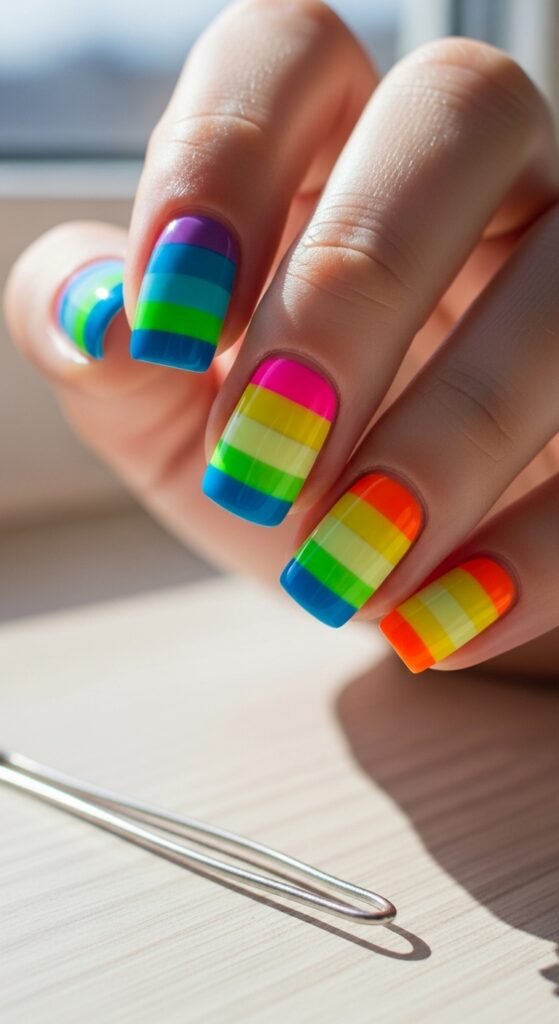
Step 4: Draw Lines or Stripes
A bobby pin isn’t just for dots—you can also create lines:
- Use the straight side of the bobby pin or slightly bend the rounded end to make thin stripes.
- Lightly drag it across your nail in horizontal, vertical, or diagonal lines.
- Combine colors for a striped rainbow effect.
Pro Tip: Lay a small piece of scotch tape on your nail as a guide for straight lines if freehand feels tricky.
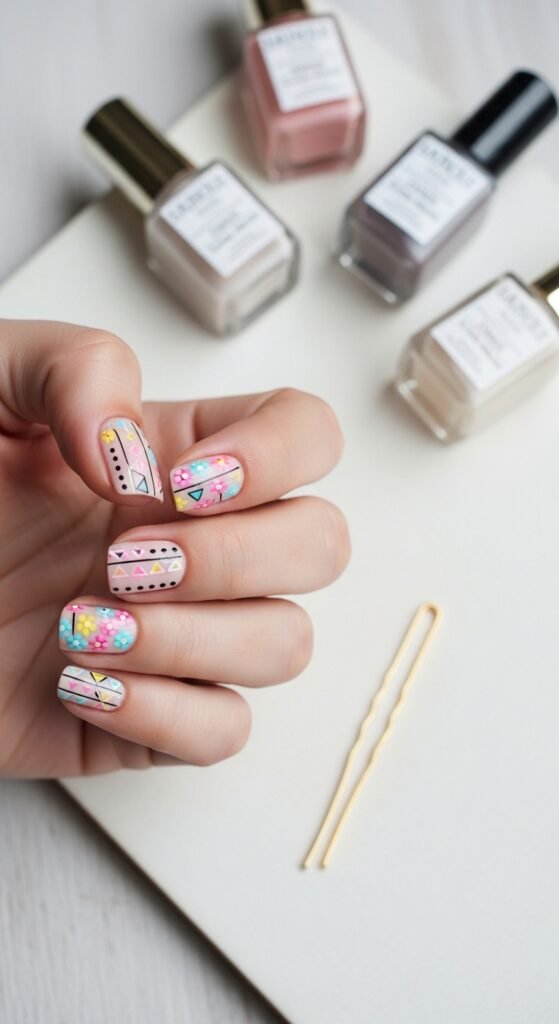
Step 5: Experiment with Patterns
Once you’ve mastered dots and lines, mix and match:
- Flowers: Cluster small dots in a circle.
- Hearts: Use two dots and drag them into a heart shape with the bobby pin tip.
- Geometric designs: Combine lines and dots for triangles or chevron patterns.
The key is to have fun and let your creativity flow—imperfections add character to your designs.
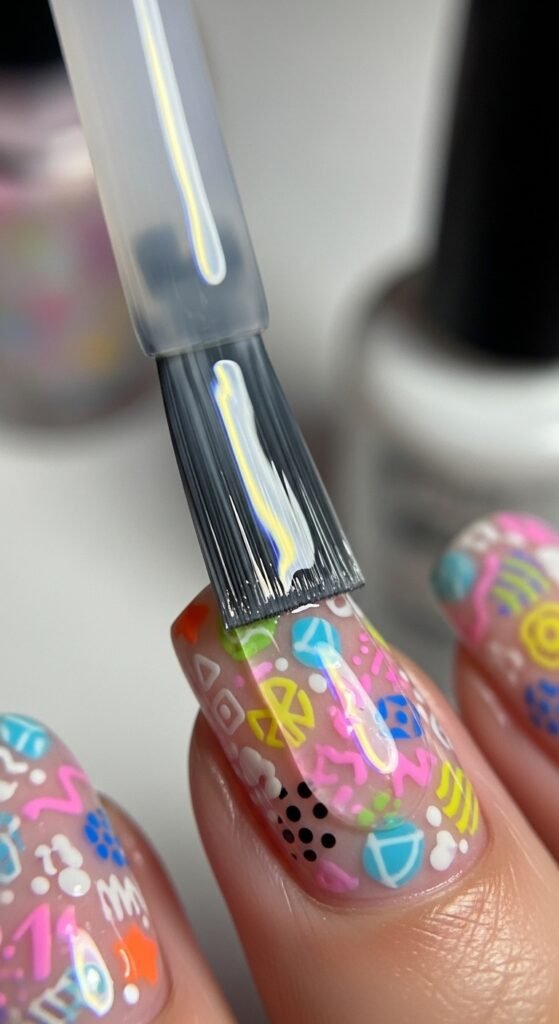
Step 6: Seal Your Design
To ensure your hard work lasts:
- Wait 10–15 minutes for the polish to dry completely.
- Apply a clear topcoat over the entire nail.
- Let the topcoat dry for at least 20 minutes to prevent smudging.
A topcoat not only seals the design but also gives your nails a glossy, salon-quality finish.
Final Tips for Perfect Bobby Pin Nail Art
- Always clean the bobby pin between color changes.
- Use small amounts of polish on the bobby pin to avoid blobs.
- Practice on a sheet of paper first to get a feel for pressure and pattern spacing.
- Have a napkin or cotton swab ready for quick cleanups.
With just these simple tricks, your bobby pin becomes an all-in-one nail art kit, perfect for experimenting at home.
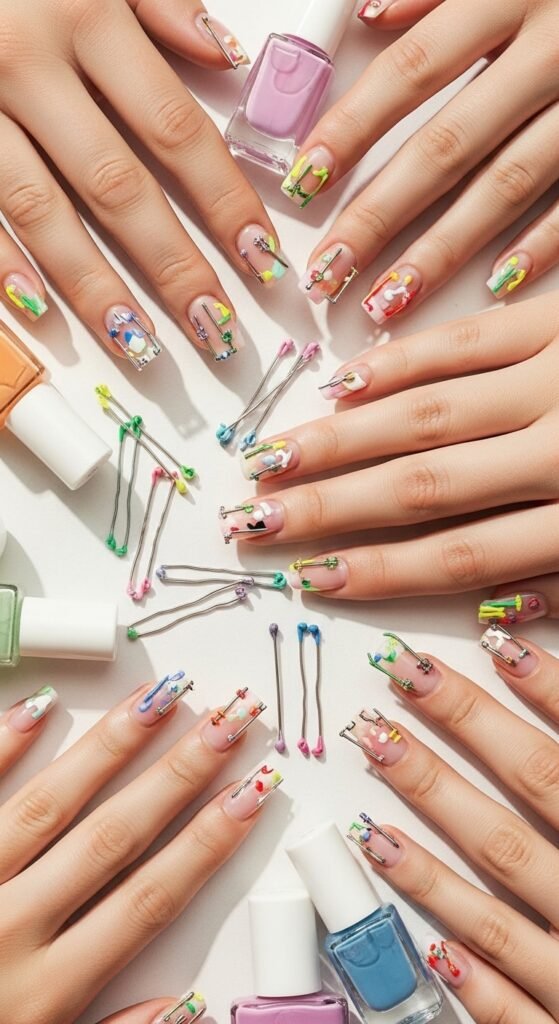
Your Mini Nail Art Studio
With a little patience, a bobby pin, and your favorite colors, you can create endless designs that look chic, playful, or elegant—without leaving the house. So next time you pick up that bobby pin, remember: it’s not just for hair anymore.
Save this guide, gather your polishes, and let your nails tell your story—one dot, stripe, or flower at a time!

Leave a Reply