
Who doesn’t love the idea of rocking some beautiful nail art? However, constantly shelling out money at the salon can become a burden, especially when you want to try out new designs without breaking the bank. The good news? You can do stunning nail art at home with a few simple, low-cost materials! Let’s dive into how you can create beautiful designs right at home, without spending a dime on expensive nail polish or tools.
Step 1: Gather Your Materials
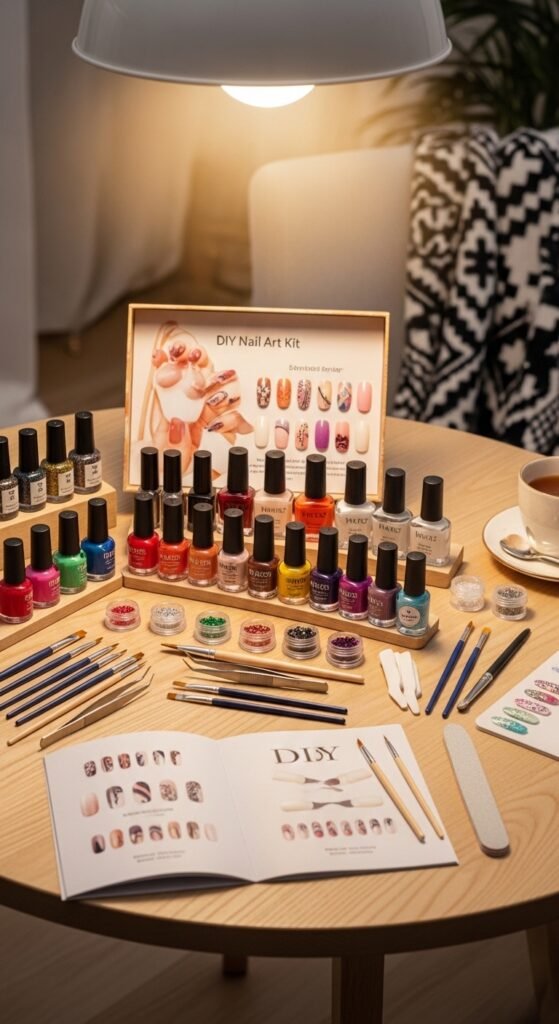
Before you start, you’ll need a few essentials that you probably already have at home. You don’t need to spend a lot to create beautiful designs. Here’s what you’ll need:
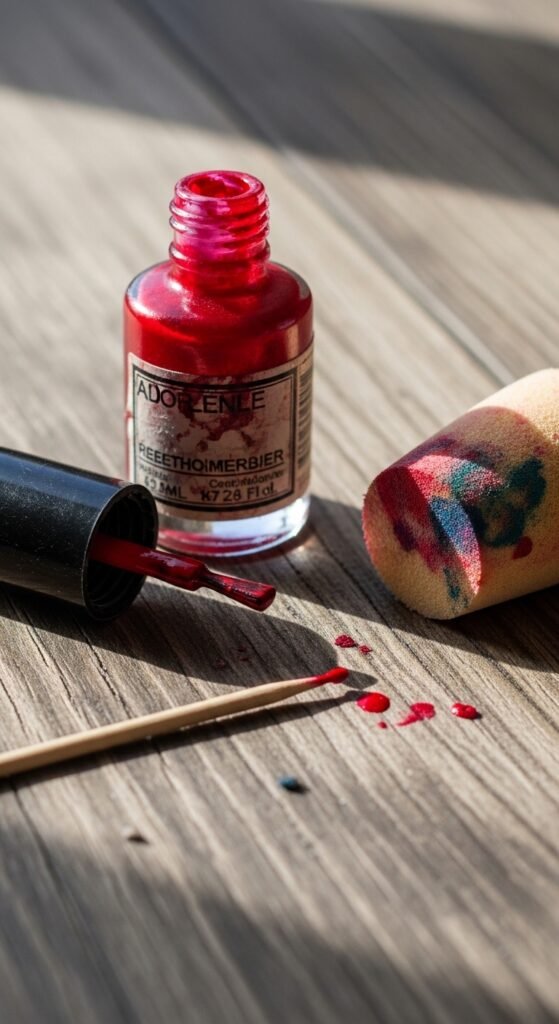
- Old Nail Polishes: You don’t have to buy new colors. Dig through your nail polish collection, even the ones you don’t use often. Mixing shades can lead to new, creative looks.
- Toothpicks or a Needle: These make great tools for creating intricate designs like dots, lines, or even tiny flowers.
- Tape: If you want clean lines or stripes, tape can help create a smooth edge.
- Makeup Sponges: These are fantastic for gradient effects. You can even use a sponge from an old makeup kit if you don’t have a fresh one lying around.
- Cotton Swabs: For cleaning up any mistakes around your cuticles.
Step 2: Prep Your Nails
Preparation is key to getting a professional-looking finish. Here’s how you can do it for free:
- Clean Your Nails: Use a bit of rubbing alcohol or nail polish remover to ensure there’s no dirt or oil left on your nails.
- Trim and Shape: If necessary, trim your nails and file them to your desired shape. This doesn’t cost a thing if you already have a nail clipper and file.
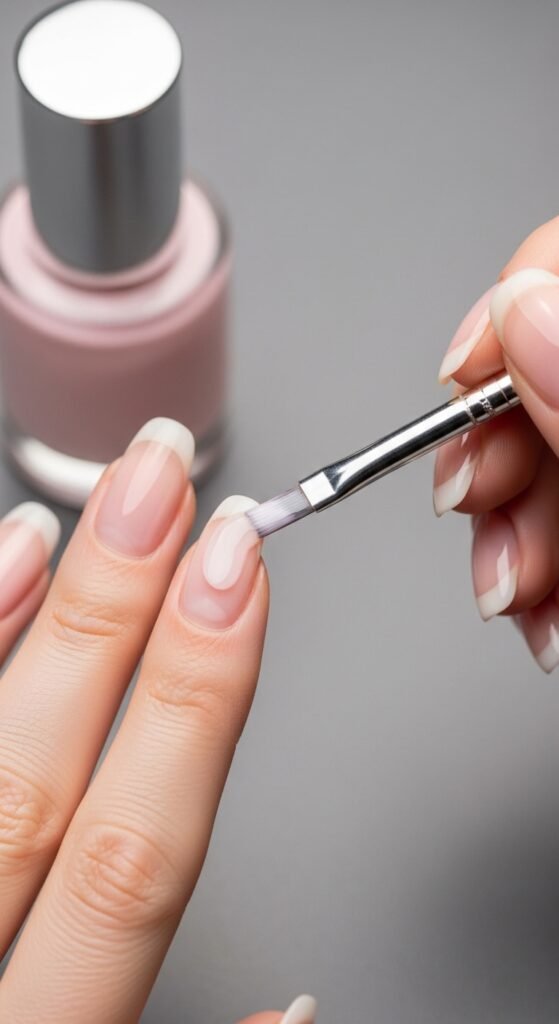
- Base Coat: You might already have a clear nail polish lying around, so use it as a base coat. It helps your design stay longer and gives a smooth surface to work with.
Step 3: Get Creative with Simple Nail Art Designs
Now for the fun part – designing your nails! Here are some easy and budget-friendly nail art ideas:
1. Polka Dots
Polka dots are super easy to create with just a toothpick or the tip of a needle. Here’s how:
- Paint your nails with one solid color as a base (think black, white, or even a pastel shade).
- Dip your toothpick into a contrasting color, and gently dot it on your nails in a random pattern.
- Make sure to let each layer dry before adding another dot to avoid smudging.
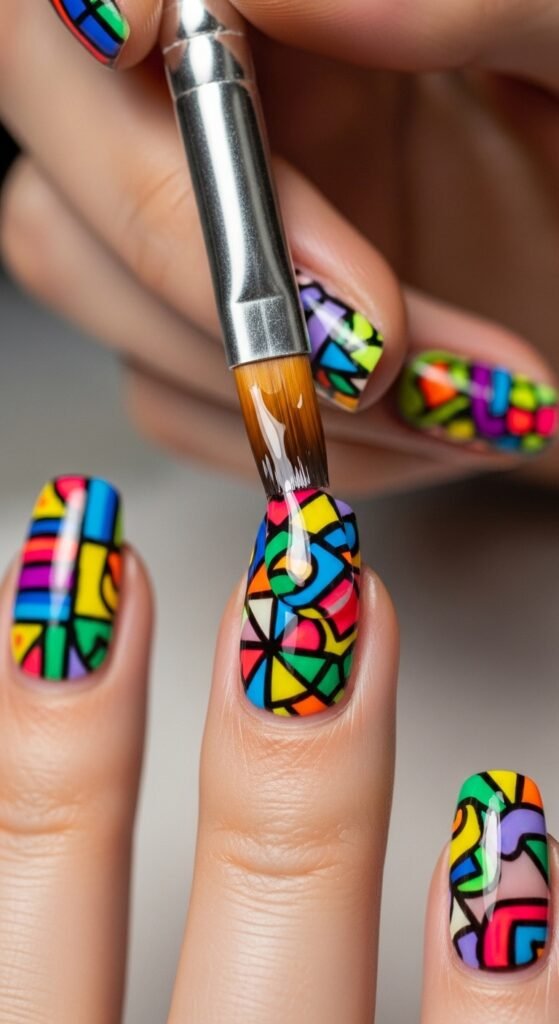
2. Stripes and Geometric Shapes
If you want clean lines, you can use tape to make perfect stripes. Just follow these steps:
- Apply a base coat, and let it dry completely.
- Cut thin strips of tape, and place them on your nails where you want the stripes.
- Paint over the entire nail with a contrasting color, and once it’s dry, carefully peel off the tape.
- You can create vertical, horizontal, or diagonal lines, and even mix multiple colors for a fun geometric look!
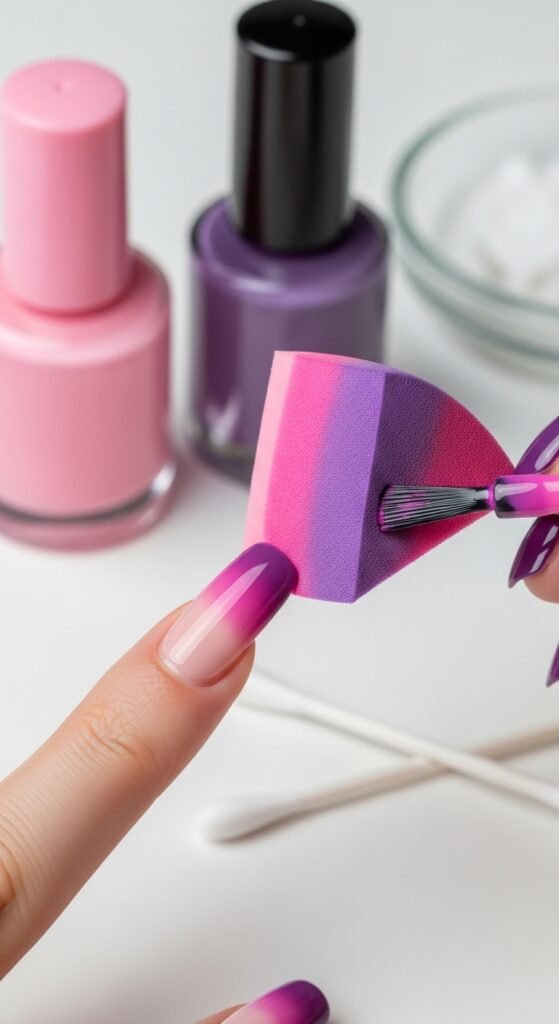
3. Gradient Nails
A gradient effect (or ombre) looks beautiful but is surprisingly easy to achieve with a makeup sponge.
- First, apply a base coat in a light color.
- Take a makeup sponge, and apply two contrasting colors of polish on it in a stripe (one next to the other).
- Gently dab the sponge onto your nail, starting from the tip and blending it down towards the base.
- Repeat this process to build up the gradient effect.
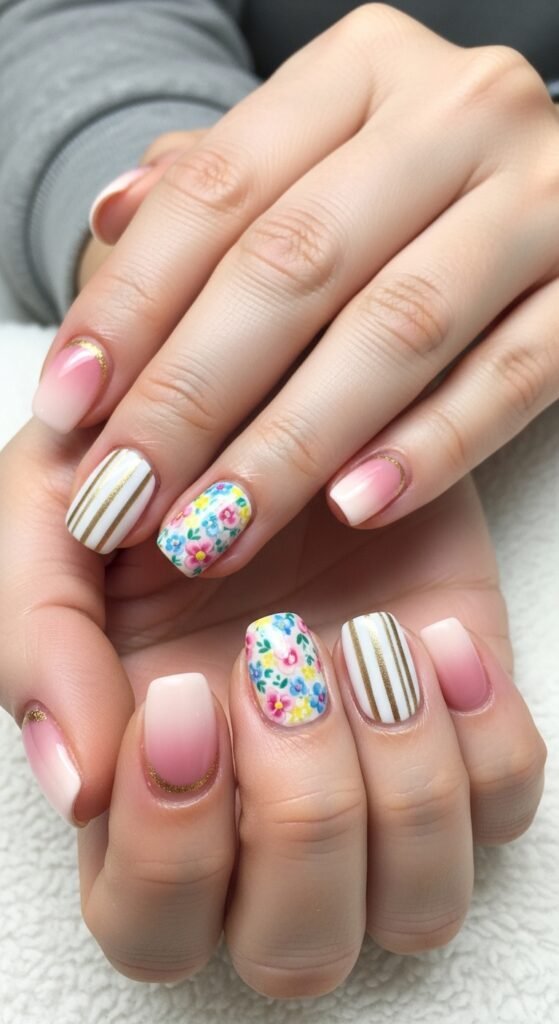
4. Floral Designs
Floral patterns are cute and delicate, and they can be made with a toothpick or even a dotting tool:
- Start by painting your nails with a light pastel color.
- Once dry, use a small dot of white (or any other contrasting color) to create the petals.
- Add tiny dots in the center of the flowers to complete the look.
Step 4: Seal Your Design
Once you’re happy with your artwork, it’s important to seal everything in place. Apply a clear top coat over your nail art to prevent chipping and give your nails a glossy finish. If you don’t have a top coat, you can use a layer of clear nail polish to protect your design.
Step 5: Clean Up
Now it’s time to clean up around your nails. If you made any mistakes with the polish, simply dip a cotton swab in nail polish remover and clean the edges for a polished finish.
Step 6: Enjoy Your New Nail Art!
And there you have it! You’ve just created your very own nail art without spending a penny. Enjoy your beautiful, custom-designed nails and show them off to your friends and family. The best part? You didn’t need to pay for expensive salon services to do it!
Pro Tip: Keep practicing, and soon you’ll be able to try more complicated designs, like marbling, stamping, or even hand-painted images. The possibilities are endless, and the more you practice, the better your skills will become.
Takeaway: Nail art doesn’t have to cost a lot of money to look fabulous. With some basic materials you already own, you can create stunning, unique designs right at home. Save this guide for later and get creative with your nails!

Leave a Reply