
Want salon-worthy nails without the salon price? You are in the right place. Nail art looks fancy, but with the right steps and a little patience, anyone can create beautiful designs at home. Whether you love minimalist dots or cute floral patterns, this beginner-friendly guide will walk you through the process step by step.
Step 1: Gather Your Nail Art Essentials
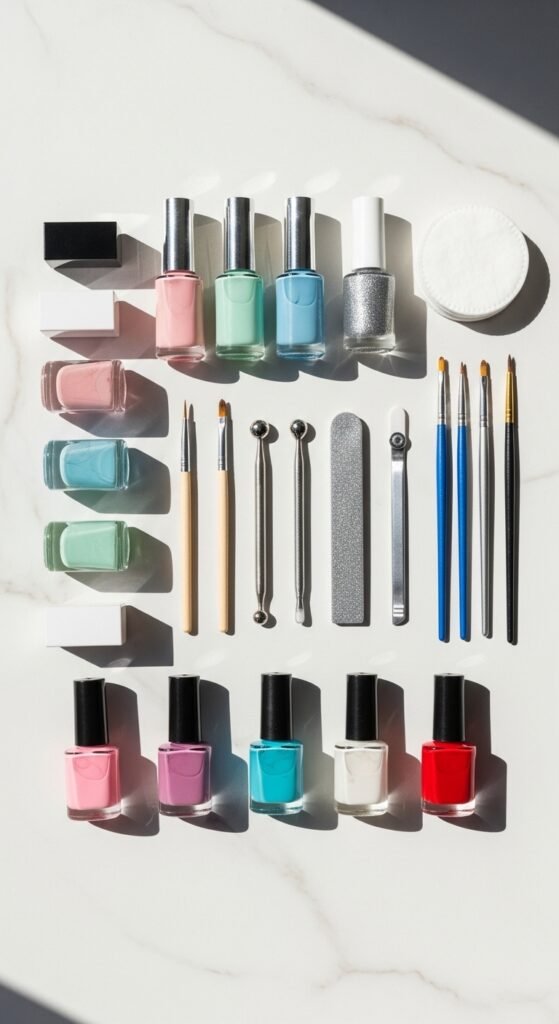
Before you start, make sure you have the right tools. Having everything ready makes the process smooth and stress free.
Basic supplies you need:
- Base coat
- Nail polish colors of your choice
- Top coat
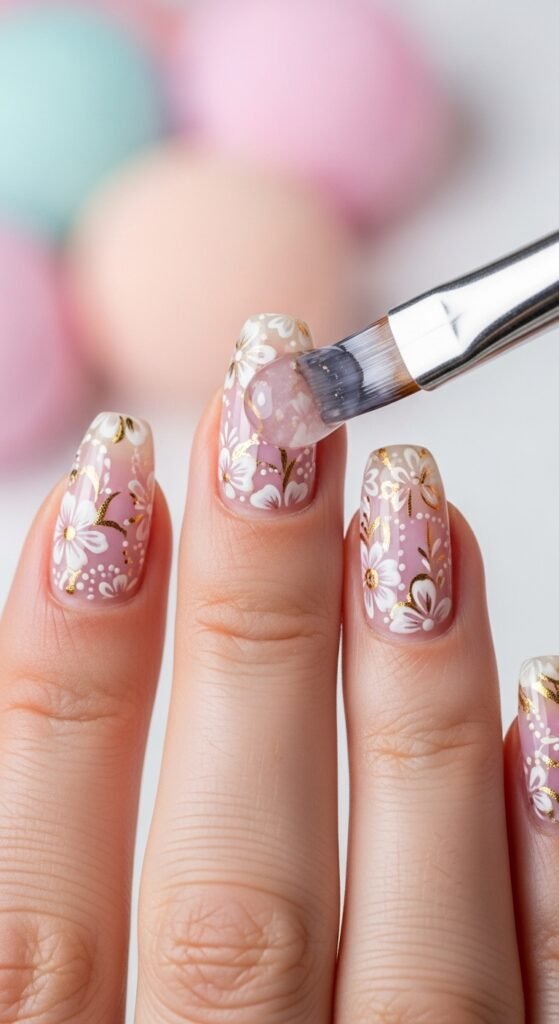
- Nail art brushes or dotting tools
- Toothpicks or bobby pins (budget alternative)
- Nail polish remover
- Cotton pads
- Cuticle pusher
Pro tip: If you are a beginner blogger like you in the nail art world, start with just 2 to 3 colors. Simple designs always look elegant.
Step 2: Prep Your Nails Properly
Great nail art always starts with proper nail preparation. Skipping this step is the biggest mistake beginners make.
Follow these quick prep steps:
- Remove old nail polish completely
- Trim and file nails to your desired shape
- Gently push back cuticles
- Wash hands and dry thoroughly
- Apply a thin base coat
The base coat protects your natural nails and helps polish last longer. Think of it as the foundation of your nail art.
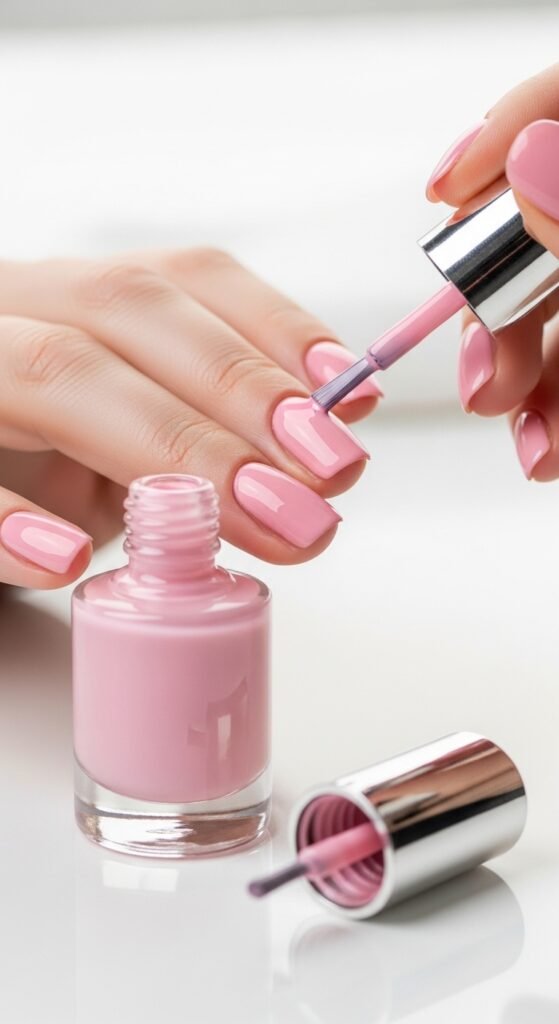
Step 3: Apply Your Base Color
Now comes the fun part. Choose your favorite base color and apply it evenly.
How to do it right:
- Apply thin layers instead of thick coats
- Let each coat dry before adding another
- Usually 2 coats give the best coverage
Beginner tip: Nude, pastel, or light pink shades are very forgiving and perfect for first-timers.
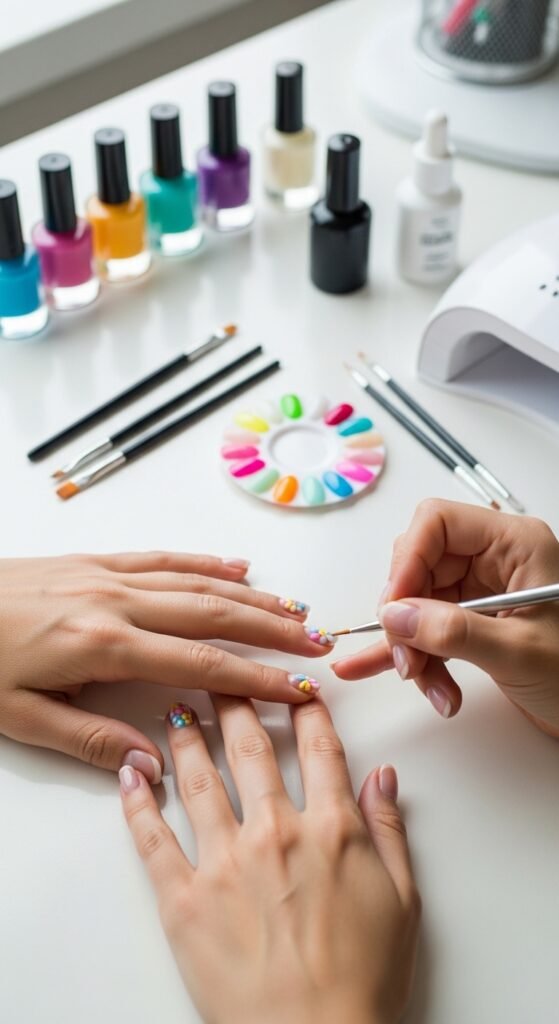
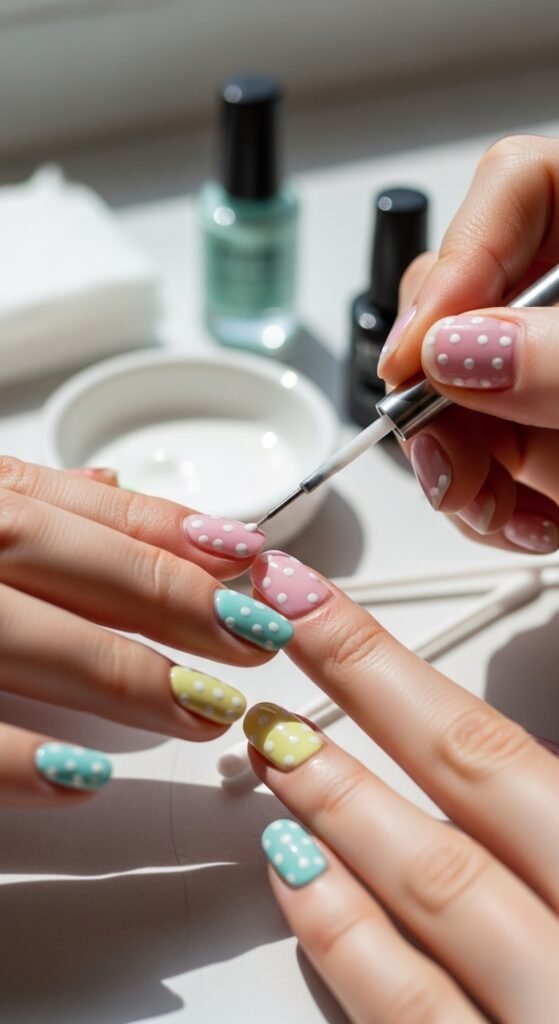
Step 4: Create Simple Nail Art Designs
You do NOT need to start with complicated patterns. Simple designs often look the most aesthetic and Instagram ready.
Easy design ideas for beginners
Dot design
- Dip a dotting tool or toothpick in polish
- Gently place dots on the nail
- Create patterns like flowers or polka dots
French tip twist
- Use tape as a guide
- Paint tips with a different color
- Remove tape carefully
Minimal lines
- Use a thin brush
- Draw straight or curved lines
- Keep the design clean and simple
Important: Work on one nail at a time to avoid smudging.
Step 5: Clean Up the Edges
This is the secret step that makes DIY nails look professional.
How to clean like a pro:
- Dip a thin brush in nail polish remover
- Carefully trace around the nail edges
- Remove any smudges on skin
- Take your time with this step
Clean edges instantly upgrade your nail art from homemade to salon level.
Step 6: Seal with a Top Coat
Never skip the top coat. It locks in your design and adds that glossy, professional finish.
Benefits of top coat:
- Prevents chipping
- Adds shine
- Smooths the surface
- Makes nail art last longer
Apply a thin, even layer and allow your nails to dry completely.
Bonus Tips for Perfect Nail Art
If you want your nail art to truly stand out, keep these quick tips in mind:
- Work in good lighting
- Be patient between layers
- Use thin coats only
- Practice on paper first
- Start with simple designs
- Keep cotton buds nearby for quick fixes
Real talk: Your first attempt may not be perfect, and that is completely okay. Nail art improves fast with practice.
Common Mistakes to Avoid
Even simple nail art can go wrong if you rush. Watch out for these beginner mistakes:
- Applying thick polish layers
- Not waiting for drying time
- Skipping the base coat
- Overloading the brush
- Trying complex designs too early
Keep it simple and clean, especially at the start.
Final Thoughts
Nail art at home is fun, creative, and surprisingly relaxing once you get the hang of it. With just a few tools and these simple steps, you can create beautiful nails anytime you want. Start small, practice regularly, and soon your designs will look absolutely stunning.
Save this guide for later and try your first nail art design today. Your perfect manicure is just a few brush strokes away. ✨

Leave a Reply