
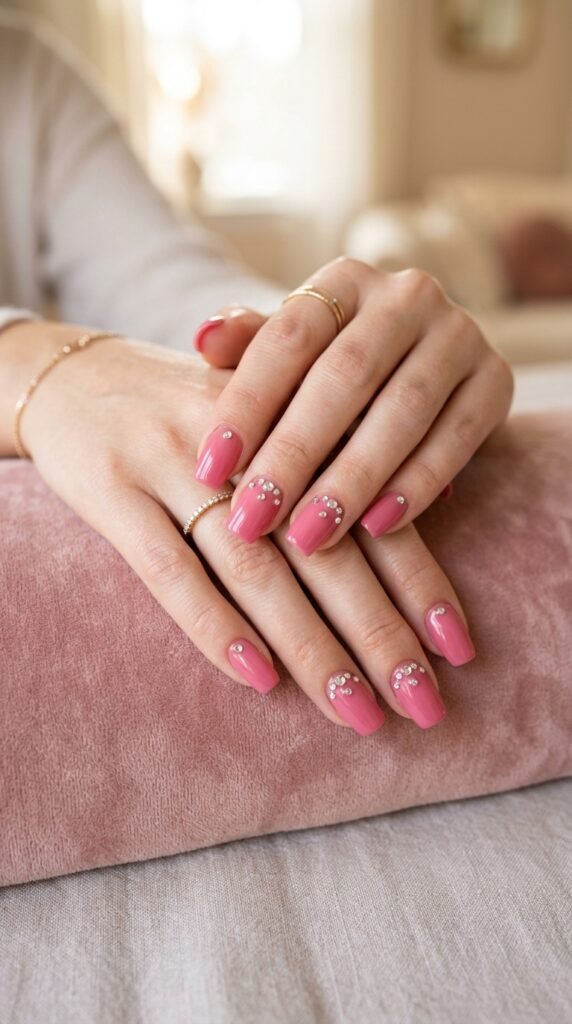
Want to turn your nails into dazzling works of art that sparkle with every gesture? Nail art with rhinestones is the perfect way to add glamour and personality to your manicure, whether you’re preparing for a special occasion or just treating yourself. With a few tools and some patience, you can achieve salon-quality results at home.
What You’ll Need for Rhinestone Nail Art
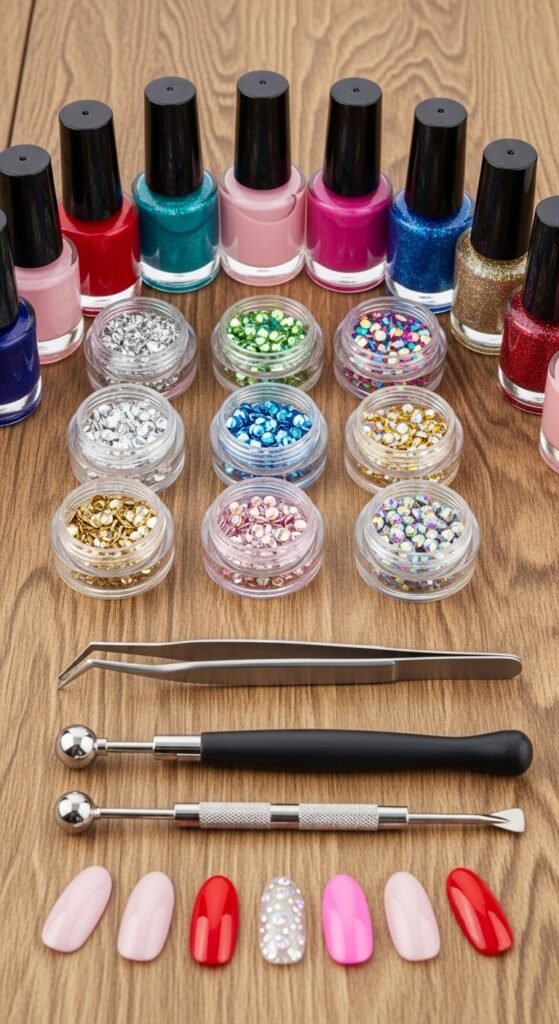
Before you start, gather all your supplies to make the process smooth and stress-free. Here’s a simple checklist:
- Base coat
- Nail polish (any color you like)
- Top coat (preferably clear gel for longevity)
- Small rhinestones (various sizes for creative designs)
- Nail glue or a strong clear top coat
- Dotting tool, toothpick, or tweezers
- Small dish or tray to organize rhinestones
Tip: Stick to a limited color palette for a cohesive look, and mix metallic and clear rhinestones for a little extra sparkle.
Step 1: Prep Your Nails
Start with a clean canvas to ensure your rhinestones stick well and your manicure lasts longer.
- Remove any old polish with nail polish remover.
- Trim and file nails to your desired shape.
- Push back cuticles gently.
- Apply a base coat to protect your nails and create a smooth surface.
Pro Tip: Buffing your nails lightly before applying polish helps the rhinestones adhere better.
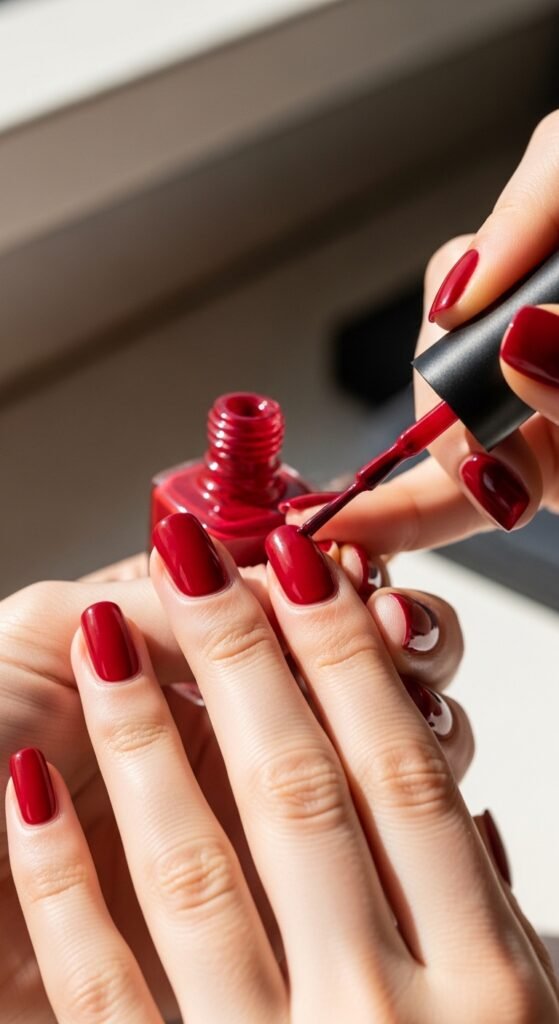
Step 2: Apply Nail Polish
Choose your base color and apply two thin, even coats. Allow each coat to dry completely before adding the next.
Pro Tip: For a bold effect, use dark shades like black or navy; for a subtle, elegant look, go with pastels or nude tones.
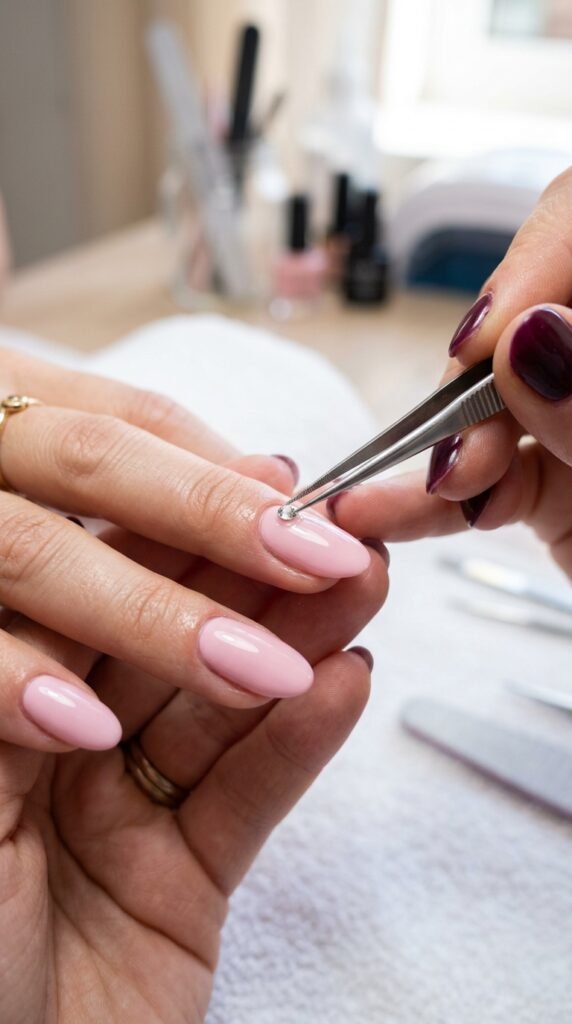
Step 3: Placing the Rhinestones
This is the fun part! You can create simple accents or intricate designs depending on your mood.
- Apply a small dot of nail glue or clear top coat where you want to place the rhinestone.
- Use a dotting tool, toothpick, or tweezers to pick up the rhinestone.
- Gently press it onto the nail.
- Repeat until your design is complete.
Design Ideas:
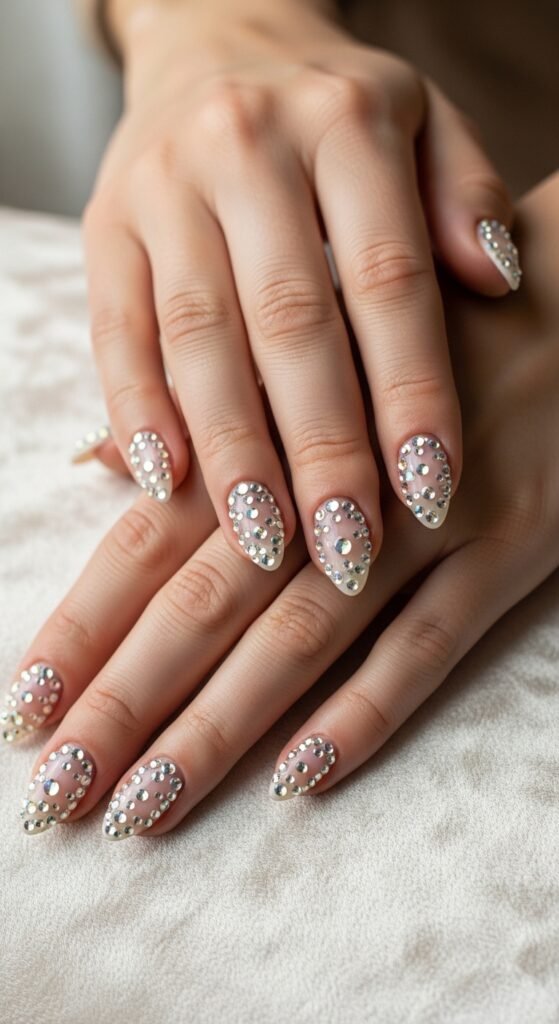
- Accent nail: Add rhinestones only to your ring finger for a subtle sparkle.
- French tips: Line the tips of your nails with small rhinestones.
- Geometric patterns: Create triangles, stripes, or half-moon designs.
Pro Tip: Work one nail at a time to prevent the glue from drying too quickly.
Step 4: Seal Your Design
To make your rhinestone art last longer:
- Apply a generous layer of top coat over the entire nail.
- For gel users, cure under a UV lamp as directed.
- Avoid soaking your hands in water immediately after application.
Extra Tip: Dab top coat around the rhinestones rather than over them to avoid dulling their shine.

Step 5: Care and Maintenance
Your rhinestone manicure can stay stunning for a week or more with a few easy habits:
- Avoid harsh chemicals without gloves.
- Be gentle when typing, washing dishes, or doing other hands-on activities.
- Touch up with a bit of top coat if rhinestones start to lift.
Pro Tip: Keep extra rhinestones and nail glue on hand for quick fixes.
Final Thoughts
Nail art with rhinestones is a simple way to transform everyday nails into something eye-catching and elegant. With a little practice, you can experiment with colors, patterns, and stone arrangements that reflect your personality.
Save this guide and try your first rhinestone manicure this weekend—you’ll love how glamorous and fun your nails can look!
This article comes in at approximately 810 words, perfect for a medium-length, Pinterest-friendly tutorial.

Leave a Reply