
Nail art is a fun and creative way to express yourself, and when it comes to spring or any time you want to add some soft, calming vibes, pastel colors are your best friend. They are not only versatile and elegant but also easy to work with, making them perfect for beginners and nail art pros alike. Whether you want to go for subtle designs or playful patterns, pastel shades bring a touch of whimsy and serenity to your nails.
In this article, we’ll walk you through step-by-step instructions on how to create stunning pastel nail art, share tips to make your design last longer, and even suggest some creative ideas to spark your inspiration. Let’s dive in!
What You’ll Need for Pastel Nail Art
Before we begin, make sure you have all the necessary tools and pastel shades for your nail art masterpiece. Here’s a quick list of essentials:
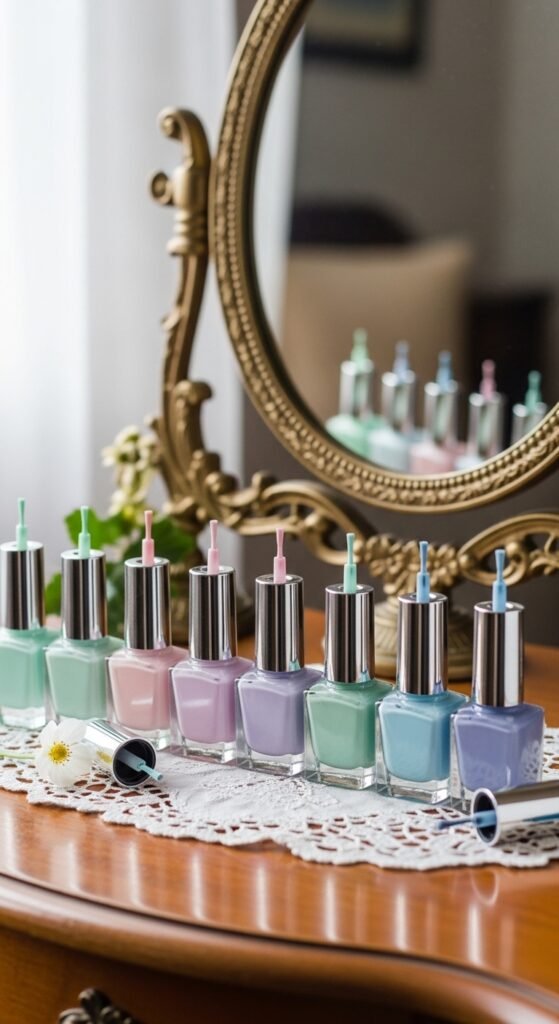
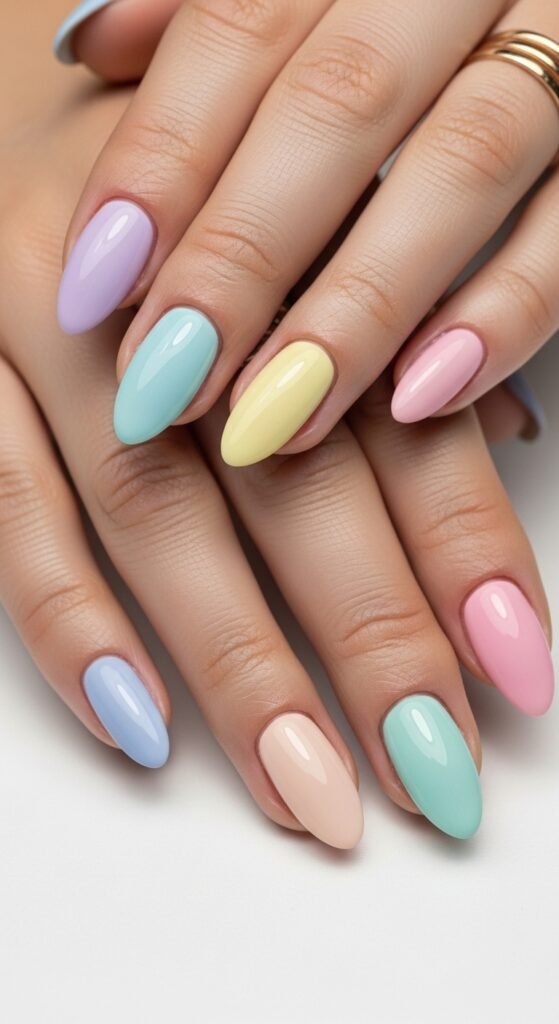
- Pastel Nail Polishes: Think light pink, lavender, mint green, baby blue, and peach.
- Base Coat: This protects your nails from staining and provides a smooth canvas.
- Top Coat: To give your nails a glossy finish and protect your design.
- Nail Art Brushes: For detailed designs or patterns.
- Nail Stencils: Optional, but they help for clean lines and precise designs.
- Dotting Tools: For creating dot patterns or delicate designs.
- Tape: For neat geometric designs or French tips.
Step-by-Step Guide to Pastel Nail Art
Now that you have your supplies, it’s time to get creative! Follow these easy steps to create a stunning pastel nail art design.
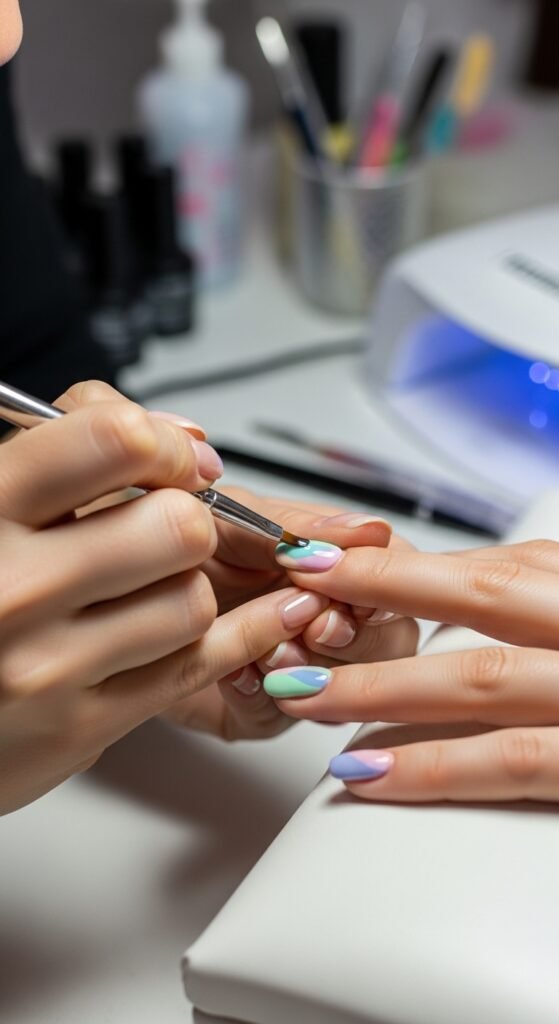
1. Prep Your Nails
Before you apply any polish, it’s essential to prep your nails for a smooth and even design.
- Remove any old polish with a gentle nail polish remover.
- Trim and file your nails to the desired shape—square, oval, or stiletto, the choice is yours!
- Push back your cuticles using a cuticle pusher.
- Buff your nails lightly to smooth out any ridges or imperfections.
After prepping your nails, apply a base coat to ensure the polish adheres better and lasts longer.
2. Apply a Pastel Base
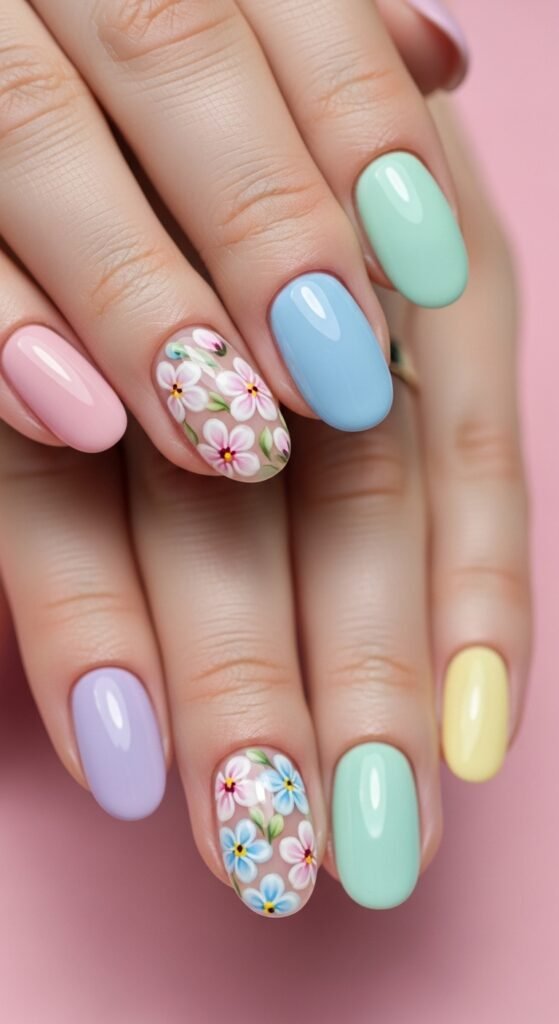
The first step in any nail art design is to apply a base coat of your chosen pastel color. Here’s a simple trick: choose one or two pastel shades that contrast but complement each other. For example, a soft lavender base with mint green accents creates a refreshing, spring-inspired look.
- Apply two coats of your chosen pastel color for an even finish.
- Allow your nails to dry completely before moving on to the next step.
3. Add Some Fun Designs
Once your base color is dry, it’s time to add some fun designs! Here are a few popular pastel nail art ideas to inspire your next look:
Geometric Shapes
Geometric nail art is simple yet stylish. You can use a piece of tape to create sharp lines and angles, or go freehand for a more abstract design.
- Use tape to create clean lines and triangles.
- Opt for bold shapes like stripes or chevrons for a modern twist.
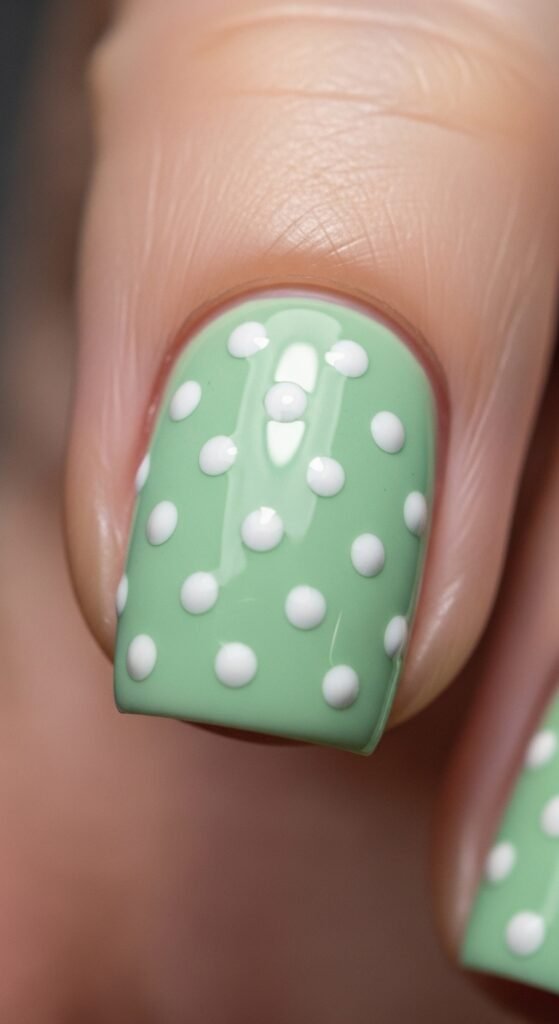
Polka Dots
Polka dots are cute and timeless, and they work perfectly with pastels. Using a dotting tool, you can create tiny dots or go for larger, bold dots for a playful look.
- Choose two contrasting pastel colors for the dots.
- Place the dots evenly or scatter them randomly on the nails.
Floral Accents
Floral designs are a classic way to enhance your pastel nails. These delicate flowers look beautiful against the soft pastel background.
- Use a nail art brush to paint small flowers with your pastel shades.
- Add dots or swirls for a whimsical touch.
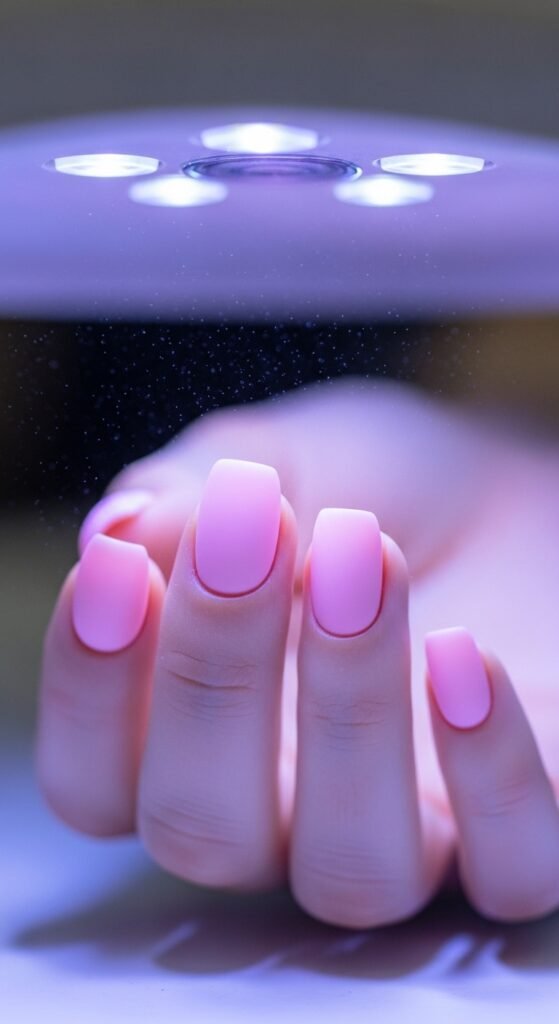
4. Top It Off with a Top Coat
Once your designs are dry, make sure to apply a top coat to seal in your artwork and give your nails a smooth, glossy finish. This will also help your nail art last longer, preventing chipping and fading.
- Apply a thin, even layer of top coat.
- Allow the top coat to dry completely before using your hands.
Tips for Perfecting Your Pastel Nail Art
- Be patient: Allow each layer of polish to dry before applying the next one. This prevents smudging and ensures a neat finish.
- Use a clean-up brush: If you get polish on your skin, dip a small brush in nail polish remover and clean around your nails.
- Experiment with gradients: You can create a beautiful pastel ombré effect by blending two pastel shades together.
- Add sparkle: A little touch of glitter in the right spots can add an elegant, festive finish to your pastel nails.
Creative Ideas to Try
Here are a few more pastel nail art ideas to keep your creativity flowing:
- Pastel French Tips: Go for a soft, pastel-colored tip instead of the classic white.
- Pastel Marble Nails: Mix two pastel shades to create a marble effect with a striper brush.
- Rainbow Nails: Try alternating different pastel shades across each nail for a dreamy rainbow effect.
Conclusion
Pastel nail art is all about soft shades, fun designs, and letting your creativity shine! Whether you go for simple dots or intricate flowers, these delicate hues make for a beautiful manicure that’s perfect for any season. Follow these steps, experiment with different designs, and let your pastel nail art speak for itself.
So, grab your favorite pastel polishes and start creating your next nail art masterpiece! Don’t forget to share your nail designs with friends, and keep experimenting with new techniques to find your signature pastel style.
Save this guide for later, and don’t forget to tag your pastel nail art posts with #PastelNailArt when you share them on social media!

Leave a Reply