
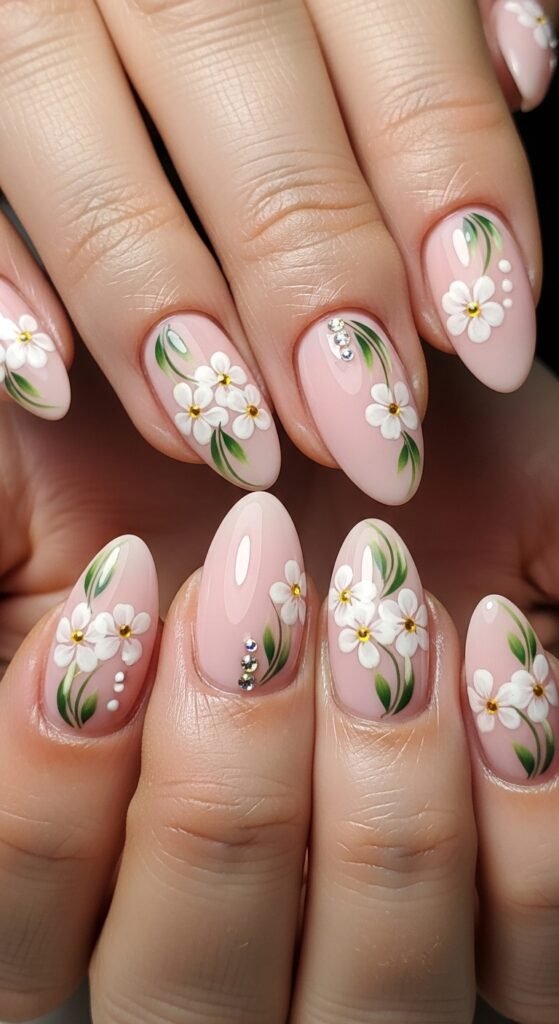
Nail art with flower designs is an excellent way to express your creativity while adding a touch of nature to your fingertips. Whether you’re preparing for a special occasion or simply want to brighten up your day, floral nails are a perfect choice. This article will guide you step-by-step on how to create beautiful, flower-themed nail art, with helpful tips and tricks along the way. Ready to dive in and make your nails bloom? Let’s get started!
Step 1: Gather Your Supplies
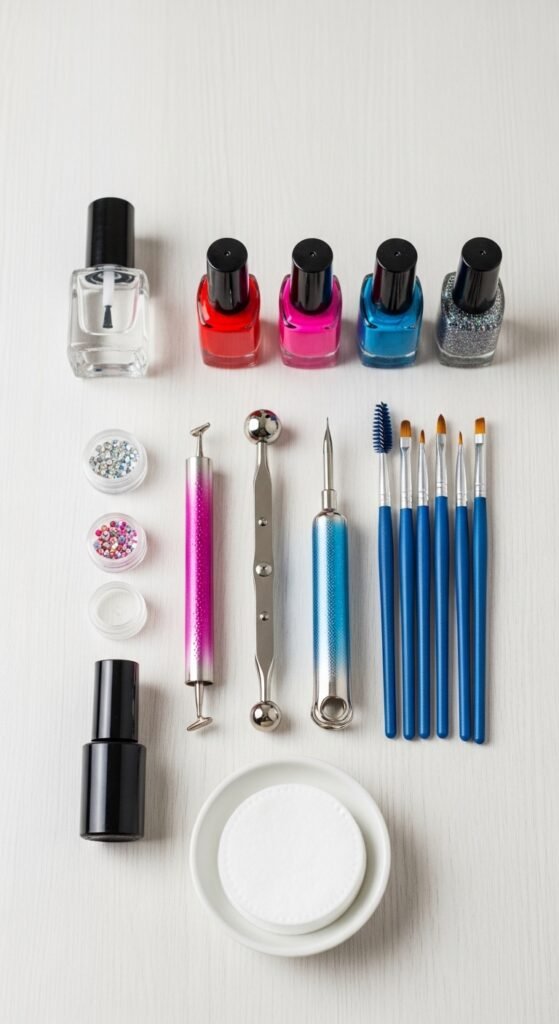
Before you start painting your nails, it’s essential to have the right tools and materials on hand. Here’s a quick checklist of what you need:
- Base coat – To protect your nails from staining and ensure your nail art lasts longer.
- Nail polishes – Choose colors that represent the flowers you want to create (e.g., soft pink, lavender, white, green for leaves, etc.).
- Dotting tool – Perfect for creating small dots and delicate flower petals.
- Nail brush or striper – To draw fine lines for stems and flower details.
- Top coat – To seal your design and make it shine.
- Nail remover – For cleaning up any mistakes along the way.
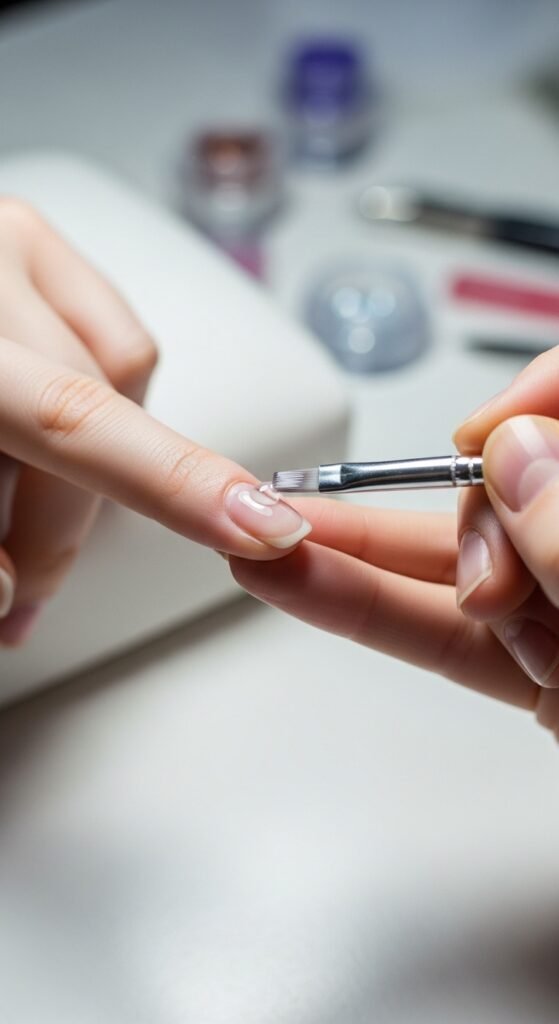
Step 2: Prepare Your Nails
Now that you have your supplies, it’s time to prepare your nails for the design. Follow these steps:
- Remove any old polish – Use a nail remover to clean your nails thoroughly.
- Shape your nails – Trim and file your nails into the desired shape (round, square, almond, etc.).
- Push back cuticles – Gently push your cuticles back using a cuticle stick to create a clean base.
- Apply the base coat – A thin layer of base coat will protect your nails and help the polish adhere better.
Let the base coat dry completely before moving on to the next step!
Step 3: Paint the Base Color
Choose a base color that will complement your floral design. Popular choices for flower nail art include soft pastels like pale pink, lavender, or sky blue, but feel free to get creative with your color choice. Here’s how to apply the base color:
- Apply two thin coats of your chosen color.
- Let each coat dry before applying the next to avoid smudging.
Once your base color is completely dry, you’re ready to start creating your flower designs.
Step 4: Create Your Flower Designs
There are various ways to create flowers, depending on the style you prefer. Below are some methods to help you:
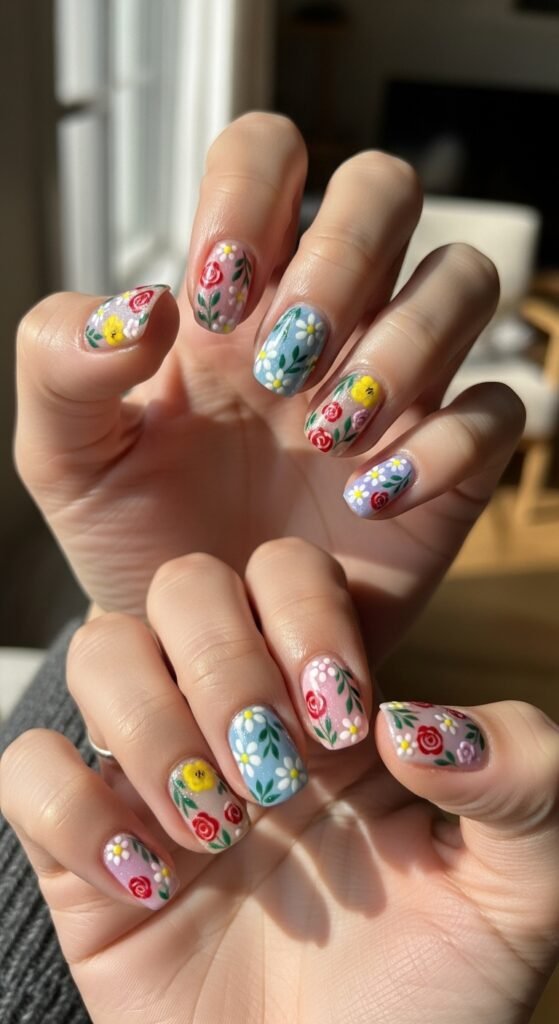
Option 1: Simple Dotted Flowers
- Start with the center – Using a dotting tool, dip it in a contrasting color (like yellow) and create a small dot in the center of your nail.
- Add petals – With a different color (such as white or pink), use the dotting tool to create five dots around the center, forming a simple flower shape.
- Add a second layer – If desired, add a second layer of petals in another color to make your flower pop.
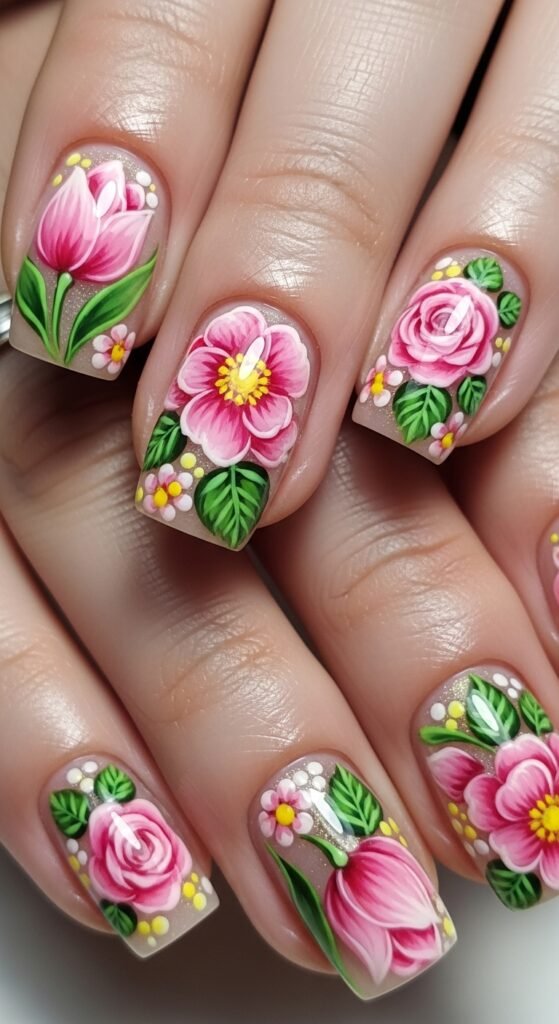
Option 2: Detailed Flower Petals
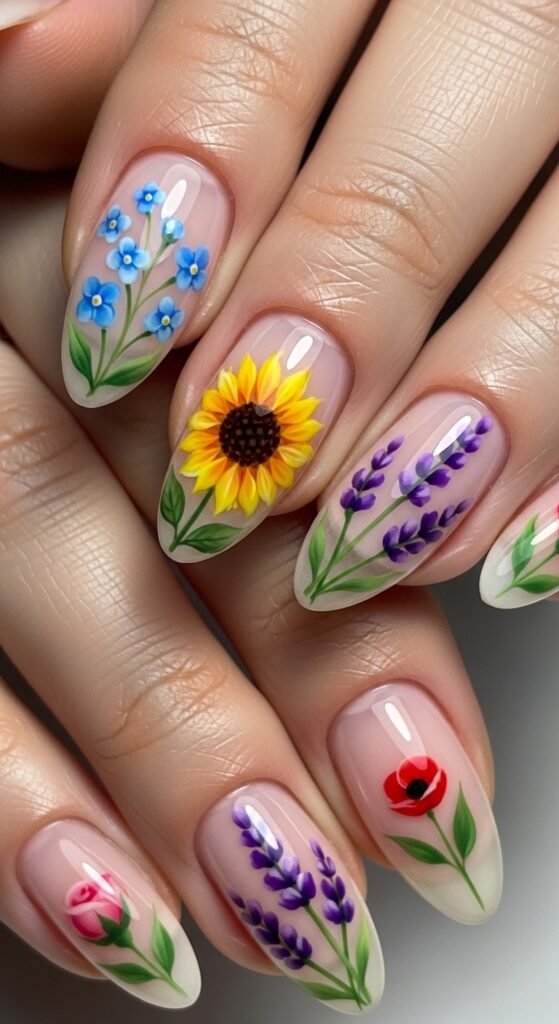
- Draw the petals – Using a fine nail art brush or a striper, dip it in a light color like white or yellow, and carefully draw thin curved lines that form the petals around the center.
- Fill in the petals – Fill in the outline with the same color or a slightly different shade to give dimension to the flower.
Option 3: 3D Flowers (For a Creative Twist)
For a more intricate design, you can also use 3D embellishments like rhinestones or nail jewels to create depth.
Step 5: Add the Leaves and Details
To complete your floral design, you’ll want to add some leaves and stems for a more natural look. Follow these tips:
- Use a green polish – Use a fine brush or nail art striper to draw small leaves around the flowers.
- Create stems – You can also add delicate stems beneath the flowers using a thin line of green polish.
- Add accents – To make your design pop, consider adding small dots, lines, or even a bit of glitter to enhance the flowers.
Be sure to let each design element dry before moving on to the next one to avoid smudging.
Step 6: Seal the Design with a Top Coat
Once your floral designs have dried completely, it’s time to protect them with a top coat. This will not only give your nails a shiny finish but also help your design last longer. Apply a thin, even layer of top coat over the entire nail, making sure to cover the edges to prevent chipping.
Final Tips and Tricks
- Experiment with color combinations – Try different flower colors and base shades to create a unique design.
- Practice makes perfect – If you’re new to nail art, don’t worry if your first attempt isn’t flawless. Keep practicing, and you’ll improve over time.
- Use tape for cleaner lines – For a more precise look, use tape to create straight lines or crisp flower petals.
- Be patient – Floral nail art can take some time to perfect, so enjoy the process and take your time with each step.
Conclusion
Flower nail art is a fun, creative way to showcase your personal style. Whether you prefer simple dots or intricate designs, these floral nails will add a touch of beauty to any outfit. Now that you know the basics, it’s time to grab your nail art supplies and start creating! Don’t forget to share your floral designs with your friends – and save this guide for later when you want to try more nail art ideas. Happy painting!

Leave a Reply