
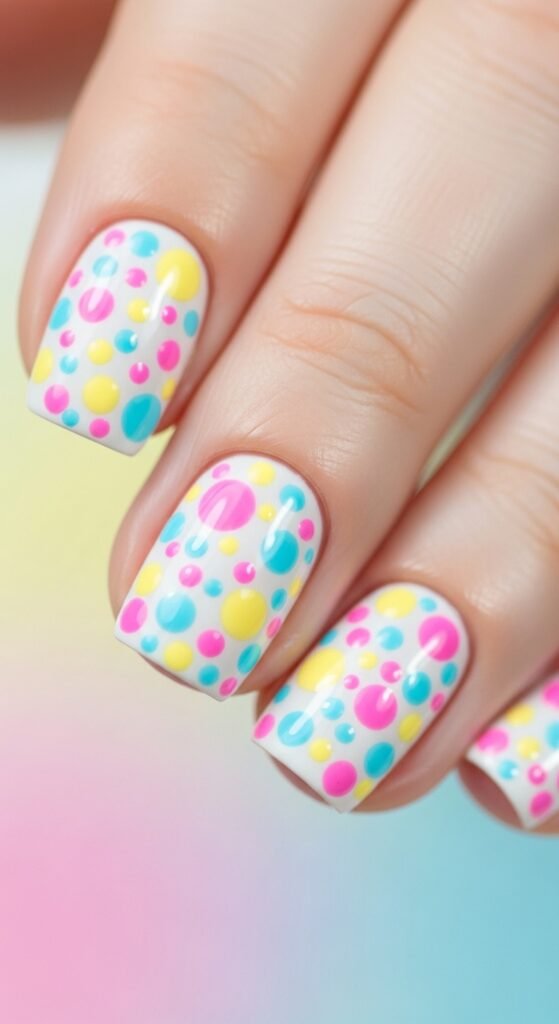
Nail art doesn’t have to be complicated to look fabulous. One of the easiest, yet most eye-catching techniques is dot nail art. From playful polka dots to intricate floral designs, dots can instantly transform your manicure from simple to stunning. Even if you’re a beginner, mastering this technique is easier than you think—and you don’t need a ton of fancy tools!
What You’ll Need
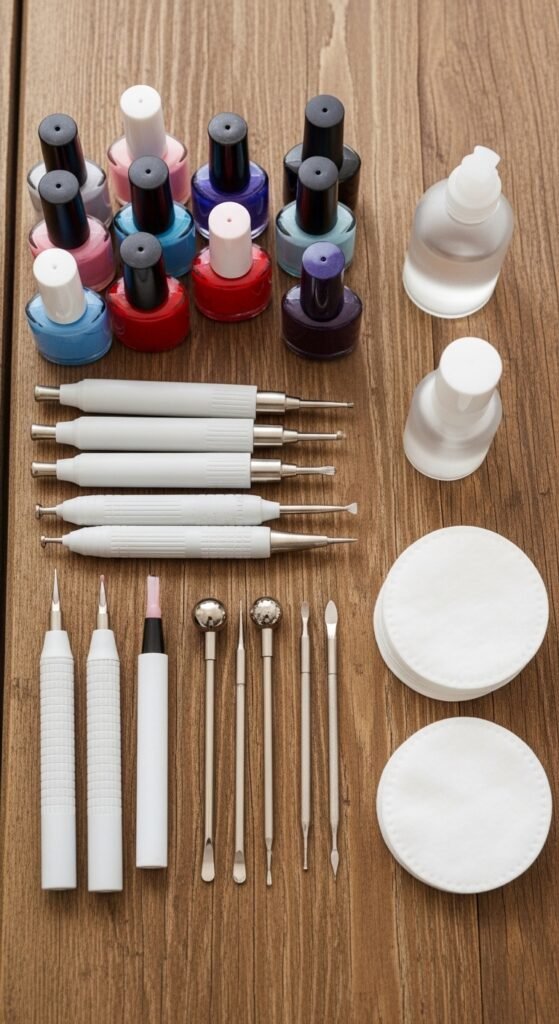
Before you start, gather your essentials. You don’t need a huge collection of tools—just a few basics:
- Base coat and top coat – for long-lasting wear and smooth finish.
- Nail polishes – choose a mix of colors that pop together.
- Dotting tools – these can be purchased online or improvised with household items like bobby pins, toothpicks, or the end of a makeup brush.
- Nail polish remover & cotton swabs – for easy clean-up of any mistakes.
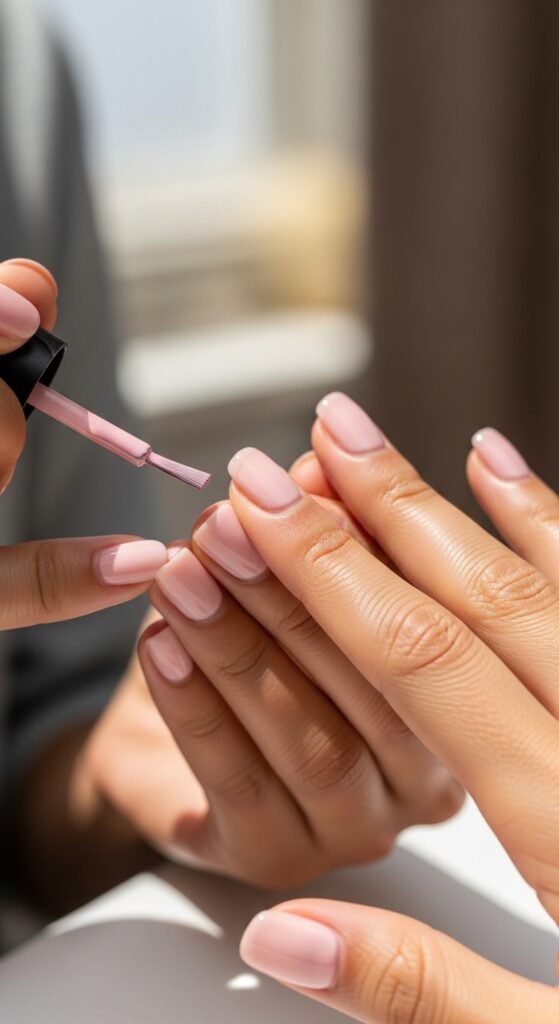
Step 1: Prep Your Nails
Good nail art starts with a clean canvas.
- Trim and shape your nails – square, oval, or almond, whatever suits your style.
- Push back cuticles gently to create a neat base.
- Apply a base coat to protect your nails and help the polish adhere better.
- Choose your base color and apply 1–2 thin coats. Let each coat dry completely.
Tip: Lighter base colors make dots pop, while darker bases give a more dramatic look.
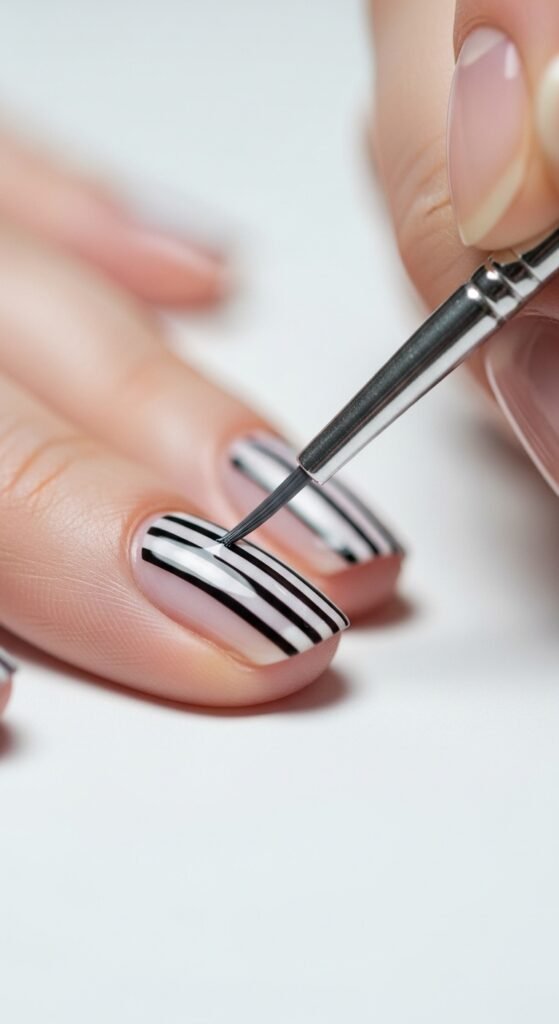
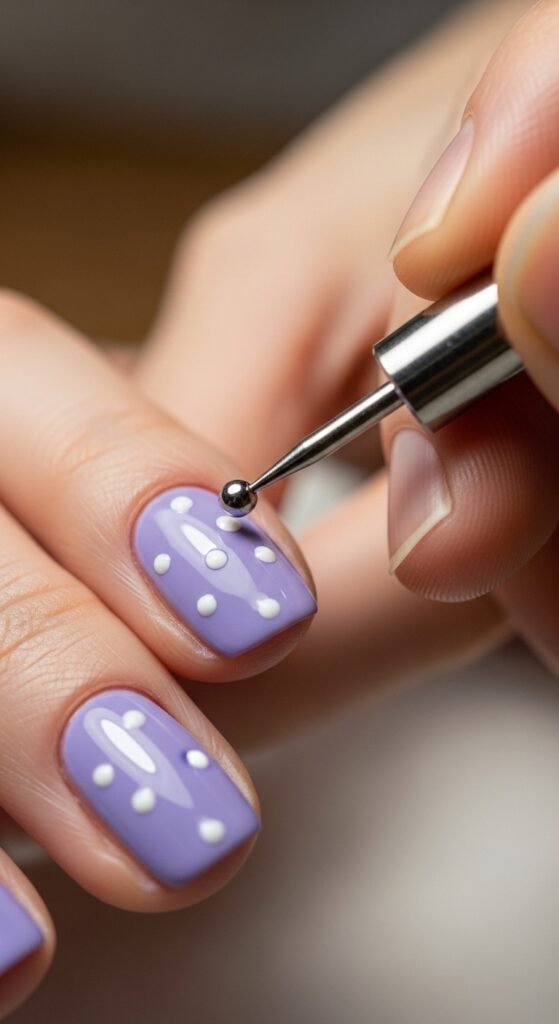
Step 2: Start Dotting
Now comes the fun part!
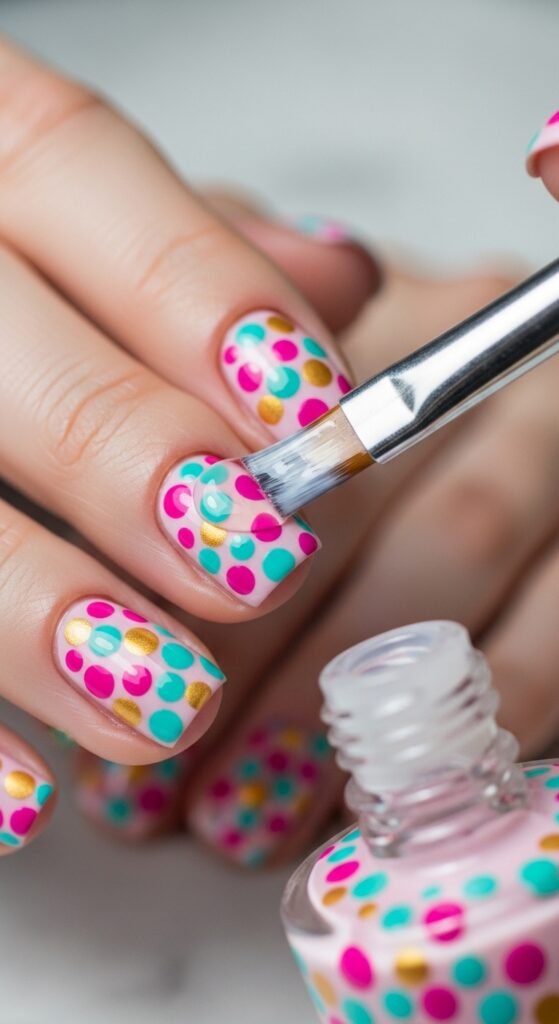
- Dip your dotting tool lightly into your chosen nail polish.
- Gently press onto the nail to create a dot. The amount of polish on your tool will determine the size of the dot.
- Vary dot sizes for a playful look—small and large dots together create visual interest.
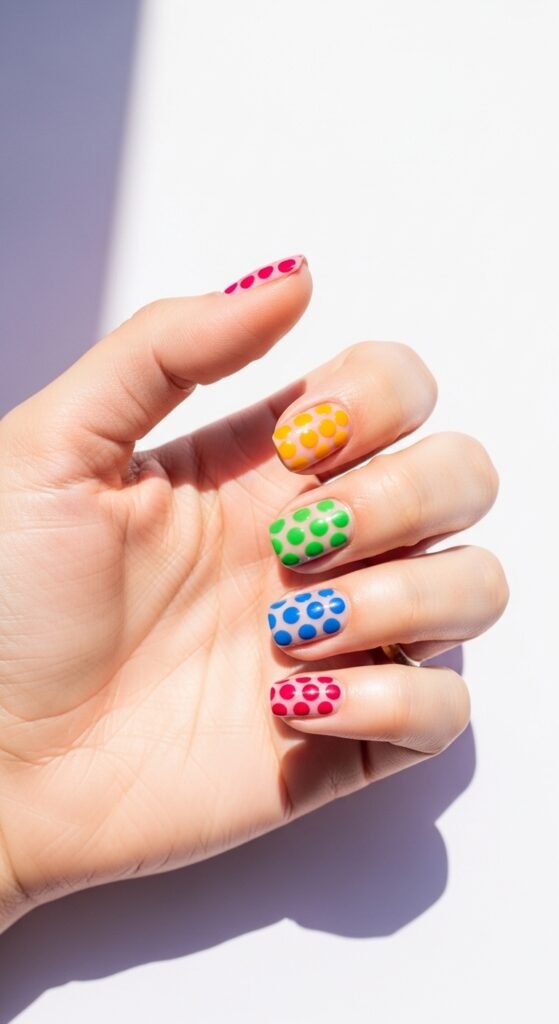
- Plan your pattern before starting: random dots, polka dot rows, or floral clusters.
Tip: If using household items like toothpicks, make sure the tip isn’t frayed for a clean dot.
Step 3: Layer and Play with Colors
Dot nail art is all about creativity!
- Mix colors: Don’t be afraid to use contrasting or complementary colors for a bold statement.
- Create designs: Make flowers by arranging 5 small dots around a central larger dot, or try abstract shapes for a modern look.
- Experiment with gradients: Use lighter shades for small dots and darker shades for larger dots.
Tip: Wait a few seconds after each dot to prevent smudging, especially when layering colors.
Step 4: Seal Your Design
Once your dots are perfectly placed:
- Allow your nails to dry completely—patience is key to avoid smudges.
- Apply a top coat to seal in your design and add shine.
- Clean up edges with a cotton swab dipped in nail polish remover for a polished finish.
Tip: For an extra-long-lasting manicure, apply a second thin layer of top coat after a few hours.
Bonus Tips for Perfect Dot Nails
- Use tape or guides to create straight lines or geometric dot patterns.
- Practice on paper before trying complex designs on your nails.
- Keep tools clean – wipe the dotting tool between colors for crisp dots.
- Be patient – let each layer dry to avoid smudging and ensure the dots stay round.
Dot nail art is perfect for beginners and pros alike. With just a few tools and a splash of creativity, you can turn simple nails into a miniature masterpiece. The best part? No two designs need to be exactly alike!
So grab your favorite nail polishes and start dotting your way to a fun, stylish manicure. Your hands deserve a little playful magic!
Save this guide for your next DIY manicure session—you’ll be a dotting pro in no time!

Leave a Reply