
You don’t need a drawer full of fancy brushes or salon gadgets to create cute nail art. In fact, some of the prettiest designs start with things already sitting on your desk or in your kitchen. A toothpick. A bobby pin. Even the corner of a sponge.
If you’ve ever stared at Pinterest nails thinking, “I could never do that,” this is for you.
Let’s break it down step by step. No tools. No stress. Just creativity and a steady hand (or at least a patient one ).
Start with the Basics: Prep Matters More Than Tools
Before we even talk designs, let’s talk prep. Because even the simplest nail art looks 10x better on a clean base.
Here’s what to do:
- Remove old polish completely
- Trim and shape your nails
- Gently push back cuticles
- Wash hands to remove oils
- Apply a thin base coat
Let the base coat dry fully. I know it’s tempting to rush. Don’t.
Then apply your base color. Light shades are beginner-friendly because mistakes are less obvious. Let it dry properly before adding any design.
Tip: Thin layers are better than thick ones. Thick polish smudges easily and takes forever to dry.
Everyday Items You Can Use Instead of Nail Art Tools
You probably have these at home already:
- Toothpick – perfect for dots, tiny hearts, and fine lines
- Bobby pin – the rounded tip works like a dotting tool
- Sponge (makeup or kitchen) – great for ombré effects
- Tape – helps create clean lines and shapes
- Plastic bag wrap – for textured marble looks
- Old eyeliner brush (cleaned) – for simple strokes
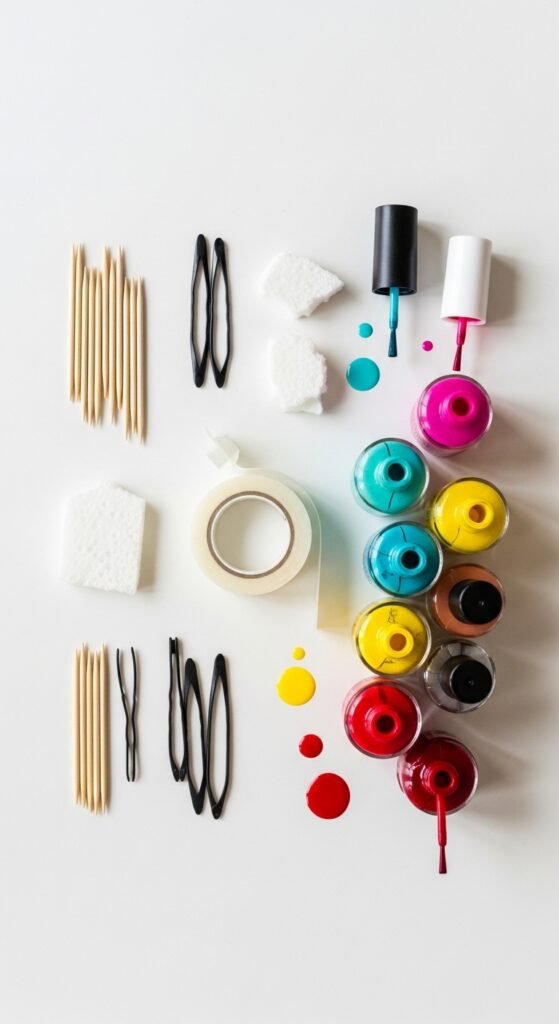
You don’t need everything. Start with one or two. Simple designs are often the cutest anyway.
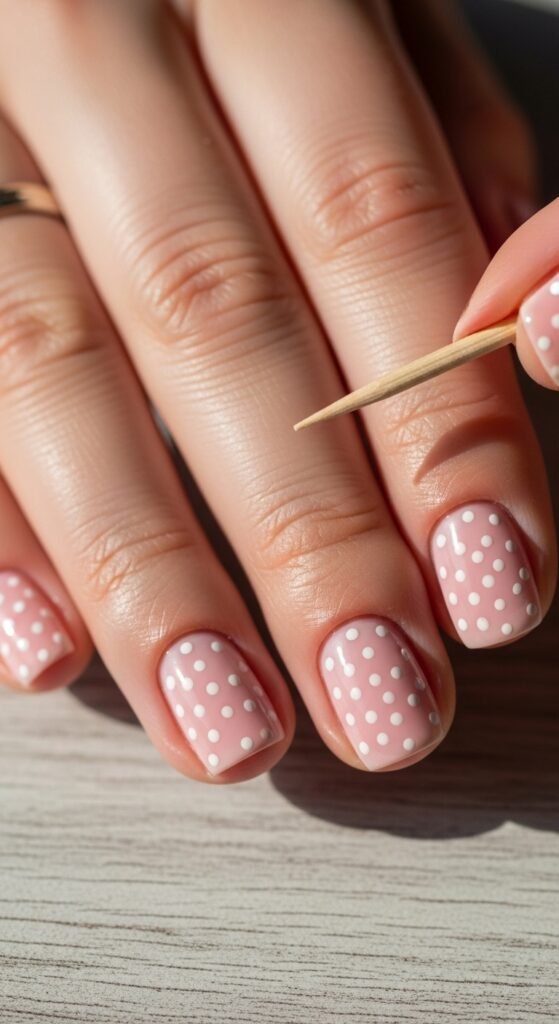
Easy Dot Nail Art (The Absolute Beginner Design)
Dots are the easiest place to start. If you can touch a toothpick to your nail, you can do this.
How to do it:
- Pour a tiny drop of polish onto a piece of foil.
- Dip the tip of a toothpick or bobby pin into the polish.
- Gently press onto your nail.
- Repeat to create patterns.
You can try:
- A single dot near the cuticle
- Polka dots across the whole nail
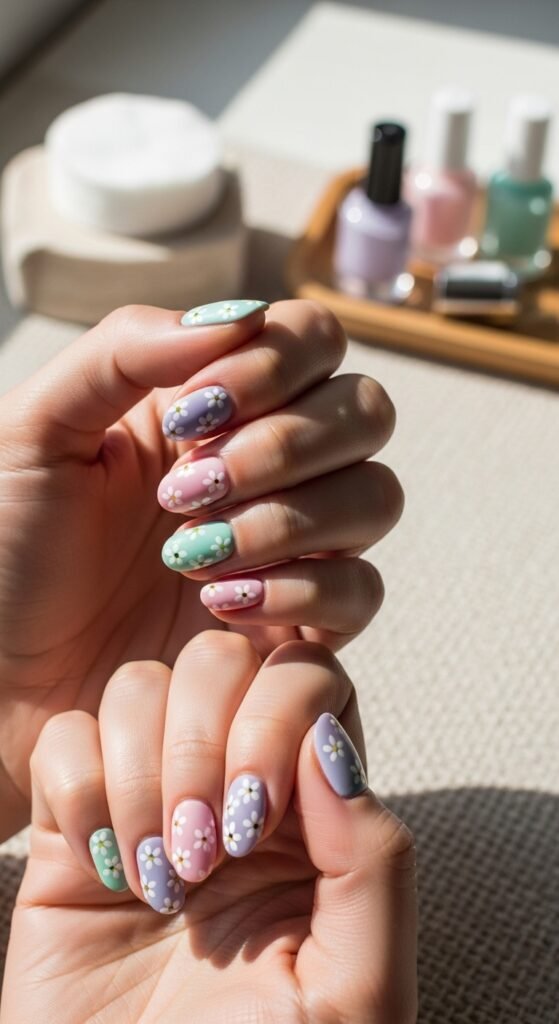
- A small flower (5 dots in a circle + 1 center dot)
Keep spacing even. Don’t overload polish on the tip.
Let everything dry before sealing with a top coat.
Simple Heart Design Without Brushes
Hearts look complicated. They’re not.
Method 1: Two Dots + Drag
- Make two small dots next to each other.
- Use a clean toothpick to drag both dots downward into a point.
- Clean up edges with a cotton swab if needed.
That’s it. You’ve got a heart.
Method 2: Tape Trick
- Place two small pieces of tape in a V-shape.
- Paint inside the open area.
- Carefully peel off while polish is still slightly wet.
Let it dry. Add a glossy top coat.
It’s okay if your first heart looks a little uneven. Nail art gets better with practice.
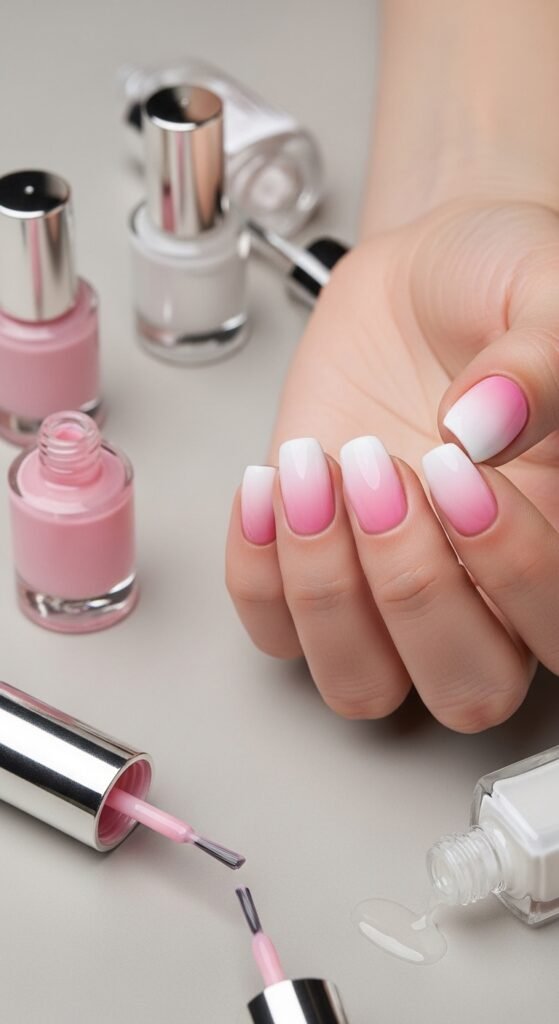
Sponge Ombre Nails (No Skill Required)
If you want something that looks fancy but is secretly easy, try ombre.
What you need:
- 2 nail polish colors
- A small sponge
Steps:
- Paint your nails with the lighter color and let it dry.
- Paint two stripes (side by side) onto the sponge.
- Dab gently onto your nail.
- Repeat dabbing to blend.
- Clean around the edges.
It might look messy at first. That’s normal. Clean up the edges with a cotton swab dipped lightly in remover.
Finish with top coat to smooth everything out.
Easy Marble Effect with Plastic Wrap
This one feels like magic.
- Apply your base color and let it dry.
- Add a thin layer of a second color.
- Crumple a tiny piece of plastic wrap.
- Gently dab the wet polish.
- Lift to reveal a marble texture.
Each nail will look slightly different — and that’s the charm.
Don’t over-dab. A little texture goes a long way.
Tips to Make It Look More Professional
Even without tools, you can make your manicure look polished.
- Always seal with a top coat
- Clean edges carefully
- Let each layer dry before adding another
- Work in good lighting
- Keep designs simple
Beginner mistake? Doing too much. Start minimal.
Sometimes one accent nail with dots or a heart is cuter than full art on every finger.
Common Mistakes (And How to Avoid Them)
Smudging:
Wait longer between layers. Seriously.
Thick polish blobs:
Wipe excess polish off your toothpick before touching your nail.
Uneven lines:
Use tape to guide straight edges.
Peeling too fast:
Apply top coat and cap the nail tip.
Don’t aim for perfection. Aim for fun.
Final Thoughts
Nail art doesn’t have to be complicated. You don’t need expensive tools or salon skills. You just need a little patience and creativity.
Start with dots. Try a heart. Experiment with ombre.
And remember — the first attempt doesn’t need to be flawless. It just needs to make you smile.
Save this idea for your next at-home manicure and try one design tonight

Leave a Reply