
Nail art isn’t just for salons anymore! With a few simple tools, a splash of creativity, and a bit of patience, you can transform your nails into tiny canvases of self-expression—all from the comfort of your home. Whether you love bold designs, soft pastels, or sparkling accents, learning the basics of nail art can be fun, relaxing, and surprisingly addictive.
Ready to unleash your inner nail artist? Let’s dive in step by step.
Step 1: Prep Your Nails
Before any polish touches your nails, preparation is key. A smooth, clean base ensures your designs last longer and look professional.
What to do:
- Remove any old nail polish.
- Trim and file your nails to your preferred shape. Squares, ovals, or almond shapes all work!
- Push back your cuticles gently. Avoid cutting them to prevent infections.
- Buff your nails lightly to create a smooth surface.
- Wash your hands and dry thoroughly.
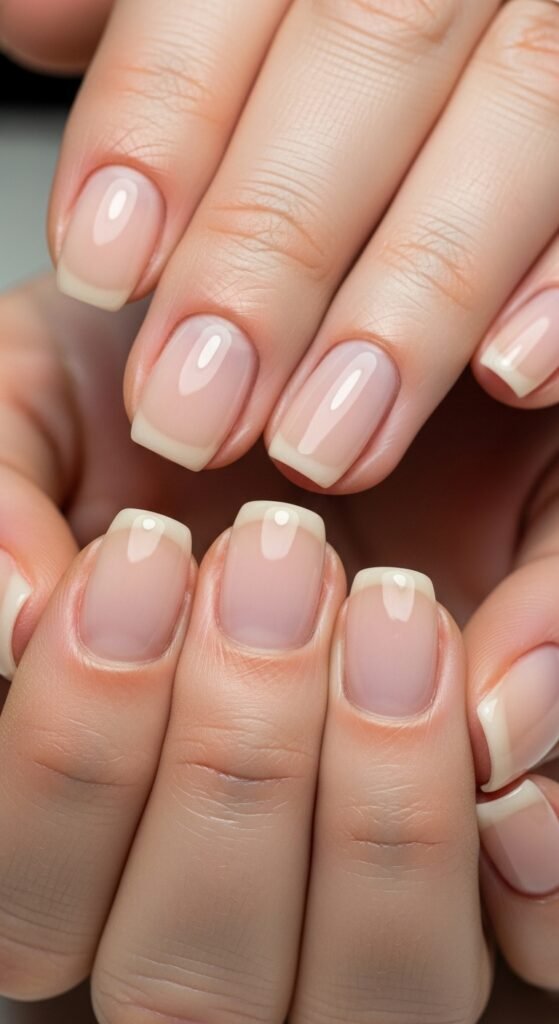
Pro Tip: Applying a thin layer of base coat not only protects your nails from staining but also helps your nail art stick better.
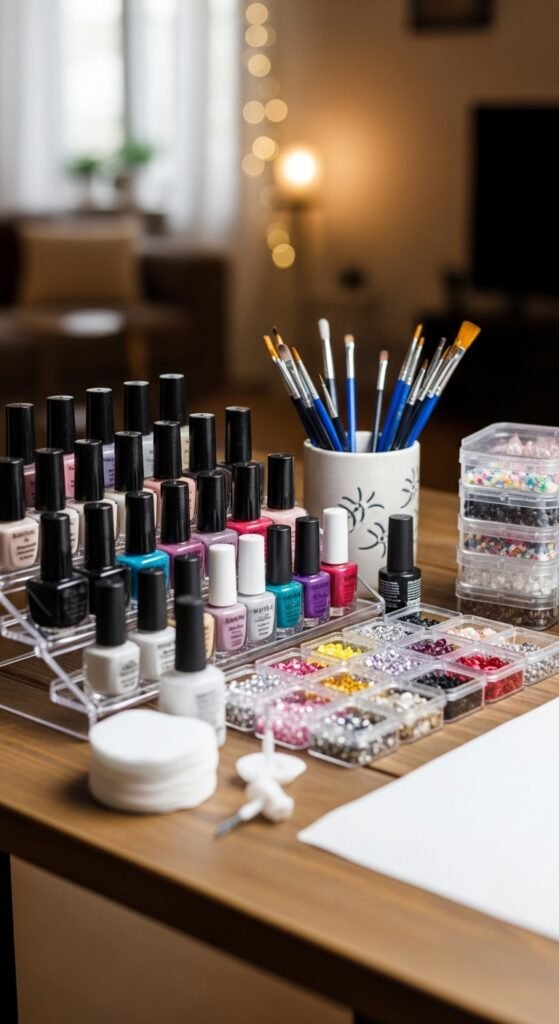
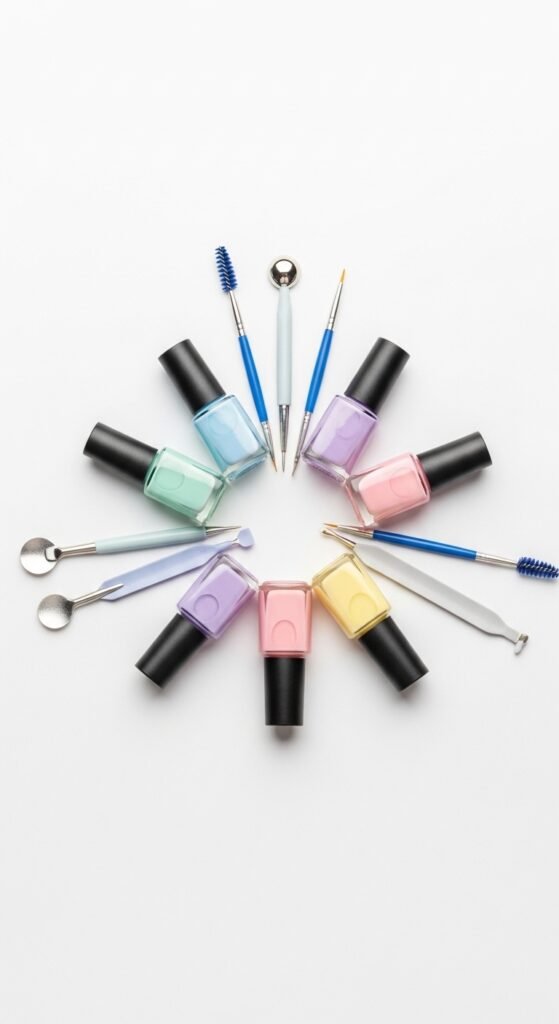
Step 2: Choose Your Colors and Tools
Your color palette and tools will set the tone for your nail art. You don’t need a huge collection—just pick a few shades that complement each other.
Essentials for beginners:
- 2–3 nail polish colors.
- Dotting tools or a toothpick for small details.
- Thin nail brushes for precise lines.
- Nail stickers or stencils for easy patterns.
- Top coat to seal your design.
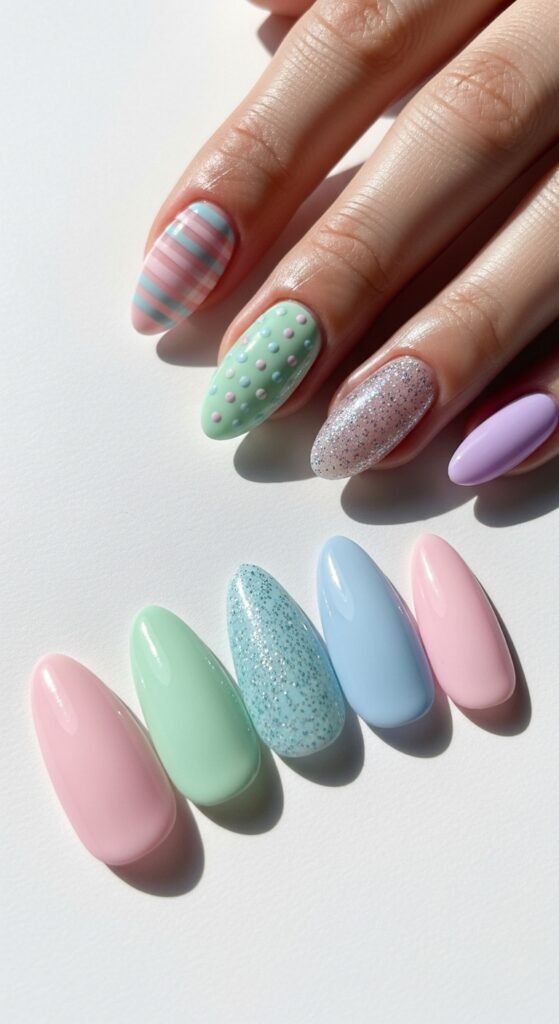
Tip: Start simple! Stripes, polka dots, or accent nails are beginner-friendly but look stunning.
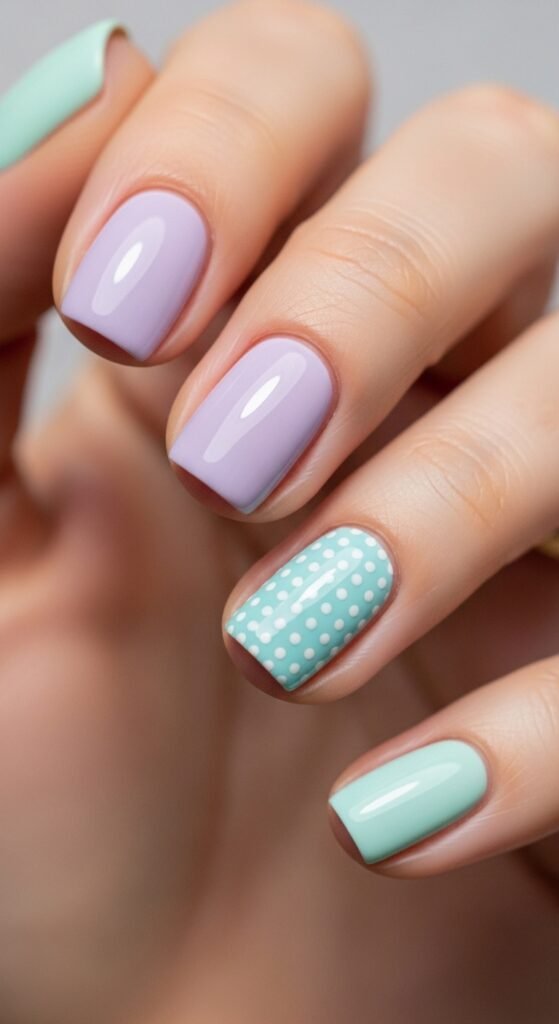
Step 3: Master Basic Techniques
Before attempting intricate designs, practice a few basic techniques that form the foundation of most nail art:
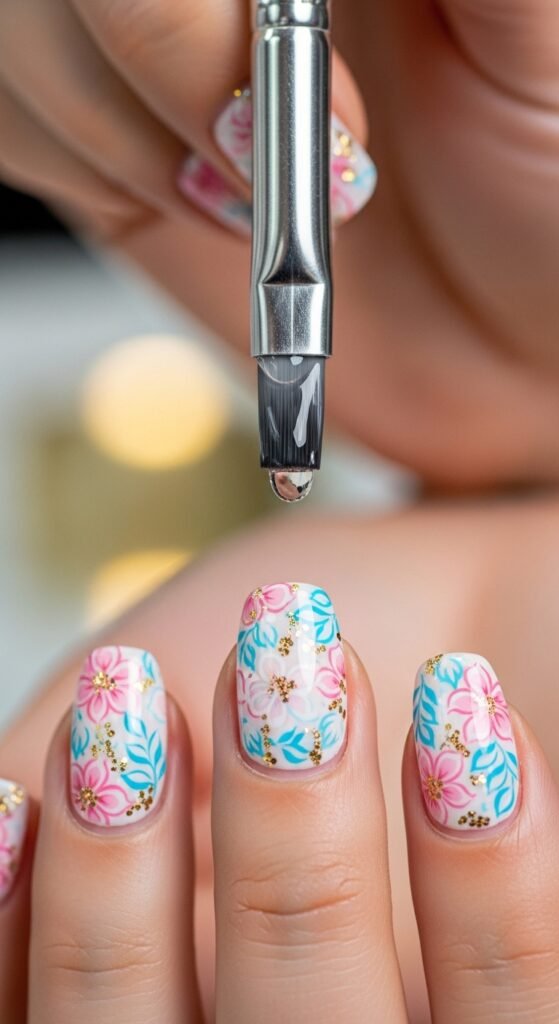
- Dotting: Use a dotting tool or toothpick to create perfect polka dots or flower centers.
- Striping: Use thin brushes or striping tape to create lines and geometric patterns.
- Gradient/Ombre: Apply two colors and gently blend them using a makeup sponge for a seamless fade.
- Accent Nails: Paint one or two nails with a different design to add variety without overwhelming the look.
Pro Tip: Let each layer of polish dry completely before moving on to avoid smudging. Patience pays off!
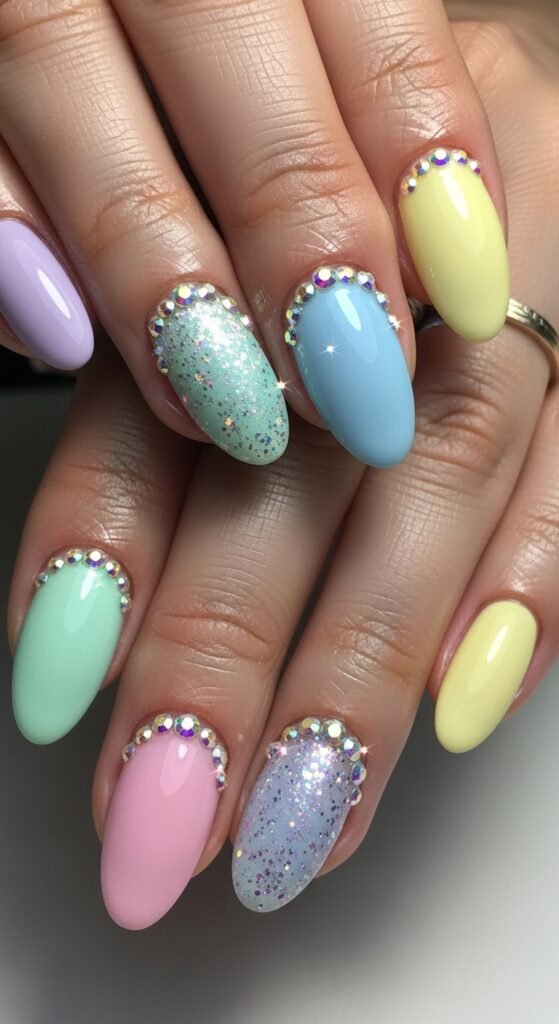
Step 4: Add Fun Elements
Once you’re comfortable with basic techniques, it’s time to get creative with decorative elements:
- Stickers & Decals: Instant nail art magic with minimal effort.
- Glitter: Sprinkle fine glitter on wet polish or use glitter polish for sparkle.
- Foil: Press metallic foil pieces onto a tacky base for a luxurious look.
- Rhinestones: Use nail glue to attach tiny gems for extra glam.
Tip: Use tweezers for precise placement of small elements—it’s easier than fingers!
Step 5: Seal and Protect Your Design
The final step is essential: protecting your artwork. A top coat not only adds shine but also prevents chips and extends your manicure’s life.
How to finish:
- Apply a generous layer of top coat over each nail.
- Seal the edges by brushing over the tips.
- Let nails dry completely—ideally 15–20 minutes.
- Optional: Apply cuticle oil for hydration and a polished finish.
Pro Tip: Reapply the top coat every 2–3 days to maintain shine and longevity.
Quick Tips for At-Home Nail Art Success
- Work in a well-lit space to see details clearly.
- Keep a nail polish remover pen handy for small mistakes.
- Practice designs on a piece of paper or a nail wheel before trying on your nails.
- Less is often more—start simple and gradually experiment with bolder designs.
Creating stunning nail art at home doesn’t require professional skills—just creativity, practice, and patience. By following these steps, you’ll be able to transform your nails into mini masterpieces that reflect your personal style.
So, grab your favorite polishes and tools, set aside some time, and start your nail art adventure today!
Save this guide for your next self-care day and turn your nails into works of art!

Leave a Reply