
There’s something undeniably magical about glitter nails. That tiny sparkle can instantly elevate a simple manicure into a statement, turning your fingertips into a dazzling accessory. Whether you’re prepping for a night out, a special event, or just want to add a little sparkle to your everyday look, glitter nails are your go-to.
In this guide, we’ll break down how to do nail designs with glitter, from basic applications to more intricate styles, so you can shine effortlessly.
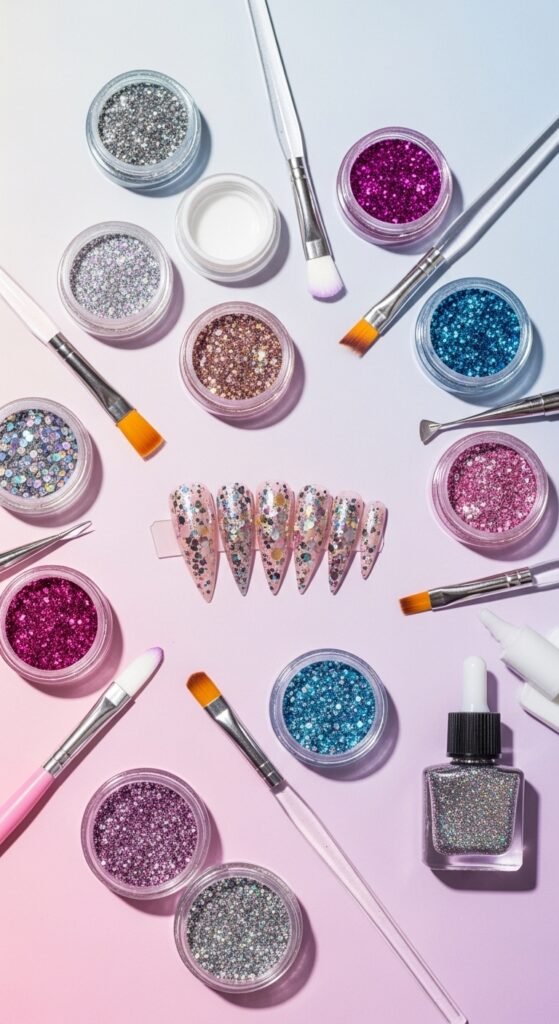
Choose the Right Glitter and Base
Before you dip your brush into glitter heaven, it’s important to pick the right type of sparkle. Here are your main options:
- Loose glitter: Fine or chunky particles that you apply on wet polish.
- Glitter nail polish: Pre-mixed in a clear or colored base—easy for beginners.
- Glitter flakes or foils: Perfect for accent nails or artistic designs.
For the base, stick to neutral or complementary colors that make the glitter pop. Soft pinks, nudes, or even dark hues like navy or black create a stunning contrast with glitter.

Tip: Always apply a base coat first. It protects your natural nails and gives the glitter something to stick to.
Step-by-Step Glitter Application
1. Prep Your Nails
- Trim, file, and buff your nails for a smooth surface.
- Push back cuticles gently to create a clean canvas.
- Apply a base coat to prevent staining and enhance longevity.
2. Apply Base Color
- Apply one or two coats of your chosen nail polish.
- Let each coat dry completely before moving to glitter. This prevents smudging.
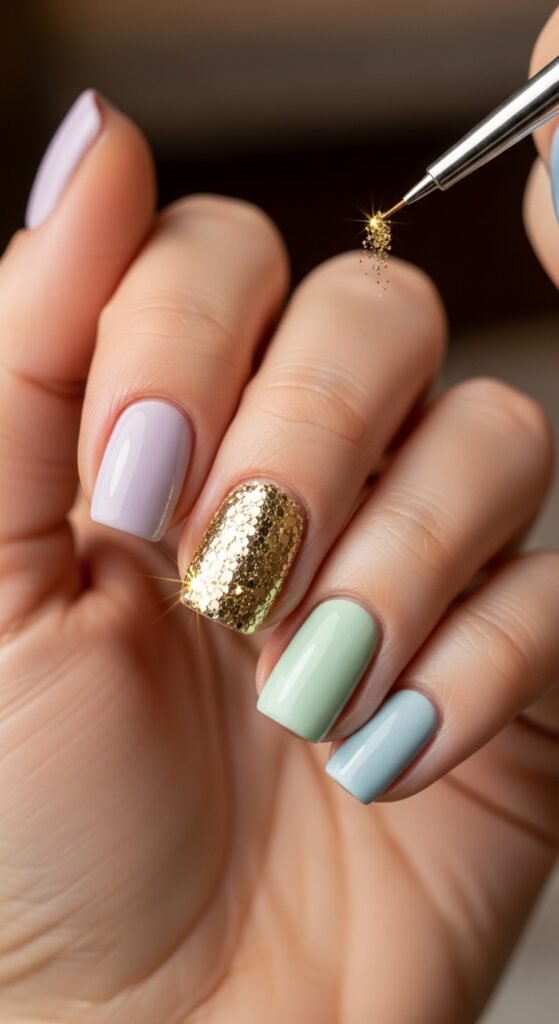
3. Apply Glitter
- For loose glitter: While the polish is still tacky, dip a small brush or your fingertip into the glitter and gently press onto the nail.
- For glitter polish: Simply paint on in thin layers, letting each layer dry before applying the next.
- For glitter accents: Use a toothpick or detail brush to place individual flakes or shapes precisely.
4. Seal and Protect
- Apply a generous layer of top coat to smooth out texture and lock in glitter.
- For chunky glitter, consider two coats of top coat for a glassy, even finish.
- Allow nails to dry completely to prevent smudging or peeling.
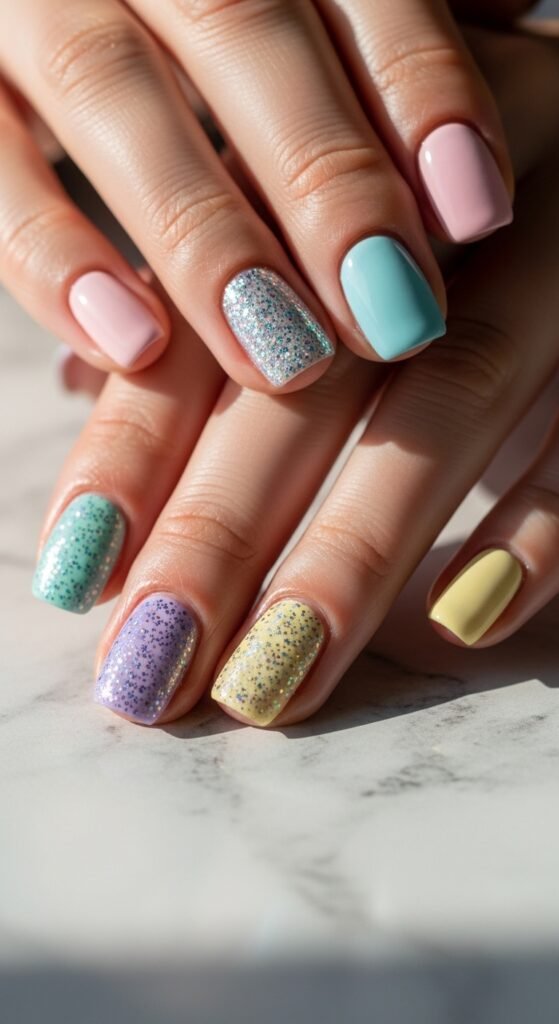
Creative Glitter Nail Designs
Once you master the basics, you can experiment with different glitter styles. Here are a few favorites:
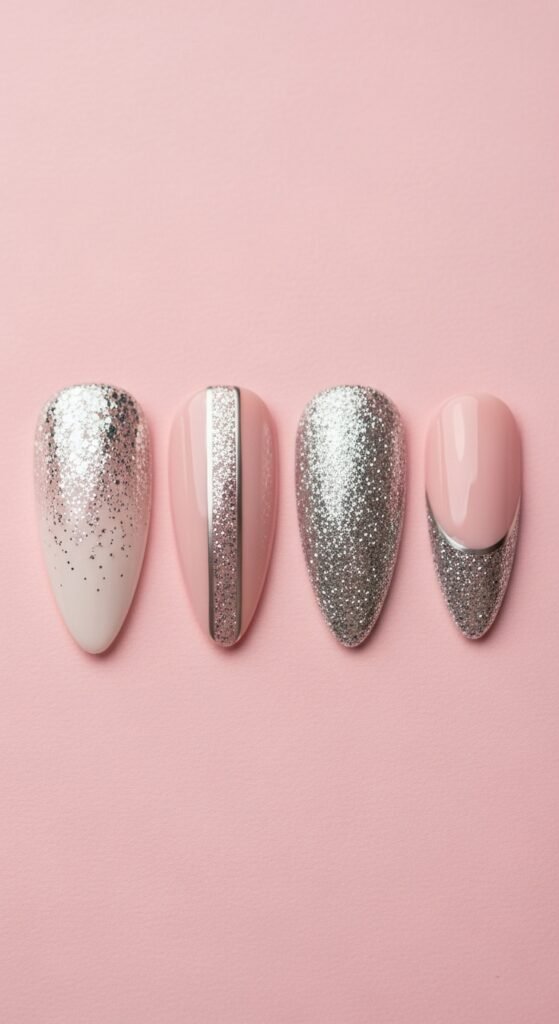
- Ombre Glitter: Gradually blend glitter from the tip down for a sparkling gradient effect.
- Accent Nails: Apply glitter to one or two nails on each hand for subtle sparkle.
- Glitter Stripes or Shapes: Use tape or stencils to create clean, geometric designs with glitter.
- French Glitter Tips: Swap out traditional white tips for a glittery finish for a modern twist on a classic manicure.
Tip: Use a small fan brush to remove excess loose glitter from your skin before sealing with a top coat.
Maintenance and Longevity Tips
- Avoid hot water for the first few hours after application; it can cause the glitter to lift.
- Apply a fresh top coat every 2–3 days to maintain shine and prevent chipping.
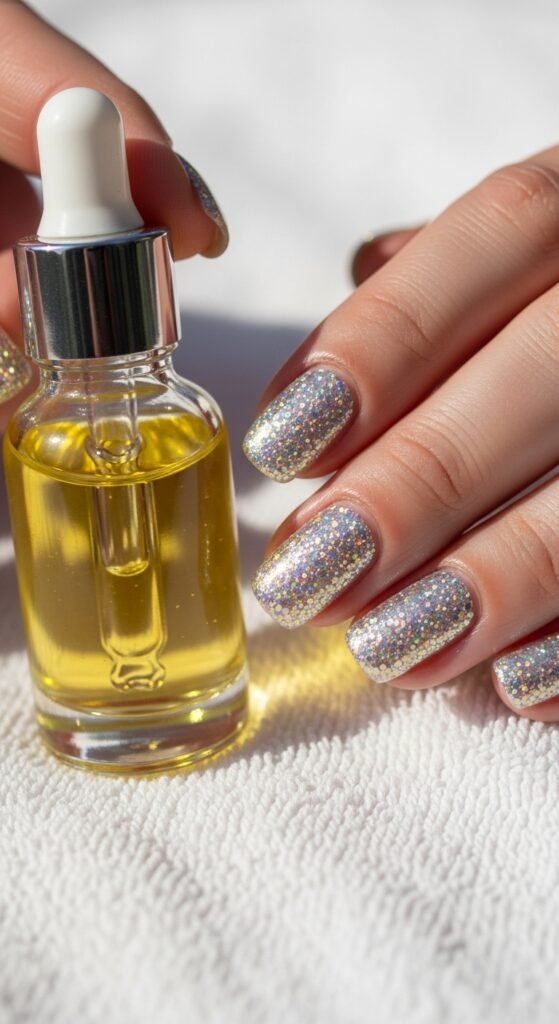
- Keep cuticles moisturized with oil or cream to enhance the overall look.
- When removing glitter nails, soak in nail polish remover with cotton pads wrapped in foil for 10–15 minutes—glitter can be stubborn!
Take Your Glitter to the Next Level
Glitter isn’t just for special occasions—it’s a fun way to express your personality daily. Don’t be afraid to mix colors, textures, and nail shapes. Whether it’s subtle shimmer or full-on sparkle, glitter nails are all about creativity and confidence.
Try creating your own signature glitter style and don’t forget to share it with friends or on social media for inspiration!
Final Tip: Keep a small jar of loose glitter handy—you never know when the perfect sparkle moment will strike.
Save this guide for your next DIY manicure session—it’s easier than you think to transform your nails into sparkling works of art!

Leave a Reply