
Nail art isn’t just about looking good—it’s a way to express your personality, match your outfit, and shine at any party. Whether you’re attending a birthday bash, a wedding, or just want to make your nails the talk of the night, creating fun and festive nail designs can elevate your whole look. And the best part? You don’t need to be a professional to make your nails sparkle!
In this guide, we’ll break down simple steps, tips, and ideas to help you create jaw-dropping nails that are party-ready. From prepping your nails to adding that final glittery touch, you’ll have everything you need to turn your nails into miniature works of art.
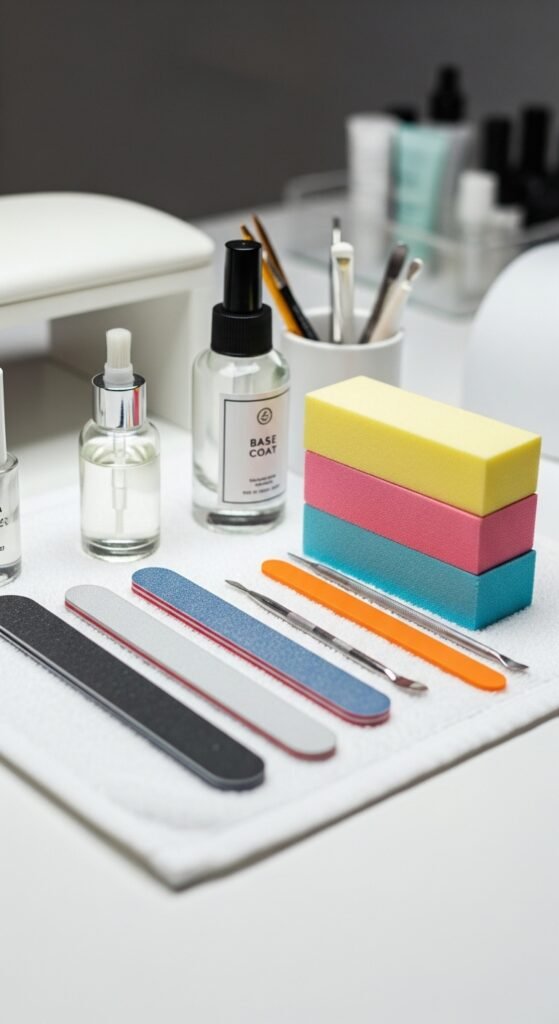
Step 1: Prep Your Nails Like a Pro
Before you even open a bottle of polish, the prep work is key. Well-prepped nails give your designs a smooth canvas and make your manicure last longer.
- Clean your nails: Remove old polish with a gentle, non-drying remover.
- Shape your nails: Use a file to achieve your preferred shape—square, round, or almond.
- Buff lightly: Smooth out ridges for a polished look.
- Moisturize cuticles: Healthy cuticles prevent chips and peeling.
Pro tip: A quick swipe of base coat helps protect your nails from staining and gives your colors something to cling to.
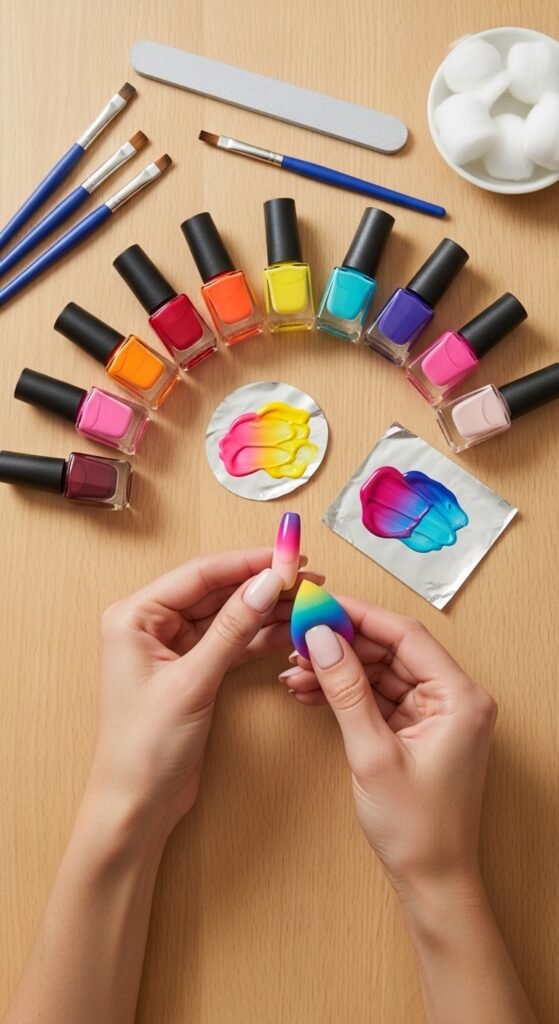
Step 2: Choose Your Party-Perfect Palette
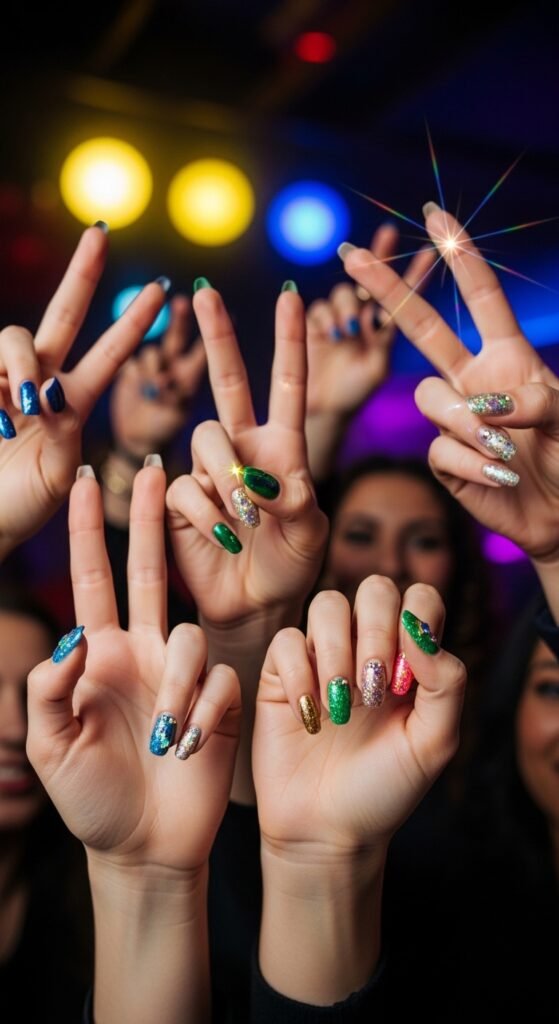
The colors you pick can completely transform your manicure. For parties, bold, vibrant, and shimmering shades tend to steal the show.
- Metallics like gold, silver, or rose gold
- Bright neon shades for summer parties
- Pastel mixes for a soft, elegant vibe
- Glitter topcoats for sparkle and glam
Don’t be afraid to mix and match! Contrasting colors on different nails or ombré effects can create a fun, Instagram-worthy look.
Step 3: Simple Yet Stunning Nail Art Techniques
You don’t need a steady hand to create eye-catching designs. Start simple, and gradually experiment with more intricate patterns.
Dotting Tools or Toothpicks
- Create polka dots or tiny floral patterns
- Combine contrasting colors for a playful look
Striping Tape
- Use for geometric designs or clean lines
- Paint over the tape, then peel off to reveal sharp patterns
Sponging
- Great for gradients or ombré nails
- Dab polish onto a small makeup sponge and gently press onto your nail
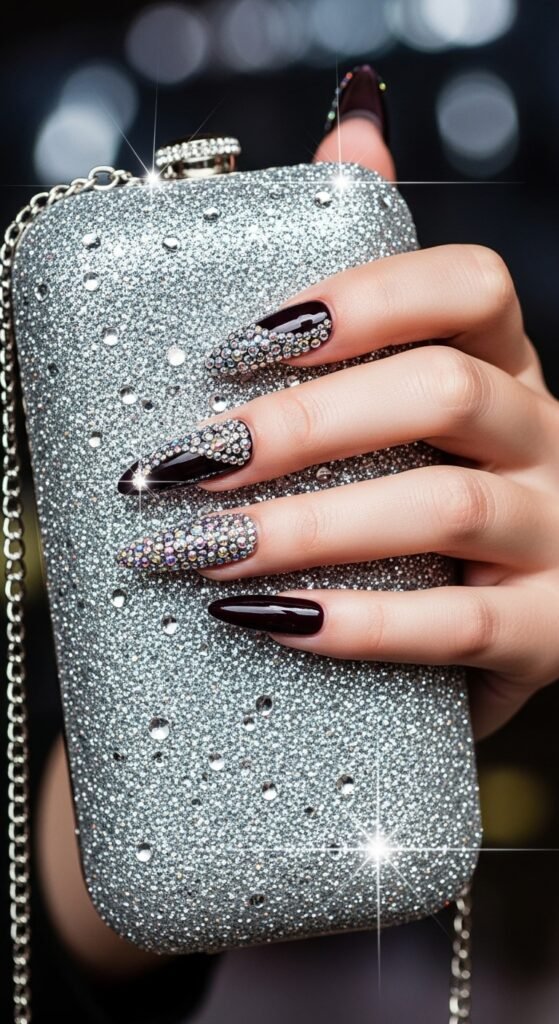
Glitter Accents
- Add glitter on just the tips or one accent nail for subtle sparkle
- Mix chunky and fine glitters for a multidimensional effect
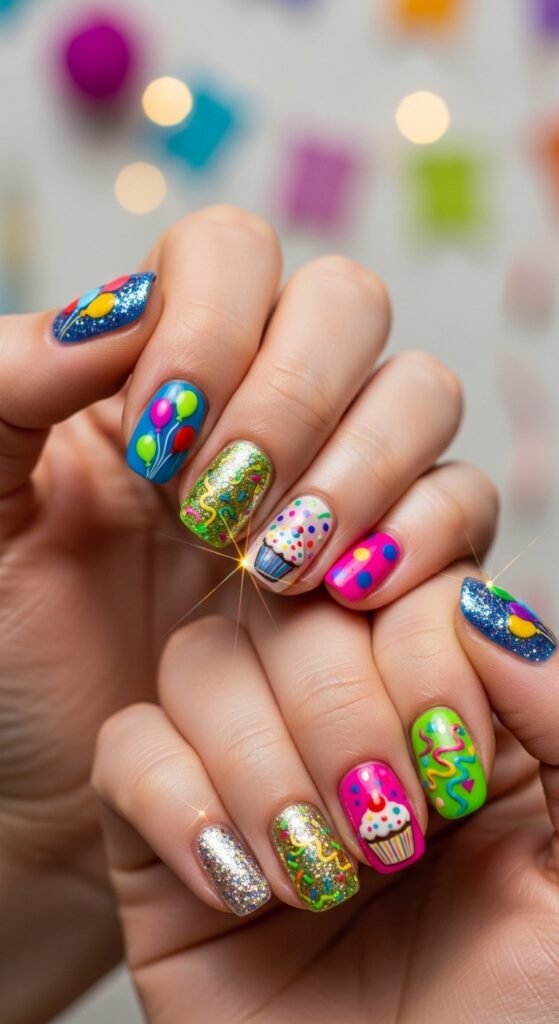
Step 4: Add Fun Party Details
The magic of party nails is in the details. Stickers, gems, and decals can make your manicure extra special without the need for advanced skills.
- Nail gems or rhinestones: Place on one or two nails for that “wow” effect.
- Foil accents: Gold or silver foil adds instant glam.
- Tiny stickers: Hearts, stars, or mini confetti shapes look festive and cute.
Pro tip: Use a topcoat to seal any decorations and make them last all night long.
Step 5: Finish With a Strong Topcoat
No manicure is complete without a topcoat. It locks in your design, adds shine, and protects your nails from chipping.
- Use a fast-drying topcoat if you’re short on time.
- For extra shine, apply a second layer after your first coat dries.
- Reapply every couple of days if your party lasts multiple days (or you just want to keep them fresh!).
Bonus Tips for Party-Ready Nails
- Prep the night before: Give your nails time to dry and prevent smudging.
- Keep tools handy: A small brush and remover pen fix small mistakes on the go.
- Coordinate with outfits: Match nails to your accessories or party theme for a cohesive look.
- Don’t stress perfection: Imperfect dots or stripes often give nails a playful, creative vibe.
Creating nail art for parties is all about having fun and experimenting with colors, textures, and designs. Even simple touches like glitter, stripes, or tiny gems can transform your nails into stunning accessories. So gather your favorite polishes, grab some tools, and start designing your perfect party manicure tonight.
Save this guide for your next celebration and let your nails do the talking!

Leave a Reply