
Nail art might seem intimidating at first, with its intricate designs and endless tools, but the truth is—you don’t need to be a professional to create gorgeous nails. With a few basic supplies, a little patience, and some creativity, anyone can transform their nails into tiny works of art. Whether you’re prepping for a casual brunch or just want to add a pop of color to your day, these easy nail art ideas are perfect for beginners.
Gather Your Essentials
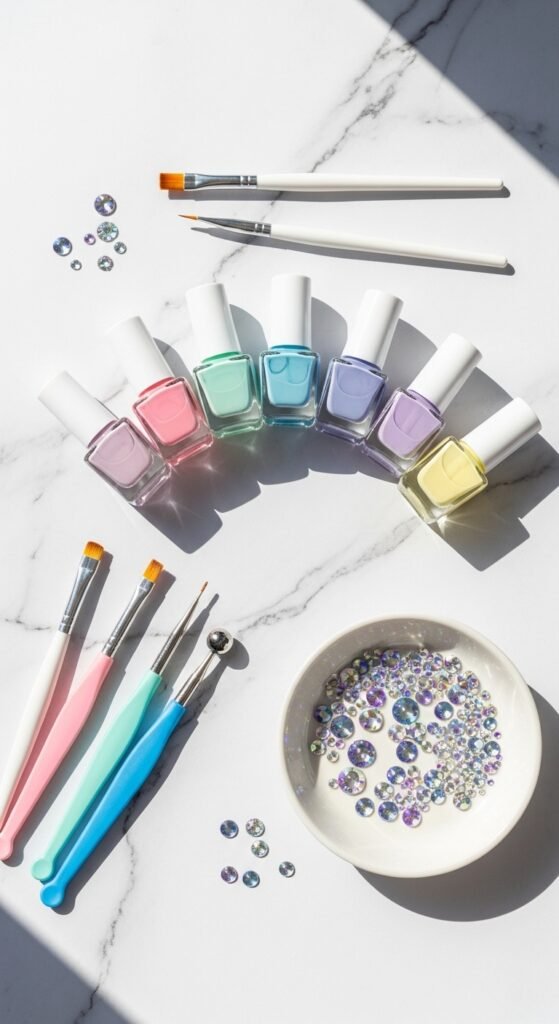
Before diving into nail art, it’s important to have the right tools. You don’t need a full professional kit—just a few basics will get you started:
- Base coat and top coat – Protects your nails and makes designs last longer.
- Nail polish in a few favorite colors – Pick two to three shades that complement each other.
- Dotting tools or toothpicks – Perfect for creating polka dots and simple patterns.
- Thin nail art brushes – Great for stripes, lines, or small designs.
- Nail stickers or decals (optional) – Instant designs without the fuss.

Tip: Always have some cotton pads and nail polish remover handy for quick corrections. Mistakes happen, and that’s okay!
Prep Your Nails
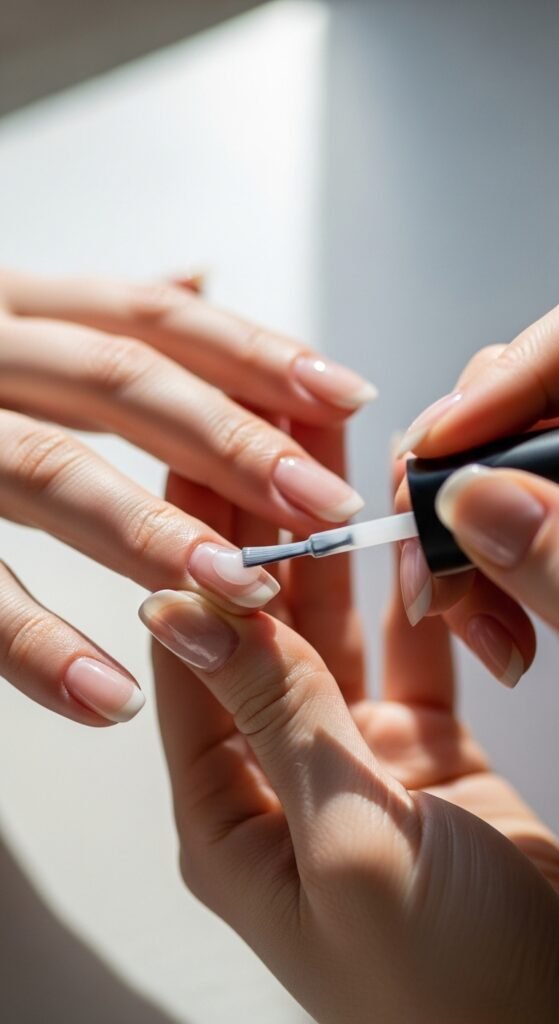
Good nail art starts with a clean canvas. Follow these simple steps:
- Remove old polish – Use a gentle remover to clear any previous layers.
- Shape your nails – File them into your desired shape, whether square, oval, or rounded.
- Push back cuticles – This helps your design look neat and professional.
- Apply a base coat – A thin layer protects your nails and prevents staining.
Pro Tip: Let each layer dry completely before moving on to avoid smudges. Even a few extra minutes can make a big difference.
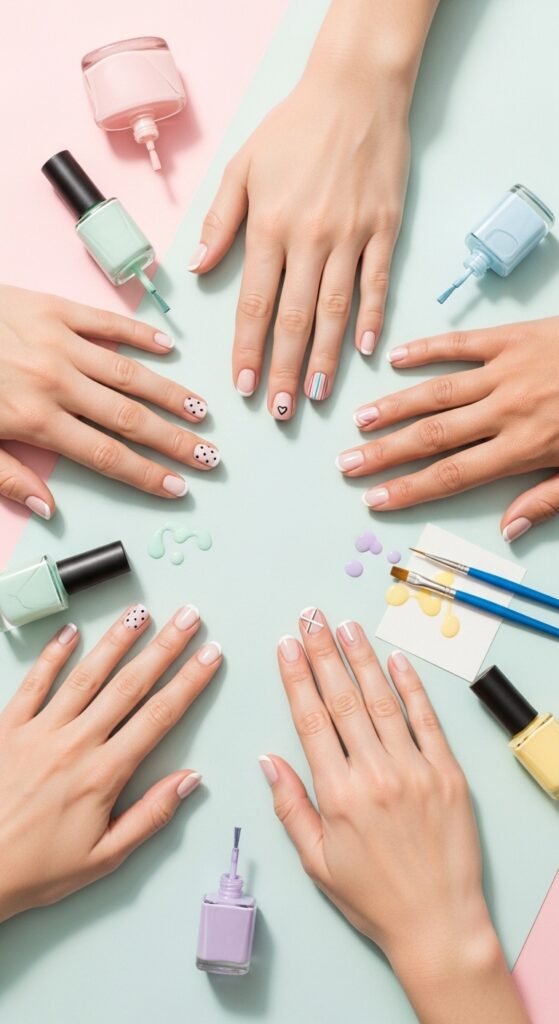
Try Simple Patterns
As a beginner, start with designs that are easy but look impressive:
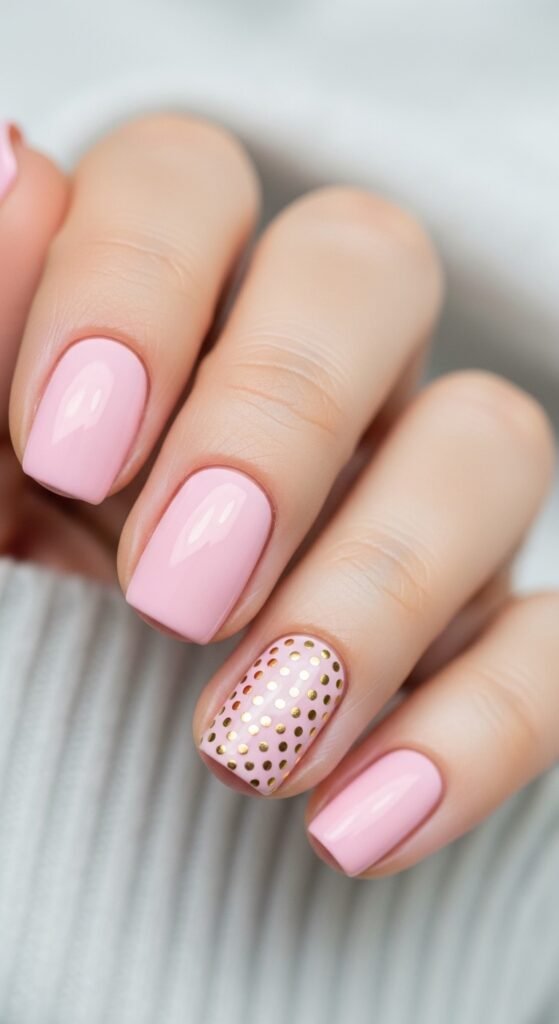
Polka Dots
- Apply a base color and let it dry.
- Use a dotting tool or toothpick to place dots in a contrasting shade.
- Finish with a top coat.
Stripes
- Apply a base color.
- Use thin nail brushes or tape to create straight lines.
- Top with a clear coat to seal your stripes.
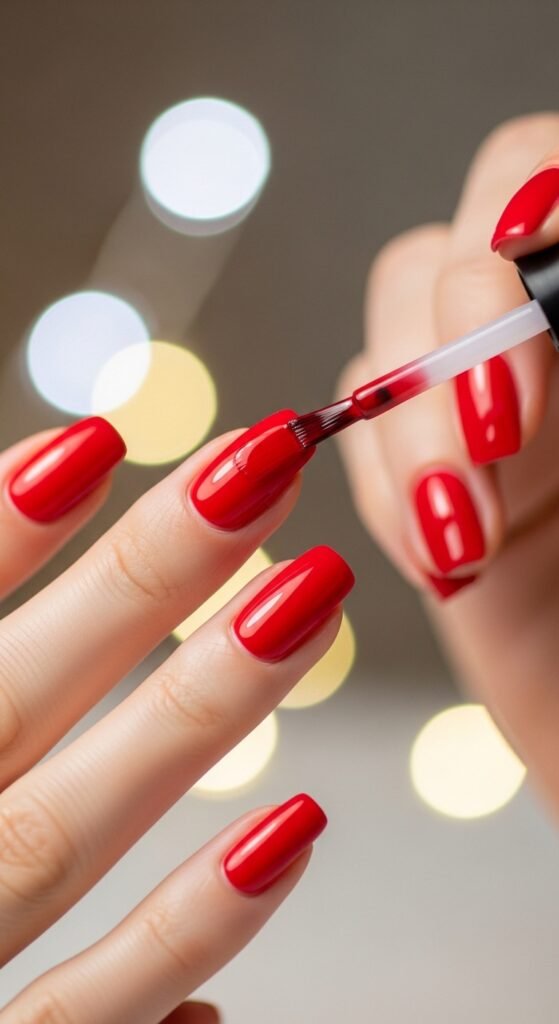
Accent Nail
- Paint most nails a solid color and choose one nail for a special design.
- Add glitter, a small sticker, or a simple hand-painted motif.
Tip: Start small. Even a single accent nail can make your manicure feel creative and polished.
Explore Easy DIY Designs
If you’re feeling adventurous, these beginner-friendly designs are perfect:
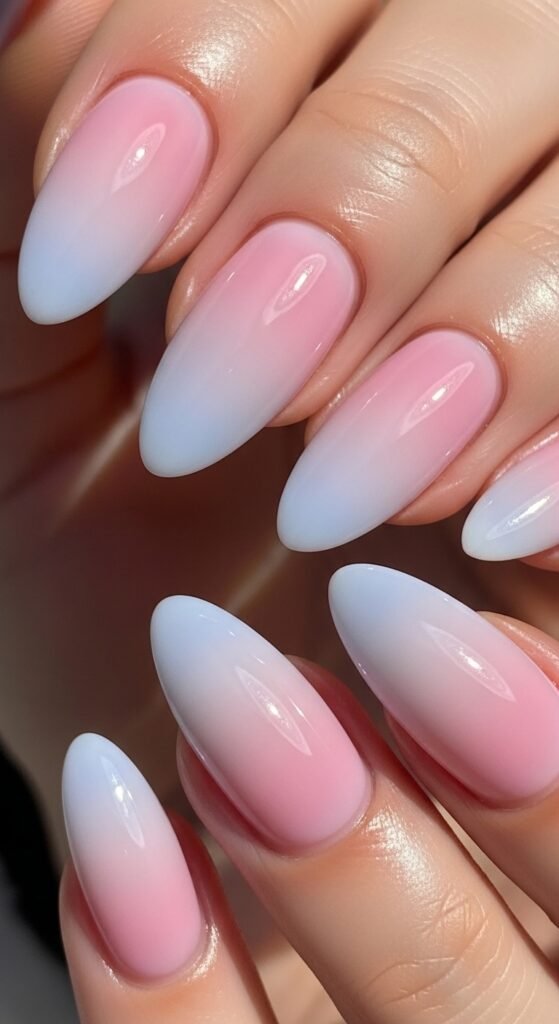
- Gradient nails: Use a makeup sponge to blend two colors gently.
- Floral patterns: Dot five small dots in a circle for a flower, then add a contrasting center dot.
- Minimalist lines: Use a thin brush for geometric shapes or tiny stripes.
Pro Tip: Less is more. Clean, minimal designs often look the most stylish for beginners.
Seal the Design
After all the painting is done, it’s time to protect your work:
- Apply a generous top coat to seal your design.
- Let nails dry completely—this may take 10–15 minutes.
- Moisturize your cuticles with a light oil for a professional finish.
Quick Tip: Avoid using your hands heavily for the next hour to prevent smudging.
Final Thoughts
Easy nail art doesn’t have to be complicated. With practice, patience, and a few simple tools, you can create fun, stylish designs that reflect your personality. Start with one technique, like polka dots or stripes, and gradually explore more creative options as your confidence grows.
Save this guide, gather your favorite nail polishes, and enjoy experimenting—because perfect nails are really about having fun!

Leave a Reply