
You don’t need a salon appointment to have stylish, eye-catching nails. With a few simple tools and a little patience, you can create trendy nail designs right at your kitchen table. From minimalist swirls to colorful French tips, at-home nail art is easier than it looks—and much more affordable.
Let’s break it down step by step so you can achieve Pinterest-worthy nails on your own.
Start With a Clean, Smooth Base
Every great manicure begins with proper prep. Skipping this step can lead to chipping and uneven polish.
Step 1: Remove Old Polish
Use a gentle nail polish remover and cotton pads to completely clean your nails.
Step 2: Shape Your Nails
Choose a shape that fits your style:
- Square – modern and clean
- Almond – trendy and elegant
- Oval – soft and natural
File in one direction to prevent splitting.
Step 3: Care for Cuticles
Soak your hands in warm water for five minutes, then gently push back cuticles. Trim only if necessary.
Step 4: Buff and Clean
Lightly buff the nail surface to smooth ridges. Wipe nails with remover again to eliminate oils before applying polish.
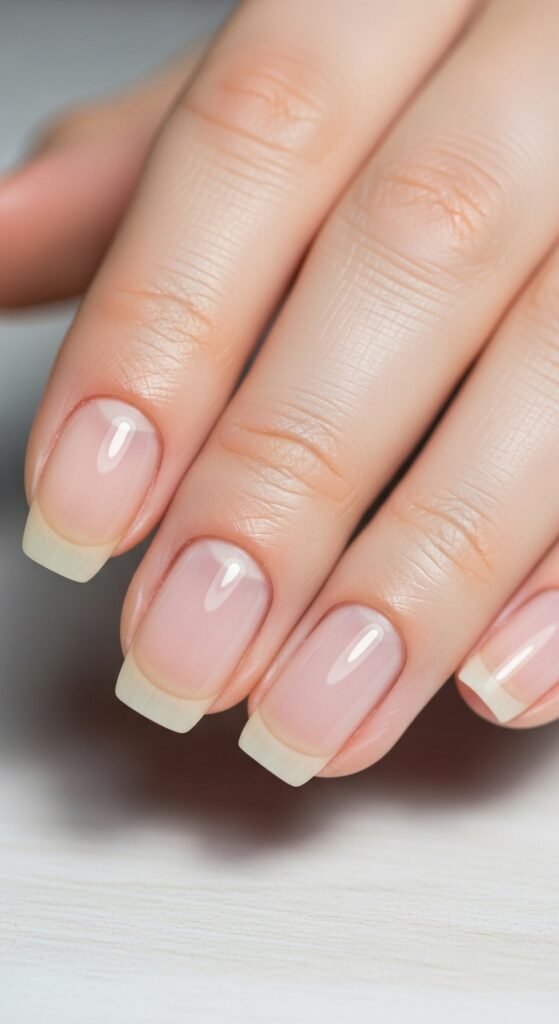
A smooth base helps polish glide on evenly and last longer.
Build Your Simple Nail Art Kit
You don’t need professional tools to get started. Most designs require only a few essentials.
Must-haves:
- Base coat
- Top coat
- 2–4 nail polish colors
- Thin nail art brush or toothpicks
- Dotting tool (or a bobby pin)
- Small makeup sponge
Optional but helpful:
- Nail tape
- Cuticle oil
- Quick-dry drops
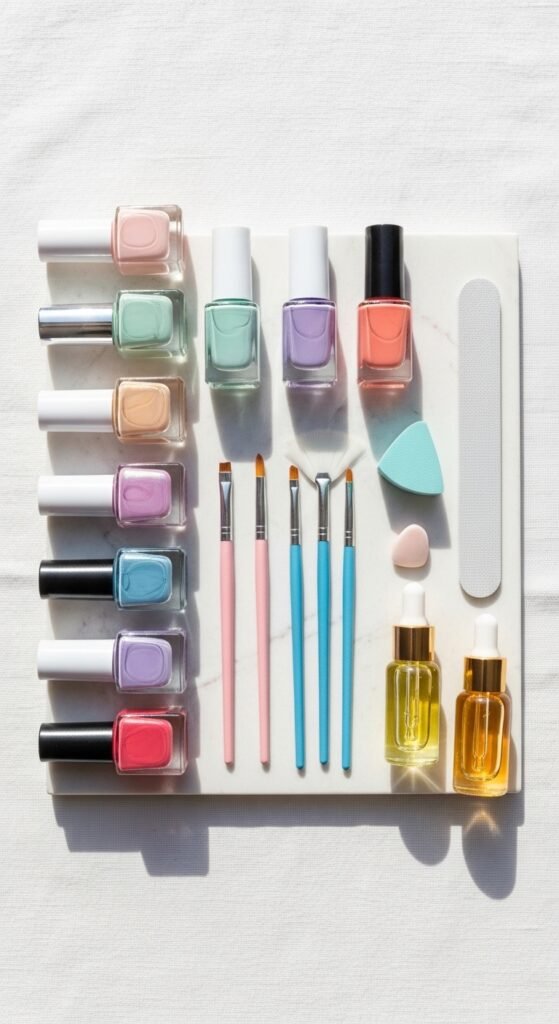
Having everything ready before you begin makes the process smoother and more enjoyable.
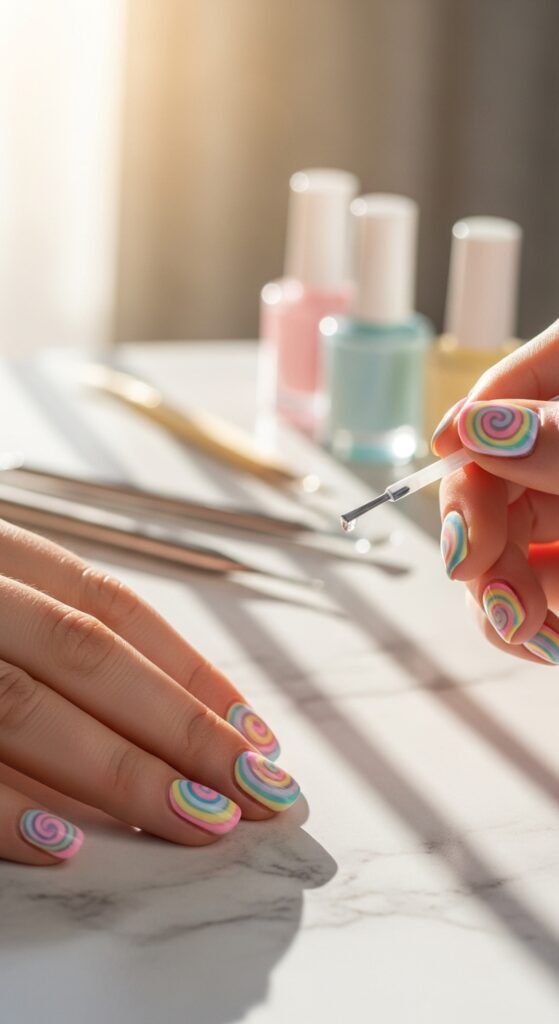
Trend #1: Minimalist Swirl Nails
Swirl nails are one of the most popular modern designs. The best part? They don’t have to be perfect.
How to Create Swirls:
- Apply a base coat and let dry.
- Paint your nails with a neutral shade like beige or soft pink.
- Dip a thin brush into a contrasting color.
- Draw curved, flowing lines across the nail.
- Add a second color for extra dimension.
- Seal with a glossy top coat.
Keep your hand steady, but don’t stress over symmetry. Slightly imperfect swirls look artistic and contemporary.
Color ideas to try:
- Soft pastels for spring
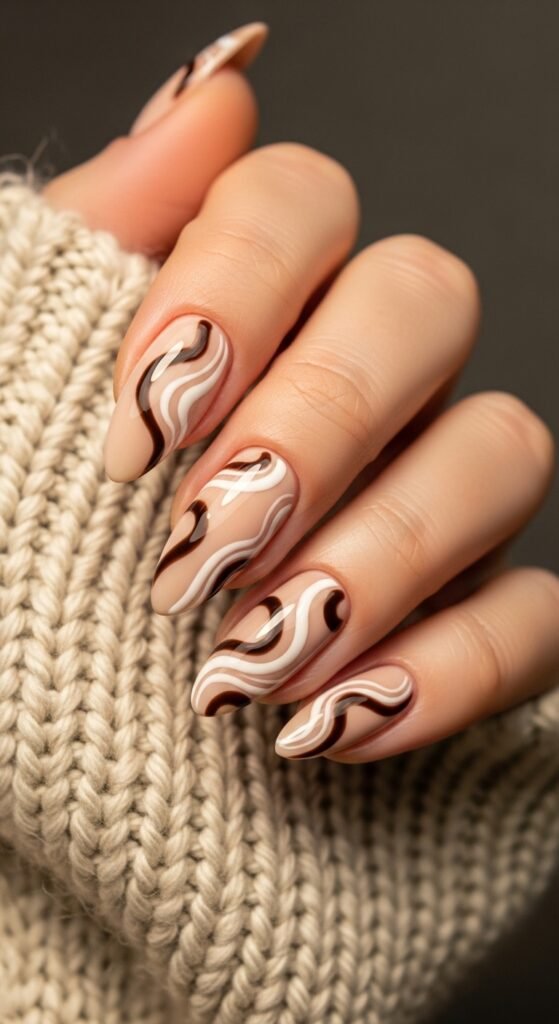
- Chocolate brown and cream for autumn
- Black and nude for a sleek everyday look
Trend #2: Floral Accent Nails
Floral nails are soft, fresh, and perfect for any season. The easiest way to wear this trend is by decorating just one or two accent nails.
Simple Flower Technique:
- Apply your base color and let dry fully.
- Use a dotting tool to place five small dots in a circle.
- Add a contrasting dot in the center.
- Repeat on one or two nails only.
- Finish with top coat.
Beginner-friendly combinations:
- Baby blue with white flowers
- Lilac with yellow centers
- Nude with pale pink petals

Keeping the rest of the nails a solid color balances the design and keeps it modern.
Trend #3: Glazed Shine Effect
The glossy, pearly nail look remains a favorite. You can recreate this finish without special powders.
DIY Glazed Look:
- Apply a sheer milky polish.
- Allow it to dry completely.
- Lightly dab a pearly or shimmery eyeshadow over the nail using a sponge.
- Seal generously with a glossy top coat.
Thin layers are key here. Build slowly for a smooth, reflective finish.
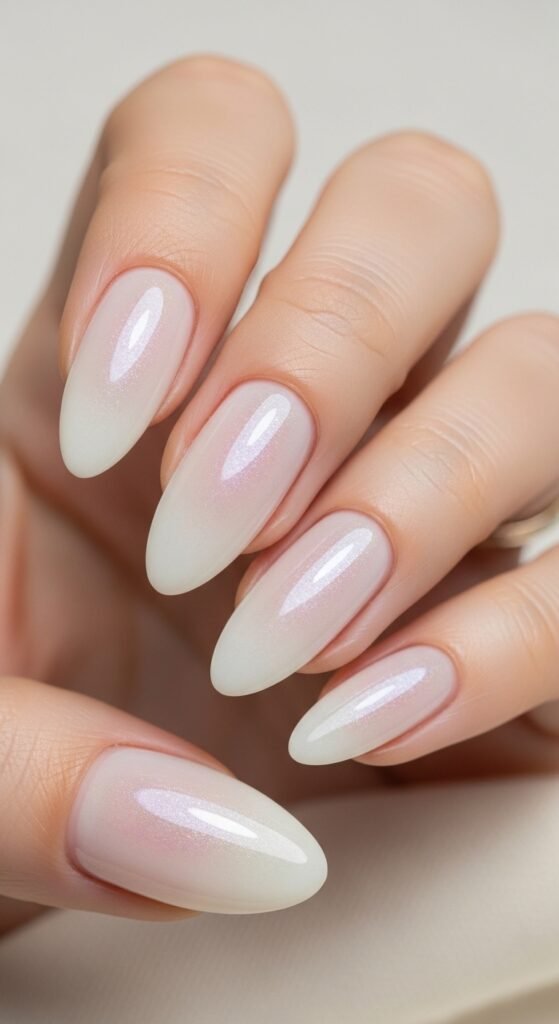
This design works beautifully on almond or oval nails and pairs well with neutral outfits.
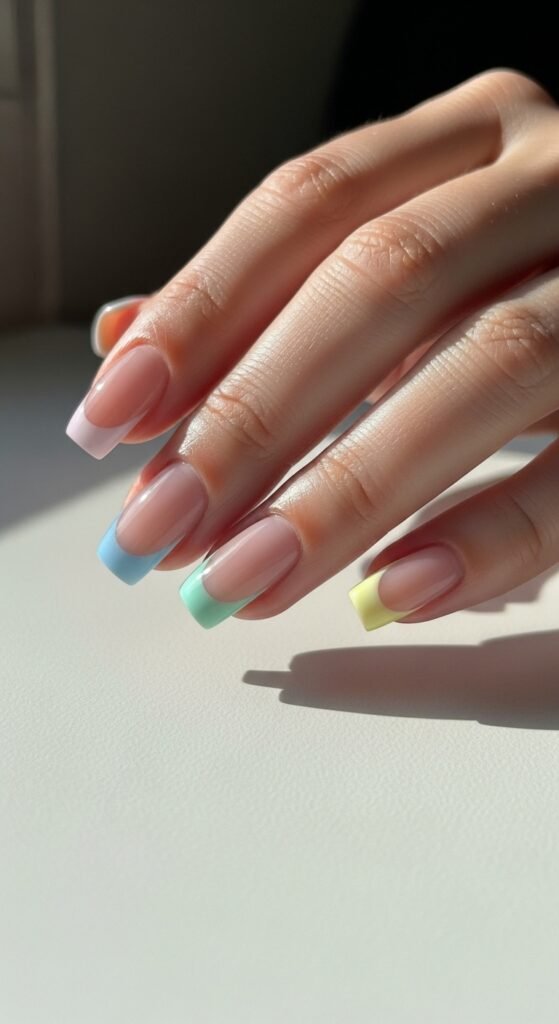
Trend #4: French Tips With Color
Classic French tips are timeless, but colorful versions feel fresh and trendy.
Variations to Try:
- Pastel tips
- Double-line French
- Diagonal tips
- Different color on each nail
Easy Application Trick:
Use nail tape or a small bandage as a guide. Paint the tip, then remove the guide while the polish is still slightly wet. Finish with top coat for a clean edge.
How to Make Your Manicure Last
Longevity depends on technique. Follow these tips:
- Always apply a base coat
- Use thin, even layers
- Cap the edges by brushing polish across the nail tip
- Wait at least 60 seconds between coats
- Reapply top coat after two to three days
Applying cuticle oil daily also keeps nails looking fresh and healthy.
Common Mistakes to Avoid
Small errors can affect your final result. Watch out for these:
- Shaking the polish bottle (roll it between your hands instead)
- Applying thick coats
- Skipping drying time
- Letting polish flood the cuticle area
Take your time. Nail art is meant to be relaxing and creative.
Final Takeaway
Trendy nail designs at home are completely achievable with simple tools and a little practice. Start with beginner-friendly styles like swirls or floral accents, then experiment with color combinations and finishes as you gain confidence.
You don’t need perfection—just creativity and patience. Save this guide for your next self-care night and try a new design this weekend.

Leave a Reply