
Minimalist nail art is proof that less really can be more. Clean lines, soft colors, and delicate details can transform your nails into tiny works of art—without requiring professional skills or expensive tools. The best part? You can easily create these chic designs right at home, even if you’re a beginner.
Whether you love subtle elegance or modern simplicity, this guide will walk you through everything you need to create Pinterest-worthy minimalist nails from the comfort of your home.
Why Minimalist Nail Art Is So Popular
Minimalist nails are trending for good reason. They’re stylish, versatile, and surprisingly easy to achieve.
Here’s why people love them:
- They match almost any outfit or occasion
- They require fewer tools and colors
- Mistakes are less noticeable
- Designs grow out more naturally
Minimalist nail art focuses on small details rather than complex patterns, making it perfect for beginners or anyone short on time.
Gather Your Nail Art Essentials
Before starting, having the right tools makes the process smoother and more enjoyable. You don’t need a huge collection—just a few basics.
Must-have supplies:
- Nail polish remover
- Nail file and buffer
- Base coat
- Neutral or pastel nail polish colors
- Fine nail art brush or toothpick
- Top coat
- Cotton pads or swabs
Optional but helpful:
- Dotting tool
- Nail tape or striping tape
- Small rhinestones or metallic flakes
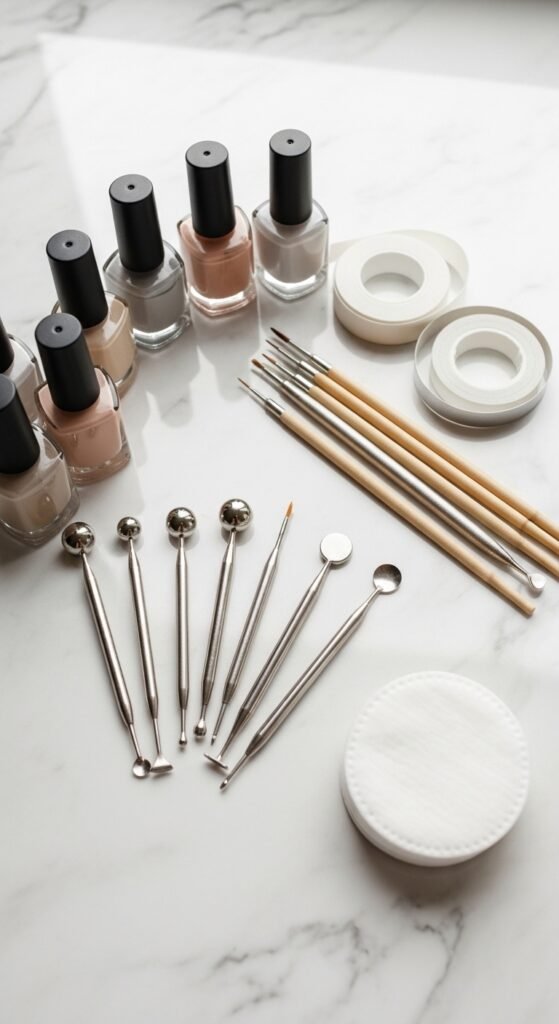
Keeping your tools organized helps you work faster and keeps designs clean and precise.
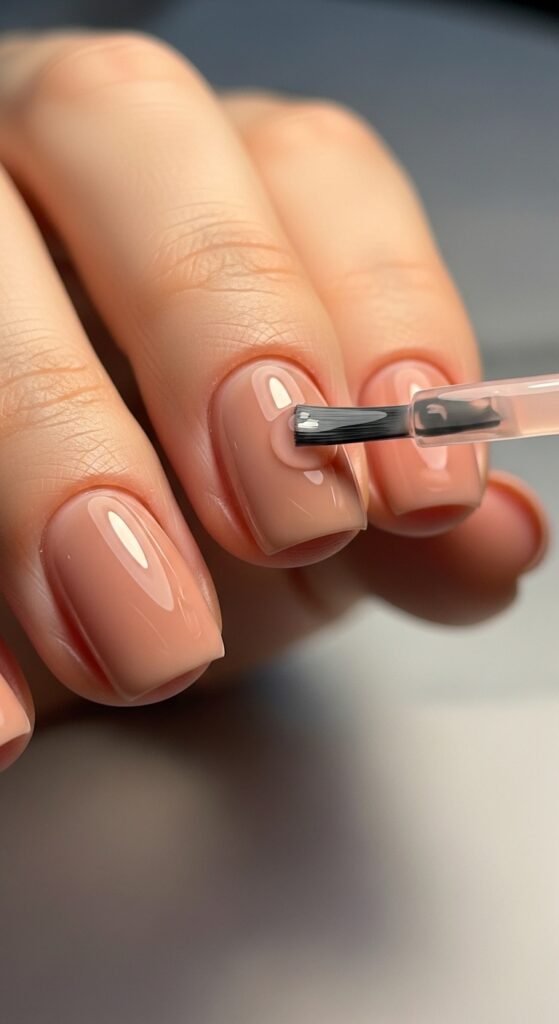
Step 1: Prep Your Nails Properly
Good preparation is the secret to long-lasting and professional-looking nail art.
Follow these steps:
- Remove old nail polish completely.
- Trim and shape your nails using a file.
- Gently buff the nail surface to smooth ridges.
- Push back cuticles carefully.
- Wash and dry your hands thoroughly.
Finish by applying a thin base coat. This protects your nails and helps polish adhere better.
Let the base coat dry completely before moving on.
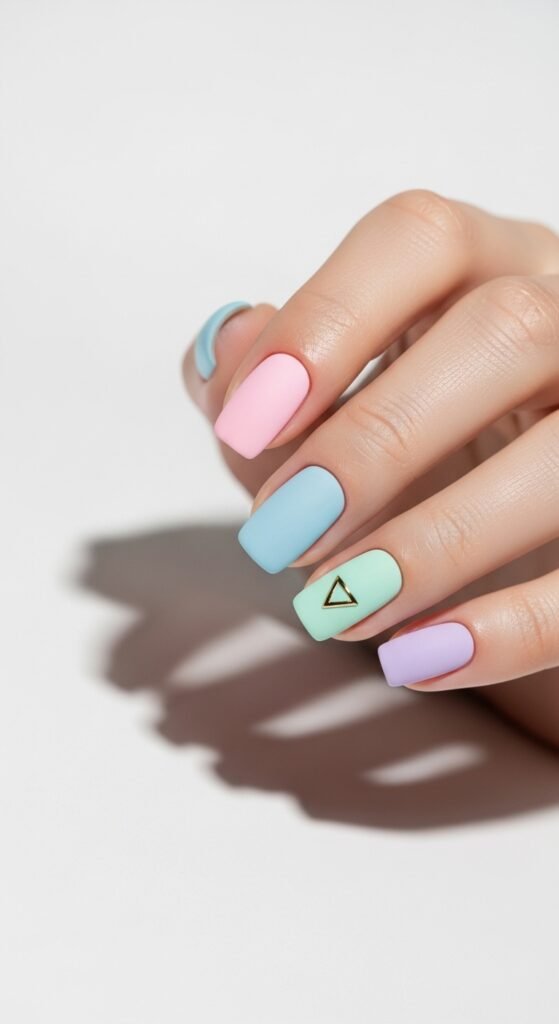
Step 2: Choose a Minimalist Color Palette
Minimalist nail art usually works best with soft, simple colors. Neutral tones create an elegant and timeless look.
Popular minimalist shades:
- Nude
- Soft pink
- Milky white
- Beige or taupe
- Light gray
- Pastel lavender or mint
You can also add contrast using black, white, or metallic accents for small details.
Tip: Stick to two or three colors for a clean, modern aesthetic.
Step 3: Try Easy Minimalist Designs
You don’t need advanced skills to create beautiful nail art. Start with simple designs that look polished but require minimal effort.
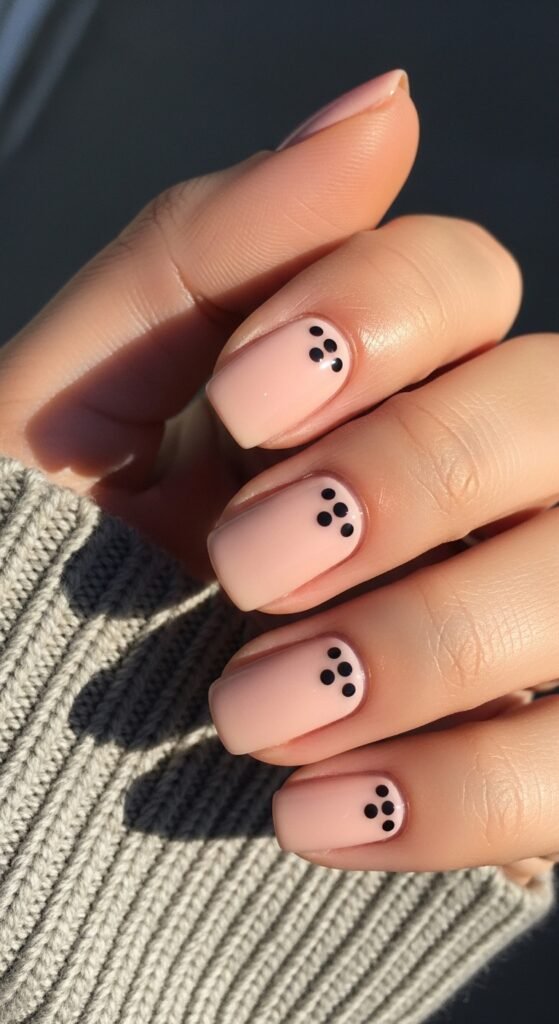
1. Tiny Dots
This is one of the easiest designs for beginners.
- Apply your base color and let it dry
- Use a dotting tool or toothpick
- Add one small dot near the cuticle or center of the nail
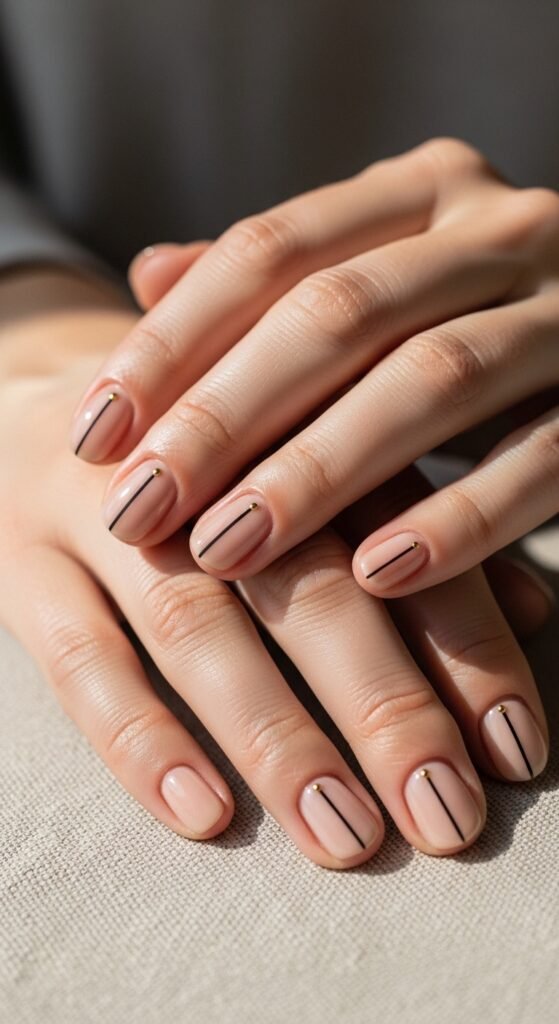
2. Thin Lines
Clean lines instantly create a modern, artistic look.
- Use a fine nail art brush
- Draw a single vertical or diagonal line
- Try metallic or black lines over neutral polish
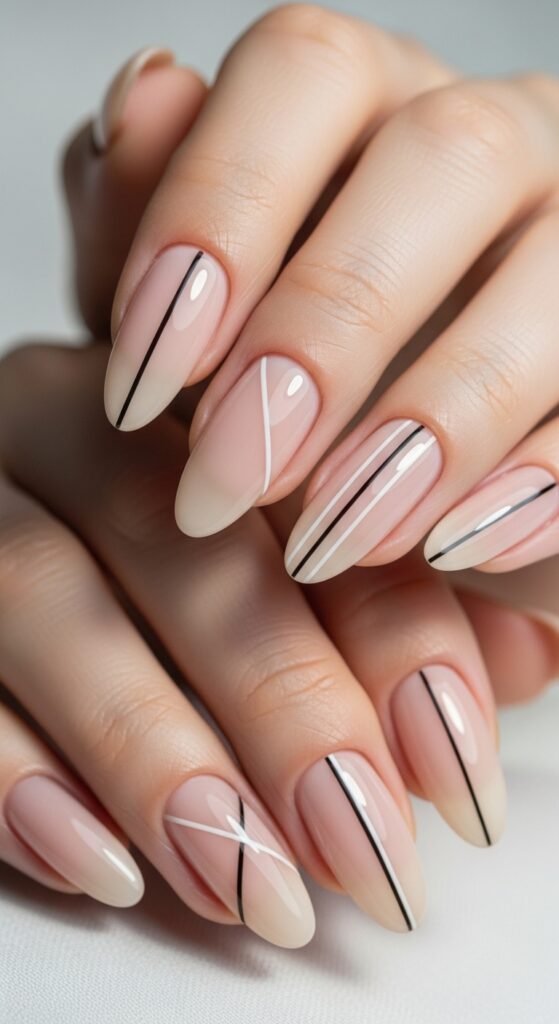
Keep the lines slightly imperfect—minimalist nail art often embraces organic shapes.
3. Negative Space Designs
Negative space means leaving part of the nail uncovered for a sleek, trendy effect.
- Apply tape to create shapes or sections
- Paint exposed areas with polish
- Remove tape carefully once slightly dry
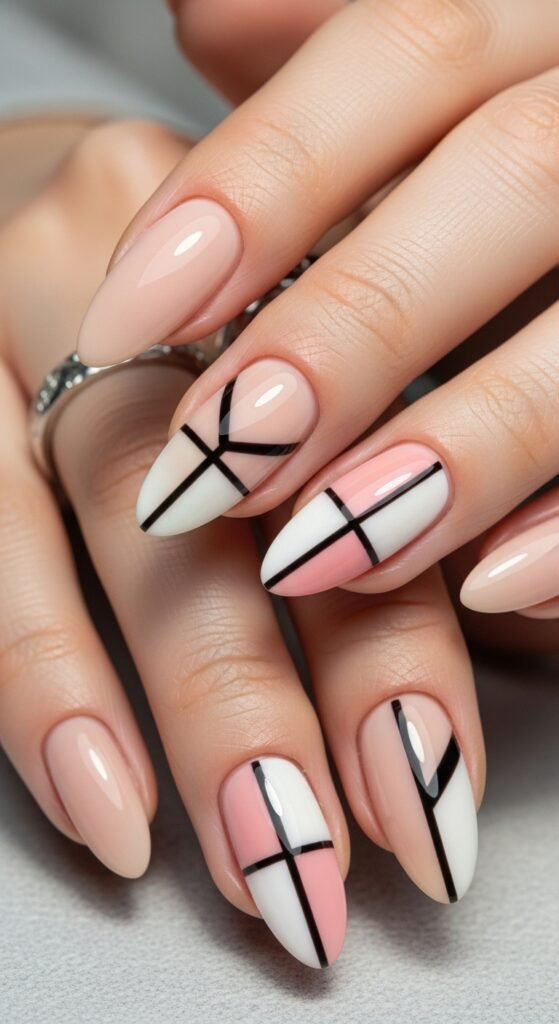
This design looks complicated but is surprisingly simple to create.
4. Accent Nail Detail
Instead of decorating every nail, focus on one or two accent nails.
- Paint all nails with a neutral base
- Add a small heart, star, or geometric detail to one nail
Step 4: Work Slowly and Layer Carefully
Minimalist designs require patience. Rushing can smudge polish or create uneven details.
Helpful tips:
- Apply thin polish layers to prevent bubbling
- Let each layer dry fully before adding details
- Use small strokes instead of thick ones
- Keep cotton swabs dipped in remover for quick corrections
Working slowly helps your designs look crisp and professional.
Step 5: Seal Your Design
A top coat is essential for protecting your artwork and adding shine.
Why top coat matters:
- Prevents chipping
- Smooths uneven textures
- Makes designs last longer
- Adds a glossy or matte finish
Apply one thin layer and allow it to dry completely. Reapply every few days to extend wear time.
Common Beginner Mistakes to Avoid
Even simple nail art can go wrong if you skip important steps.
Watch out for:
- Applying polish too thickly
- Not allowing enough drying time
- Using too many colors or details
- Skipping base or top coat
Remember, minimalist nail art is all about simplicity and balance.
Make It Your Own
The beauty of minimalist nail art is its flexibility. You can personalize your nails while keeping them simple.
Try experimenting with:
- Seasonal colors
- Tiny metallic accents
- Soft ombré effects
- Abstract shapes
Minimalist designs allow creativity without overwhelming your nails.
Final Thoughts
Minimalist nail art at home is fun, relaxing, and surprisingly beginner-friendly. With just a few tools, a steady hand, and a little patience, you can create elegant designs that look professionally done.
Start with simple dots or lines, experiment with neutral shades, and build confidence as you go. Your perfect minimalist manicure might be just one design away.
Save this guide for later and try your first minimalist nail art design today

Leave a Reply