
There’s something magical about floral nail art. One tiny daisy or delicate rose can instantly make your manicure look soft, romantic, and totally Pinterest-worthy. The best part? You don’t need to be a professional nail artist to pull it off.
With a few simple tools and easy techniques, you can create beautiful flower designs right at home — even if you’ve never tried nail art before.

Let’s break it down step by step so you can create your own floral masterpiece.
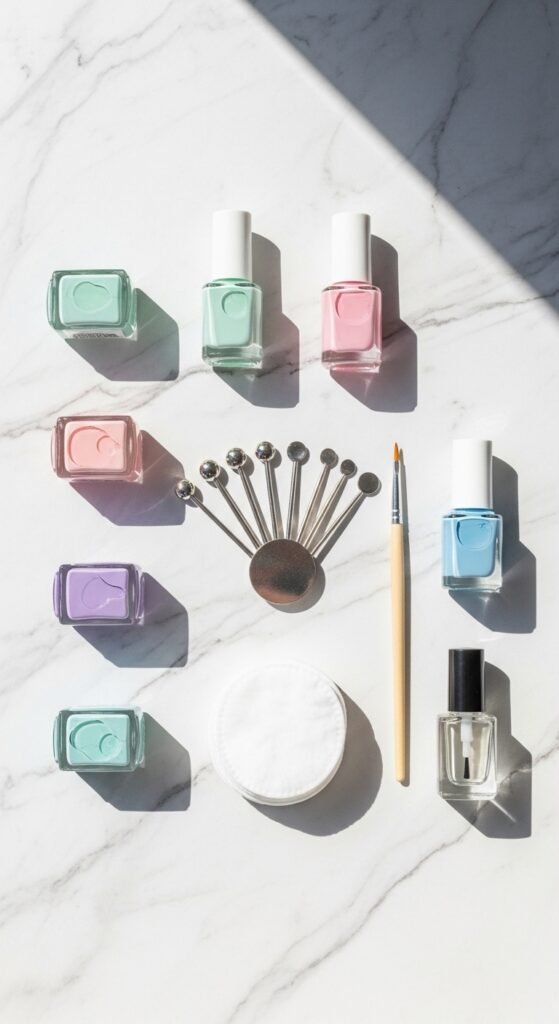
What You’ll Need
Before you start, gather your supplies. You probably already have most of these at home.
Basic tools:
- Base coat
- Top coat
- 2–4 nail polish colors (one base color + flower colors + optional leaf color)
- A dotting tool (or a bobby pin/toothpick)
- A thin nail art brush (optional but helpful)
- Cotton swabs
- Nail polish remover
If you’re just starting out, don’t overcomplicate it. A dotting tool and two polish colors are enough to create cute, simple flowers.
Step 1: Prep Your Nails Properly
Great nail art starts with a smooth base.
- Remove any old polish.
- Trim and shape your nails.
- Gently push back your cuticles.
- Apply a thin layer of base coat.
Let the base coat dry completely before moving on. This helps your design last longer and prevents staining.
Next, apply your base color. Soft shades like nude, blush pink, baby blue, lavender, or white work beautifully for floral designs. Apply 1–2 thin coats and allow them to dry fully.
Patience here makes a huge difference.
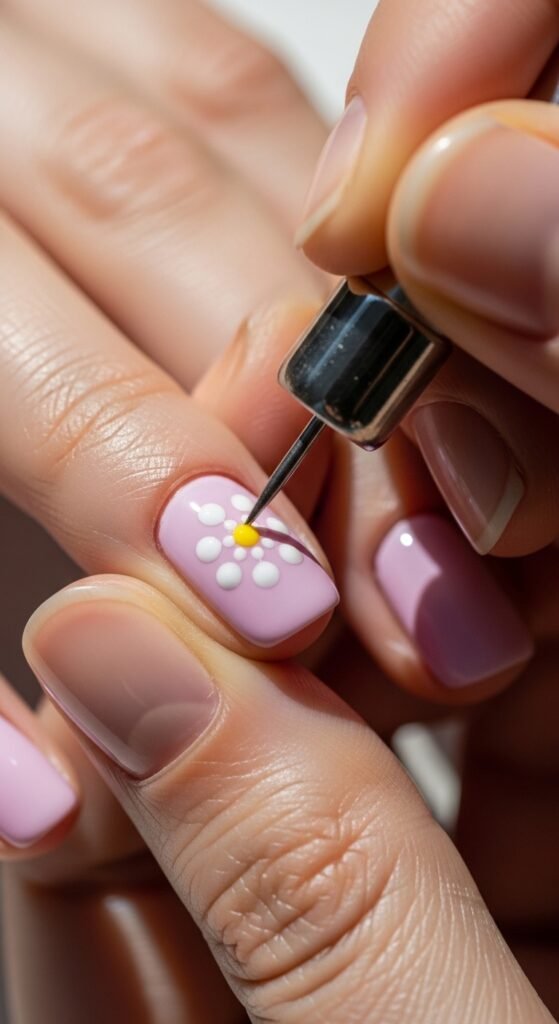
Step 2: Create Simple 5-Dot Flowers (Beginner-Friendly)
If you can make dots, you can make flowers.
Here’s how:
- Dip your dotting tool into your flower color.
- Make 5 small dots in a circle — these are the petals.
- Leave a tiny gap in the middle.
- Add a contrasting dot in the center for the flower core.
That’s it. You’ve just created a flower.
Repeat on each nail or keep it minimal with one accent nail. Random placement makes it look more natural and effortless.
Pro Tip:
- Use smaller dots for delicate daisies.
- Mix two shades in the petals for a soft, dimensional look.
Step 3: Add Leaves and Tiny Details
Once your flowers dry, you can level up the design with subtle details.
To add leaves:
- Use a thin brush or toothpick.
- Create two small curved strokes on opposite sides of the flower.
- A soft green or sage shade looks fresh and modern.
You can also add:
- Tiny white dots around the flowers for a whimsical feel.
- Gold accents using a thin line near the cuticle.
- A subtle glitter top layer for a soft shimmer.
Small details make your manicure look professionally done without much extra effort.
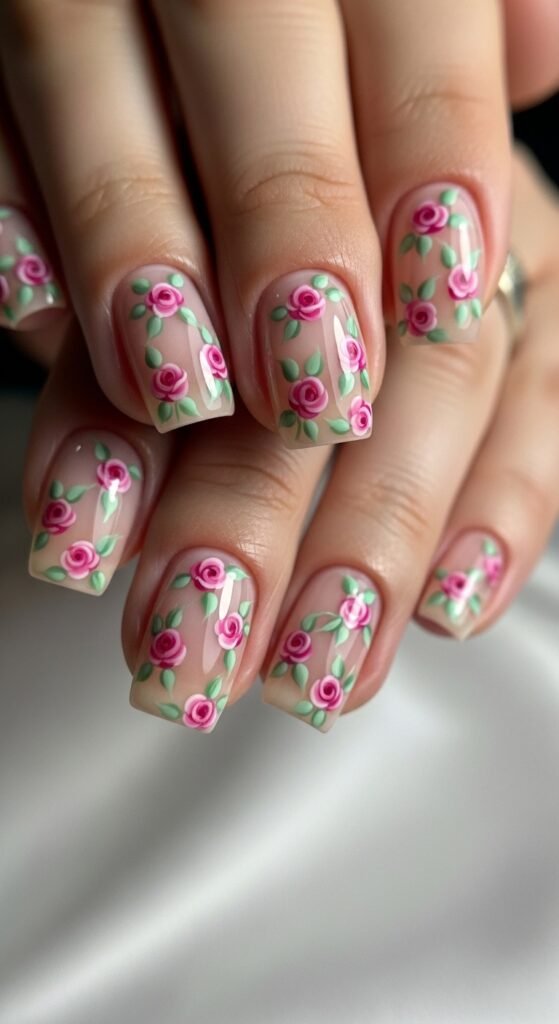
Step 4: Try Easy Rose Nail Art
Ready for something slightly more advanced? Mini roses look intricate but are surprisingly simple.
Here’s the trick:
- Make a small blob of pink polish.
- Using a thin brush, draw tiny curved lines inside the blob with a slightly darker shade.
- Add a few irregular outer strokes to mimic petals.
- Finish with small green strokes for leaves.
It doesn’t have to be perfect. Roses actually look better when they’re slightly imperfect and organic.
Step 5: Seal It In
Once your design is completely dry, apply a generous layer of top coat.
This:
- Protects your art
- Adds shine
- Smooths out the surface
- Makes your manicure last longer
Be gentle with the brush to avoid smudging. A floating technique (barely pressing the brush onto the nail) works best.
Let everything dry thoroughly before using your hands heavily.
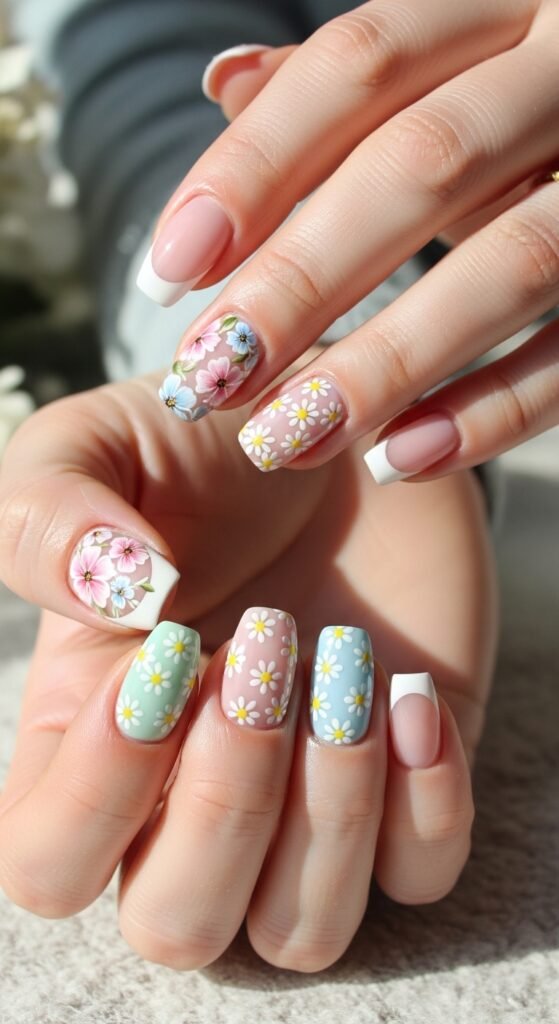
Easy Floral Design Ideas to Try
Need inspiration? Here are a few beginner-friendly styles:
1. Accent Nail Florals
Paint flowers on just one nail per hand and keep the rest solid.
2. French Tip Flowers
Create tiny flowers along the tip instead of a traditional French line.
3. Minimalist Micro Florals
Add one tiny flower near the cuticle for a clean, trendy look.
4. All-Over Garden
Scatter small flowers across every nail in different colors.
Common Mistakes to Avoid
Even simple nail art can go wrong if you rush. Here’s what to watch for:
- Using too much polish on the dotting tool (creates messy petals)
- Not letting layers dry fully
- Overcrowding the nail with too many flowers
- Skipping the top coat
Remember, less is often more. A few well-placed flowers look chic and elegant.
Final Thoughts
Floral nail art doesn’t have to be complicated or intimidating. With a dotting tool, a steady hand, and a little patience, you can create beautiful blooms right at home.
Start simple. Practice a few flowers. Experiment with color combinations. And most importantly, have fun with it.
Your nails are tiny canvases — let them bloom.
Save this tutorial for your next DIY manicure session and try one of these floral styles this week.

Leave a Reply