
Glitter nails are gorgeous. They catch the light, elevate any outfit, and instantly make you feel polished.
But let’s be honest — glitter can also turn your desk, your clothes, and your entire house into a sparkly disaster zone.
The good news? You can get salon-worthy glitter nails without the chaos. With the right prep and a few clever tricks, you’ll keep the sparkle on your nails — not everywhere else.
Let’s break it down step-by-step so you can create mess-free glitter nail art like a pro.
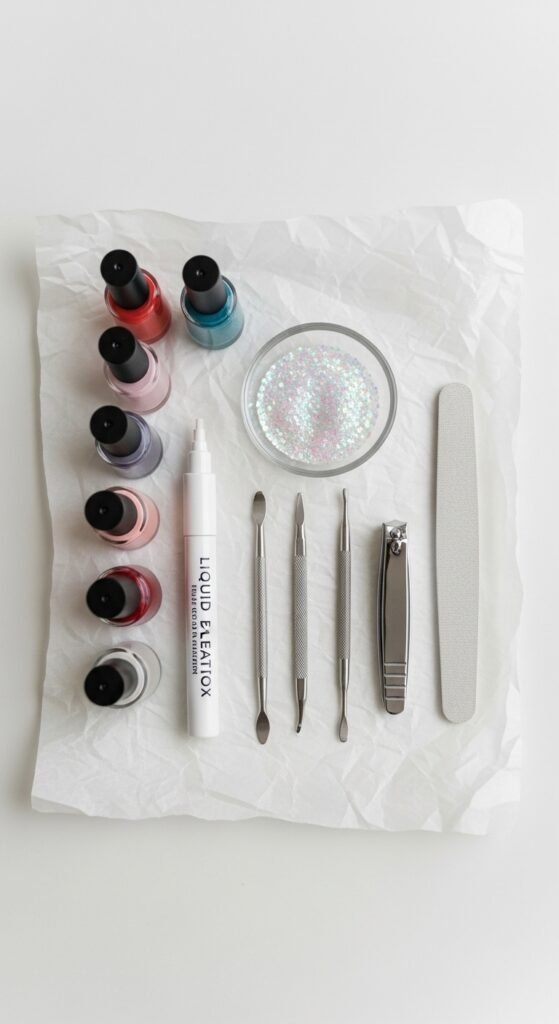
Prep Your Space First (This Changes Everything)
Before you even open that glitter bottle, set up a controlled workspace. This is where most people go wrong.
Create a Glitter Zone
- Lay down a sheet of paper, parchment paper, or a silicone mat.
- Work over a tray or shallow box lid to catch fallout.
- Keep a small bowl nearby for loose glitter.
This simple step prevents glitter from spreading beyond your workspace.
Protect Your Skin
Glitter sticks to everything — especially skin.
Apply:
- A thin layer of cuticle oil or hand cream around your nails
- Or liquid latex peel-off barrier around each nail
This makes cleanup incredibly easy later.
Choose the Right Glitter Method
Not all glitter nail techniques are created equal. Some are cleaner than others.
Here are the best low-mess options:
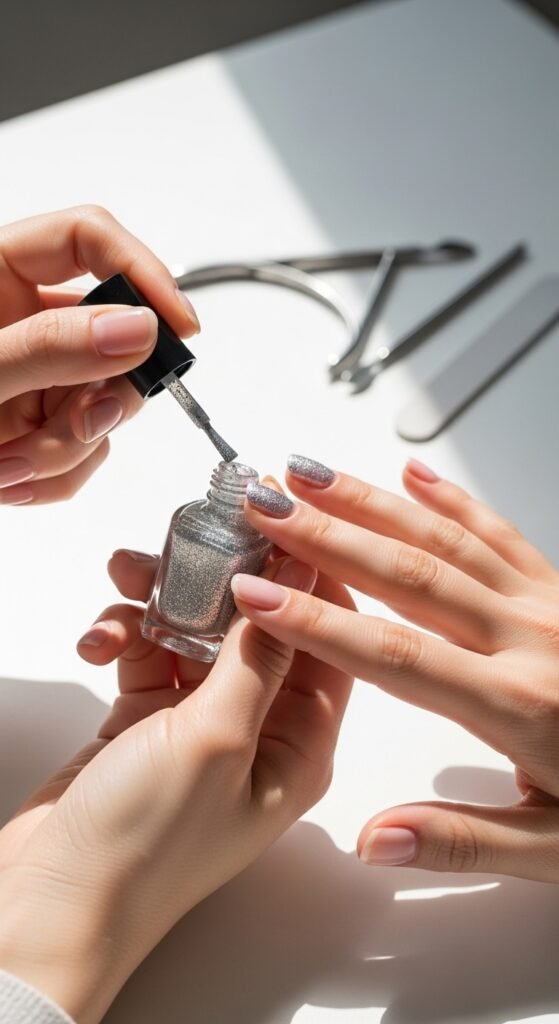
1. Glitter Nail Polish (Least Messy Option)
Pre-mixed glitter polish is your easiest route.
Why it works:
- No loose particles flying around
- Controlled application
- Less cleanup
Apply thin layers and build coverage gradually instead of globbing it on.
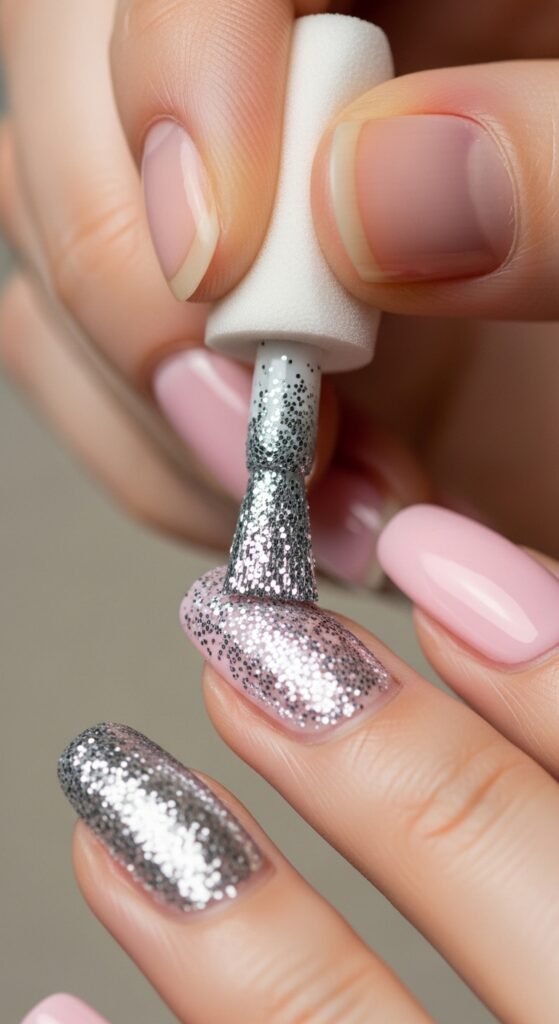
2. Sponge Method (Best for Full Coverage)
If you want dense glitter without layers of clear polish:
- Paint glitter polish onto a makeup sponge.
- Dab the sponge onto your nail.
- Repeat until coverage is solid.
The sponge absorbs excess clear polish, leaving mostly glitter behind — and it reduces drips.
How to Apply Loose Glitter Without Making a Mess
Loose glitter gives you the boldest sparkle — but it can get chaotic fast. Here’s how to control it.
Step 1: Apply a Base Color
Always start with:
- A base coat
- Two thin coats of your chosen polish
Let it get slightly tacky before adding glitter. This helps glitter stick immediately.
Step 2: Press, Don’t Sprinkle
Instead of shaking glitter over your nail:
- Dip a small flat brush into glitter.
- Press it directly onto the nail.
- Tap off excess back into the container.
This prevents airborne glitter and keeps most of it contained.
Step 3: Use the “Fold and Funnel” Trick
When you’re done:
- Carefully lift your parchment paper.
- Fold it in half.
- Funnel leftover glitter back into the jar.
No waste. No sparkle explosion.

Seal It Properly (So Glitter Stays Put)
Glitter feels textured. If you skip sealing, it can snag on clothes or feel rough.
Here’s how to smooth it out:
Use the “Sandwich” Method
- Base coat
- Color polish
- Glitter layer
- Thin top coat
- Second thicker top coat
Let each layer dry slightly before applying the next.
Try the Gel-Like Finish Trick
Apply a thicker top coat and gently float it over the glitter rather than dragging the brush. This prevents moving the glitter around.
For ultra-smooth nails:
- Apply one layer of top coat
- Let dry
- Lightly buff surface
- Apply final glossy layer
The result? Glassy, smooth sparkle.
Easy Glitter Cleanup Hacks
Even with careful prep, a little sparkle may escape. Don’t panic.
Tape Trick
Wrap clear tape around your fingers (sticky side out) and dab it onto stray glitter. It lifts particles instantly.
Makeup Brush Sweep
Use a fluffy makeup brush to sweep away excess glitter from your desk or hands.
Sticky Lint Roller
A lint roller is surprisingly effective for table cleanup.
Avoid using water immediately — it spreads glitter rather than containing it.
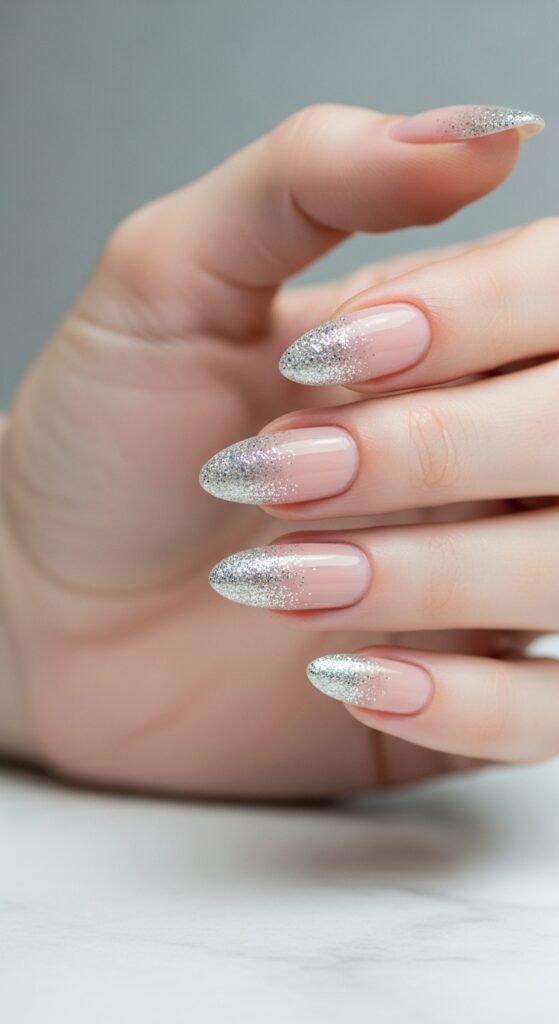
Bonus: Quick Glitter Gradient Tutorial
Want something trendy and even easier to manage?
Try a glitter fade.
- Apply your base color.
- Dab glitter polish onto a sponge.
- Tap it onto just the tips of your nails.
- Blend slightly downward.
- Seal with top coat.
This method uses less glitter overall, which means less mess and quicker cleanup.
Common Glitter Mistakes to Avoid
- Applying glitter over fully dry polish (it won’t stick well)
- Using thick layers that take forever to dry
- Skipping protective workspace setup
- Rushing top coat application
Slow and steady really does win here.
Final Thoughts: Sparkle Without the Stress
Glitter nail art doesn’t have to mean hours of cleanup. With smart prep, controlled application, and proper sealing, you can enjoy all the shine without the chaos.
The key takeaways:
- Work over a protected surface
- Press glitter instead of sprinkling
- Seal with multiple smooth layers
- Use tape or a brush for fast cleanup
Now you’re ready to sparkle — minus the mess.
Save this guide for your next manicure night and enjoy glitter that stays exactly where it belongs.

Leave a Reply