
Gel nails are the perfect way to achieve long-lasting, salon-quality designs at home. Whether you’re looking to add a little flair to your everyday look or preparing for a special event, gel nails offer endless possibilities. The best part? You don’t need to be a professional to create stunning designs. In this guide, we’ll walk you through easy steps to do gel nail designs that are both fun and simple.

Gather Your Supplies
Before you start, make sure you have everything you need for your gel nail design. Here’s a quick list of essentials:
- Gel nail polish: Choose your base color and any additional accent colors you like.
- Base and top coat: These are crucial for a long-lasting finish and to help your nails stay chip-free.
- UV or LED lamp: You’ll need this to cure the gel polish after each layer.
- Nail tools: Buffing block, cuticle pusher, and nail file.
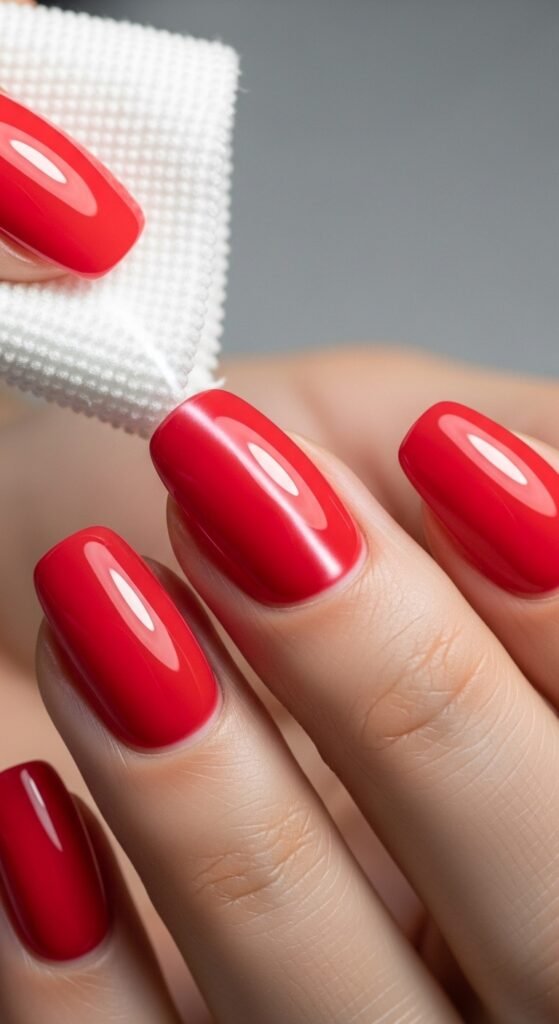
- Wipe-off solution: To remove any sticky residue after curing.
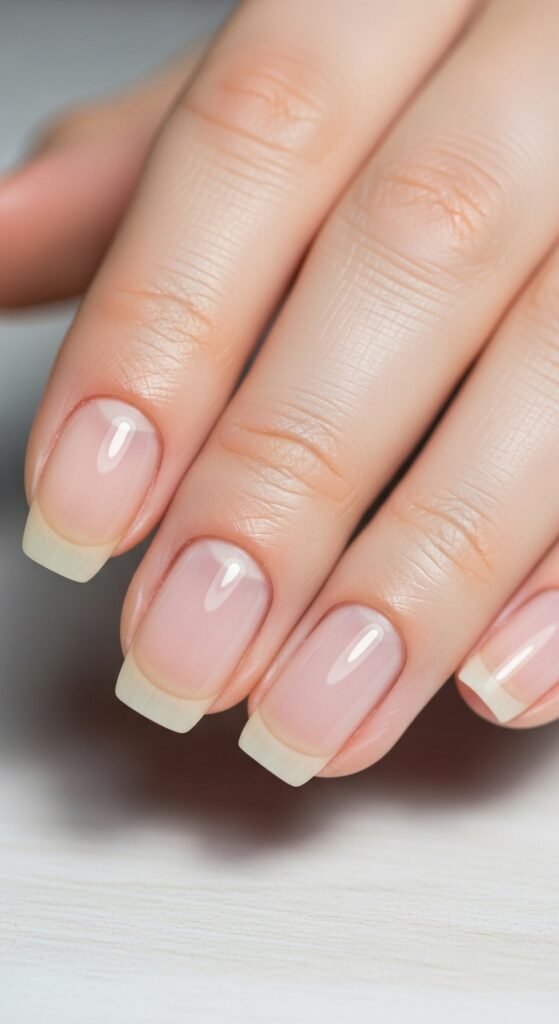
Prep Your Nails
The first step to flawless gel nails is preparing your nails properly. This ensures the polish adheres well and lasts longer.
- Remove old nail polish: If you have any leftover polish, take it off with a gentle nail polish remover.
- Trim and file: Shape your nails to your desired length and file the edges for a smooth finish.
- Push back cuticles: Gently push your cuticles back with a cuticle pusher for a clean canvas.
- Buff your nails: Lightly buff the surface of your nails to remove any shine. This step helps the gel polish stick better.
- Clean your nails: Wipe your nails with a lint-free wipe to remove any dust or oils.
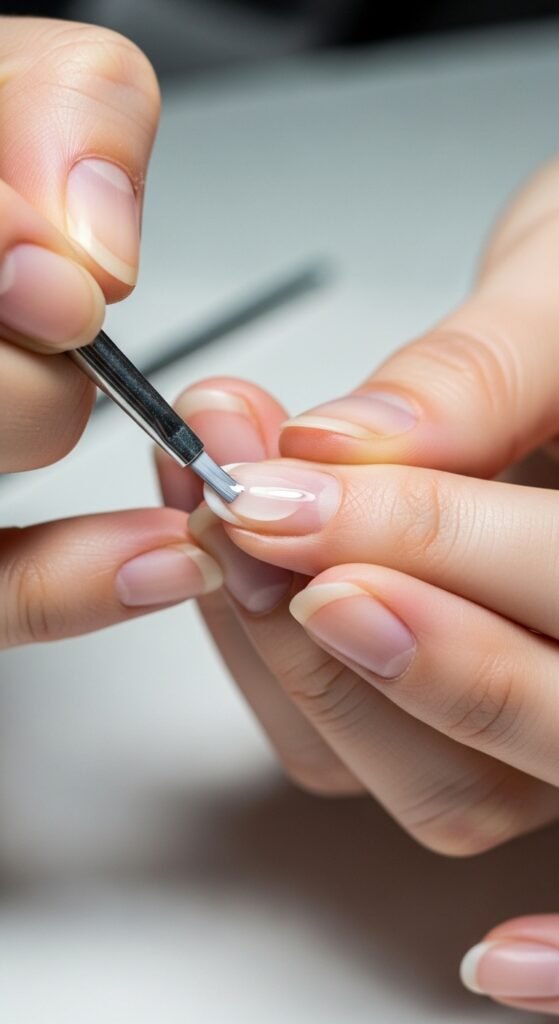
Apply Base Coat
Applying the base coat is essential for a smooth gel manicure. It provides a foundation for the color and helps prevent staining.
- Apply a thin layer of base coat: Using a brush, apply a thin, even coat of the base gel to your nails. Make sure not to apply it too thickly to avoid uneven curing.
- Cure under the lamp: Place your nails under the UV or LED lamp and cure them for about 30 seconds to 2 minutes, depending on the lamp’s power.

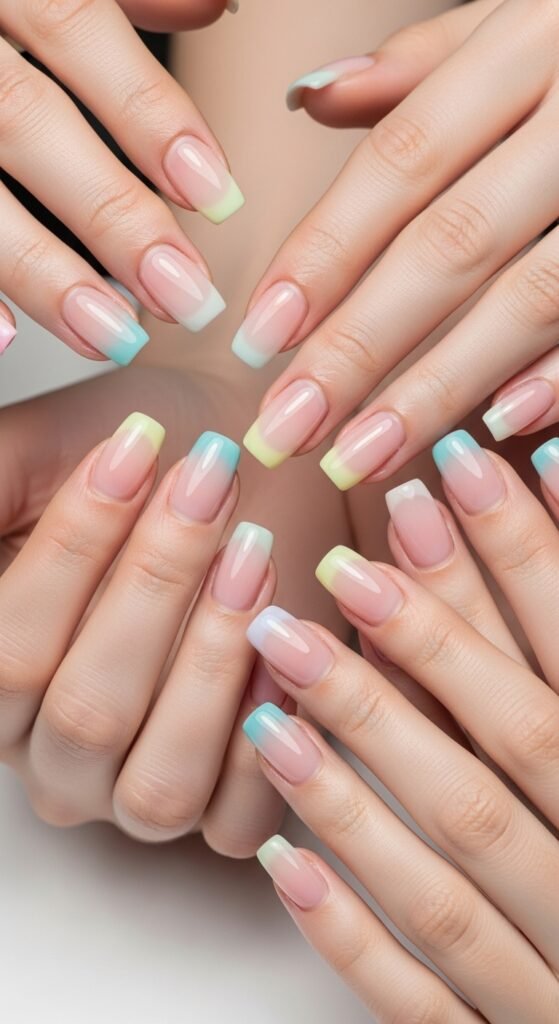
Add the Gel Color
Now the fun begins! Pick a beautiful gel color for your design, whether you’re going for a bold statement or a subtle nude.
- Apply the first layer of color: Paint your nails with the first coat of gel color. Try to make it thin and even.
- Cure the layer: Place your nails under the lamp again to cure the first color layer for 30 seconds to 2 minutes.
- Apply a second layer: For an opaque finish, add a second coat of color and cure again.
You can also get creative at this stage by incorporating some fun techniques like ombré or glitter!
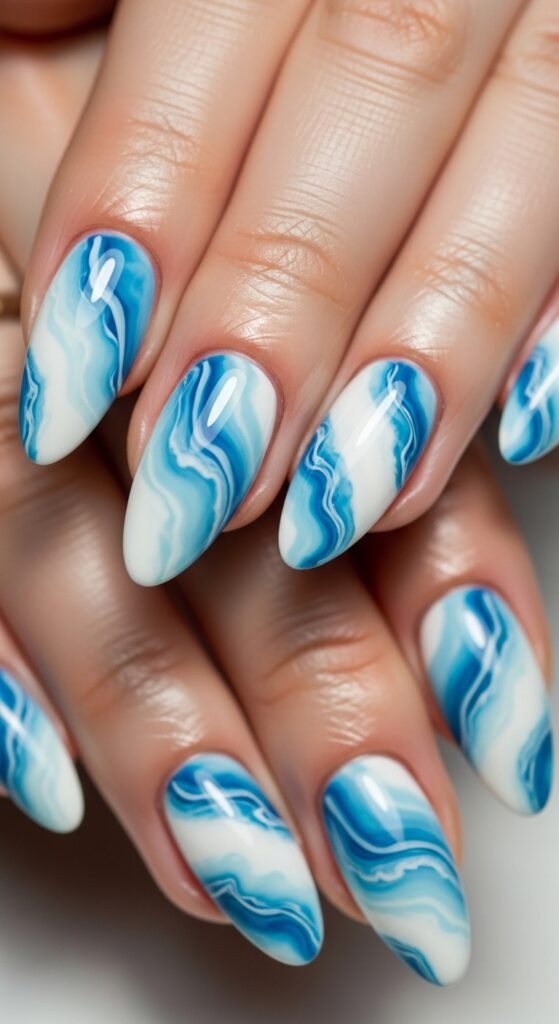
Experiment with Designs
This is where you can let your creativity shine! Once your base and color coats are done, you can add fun designs like stripes, dots, or even a marble effect. Here are a few easy ideas:
- Stripes: Use a fine nail art brush or striping tape to create thin lines on your nails.
- Polka Dots: Use a dotting tool to create fun polka dots in various sizes.
- Marble Effect: Swirl different colors together with a dotting tool for a soft marble design.
- Glitter: Add some sparkle by gently pressing glitter onto the wet polish or painting it over the finished design.
Top Coat and Final Curing
Once you’re happy with your designs, it’s time to seal everything in with a top coat. This ensures your nail art stays fresh and glossy.
- Apply a thin layer of top coat: Brush on the top coat evenly, making sure to cover the tips of the nails for extra durability.
- Cure one final time: Cure the top coat under your UV or LED lamp for 30 seconds to 2 minutes.
- Remove the sticky layer: After curing, there might be a sticky residue left on your nails. Use a wipe soaked in a nail cleanser or alcohol to gently remove it.
Care and Maintenance
Now that your gel nails are done, you’ll want to make sure they last as long as possible. Here are some tips for keeping your nails looking fabulous:
- Avoid water: Try to avoid soaking your nails in water for the first few hours after application.
- Wear gloves when cleaning: Protect your nails by wearing gloves to avoid contact with harsh chemicals.
- Moisturize: Keep your nails and cuticles moisturized to prevent dryness and cracking.
Conclusion
With a little patience and the right tools, you can easily create beautiful gel nail designs at home. Whether you’re a beginner or experienced in nail art, these simple steps will help you achieve a salon-quality manicure in no time. Have fun experimenting with different designs and colors to make your nails truly unique!
Save this guide for your next at-home mani, and don’t forget to share your designs with your friends. Happy polishing!


Leave a Reply