
Getting acrylic nails done at a salon can be expensive, and let’s be honest—it takes up a lot of time too! Why not skip the trip to the salon and create your own stunning acrylic nail designs at home? With a few simple tools, some creativity, and a little patience, you can achieve professional-quality nails without breaking the bank. Ready to try it out?

In this article, we’ll walk you through the step-by-step process of creating beautiful acrylic nail designs from the comfort of your home. Let’s dive right in!
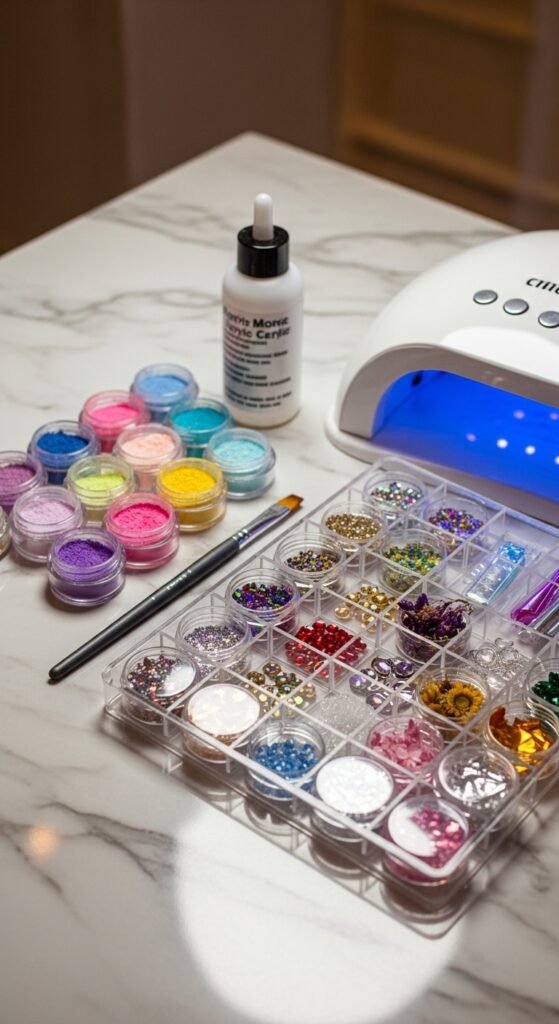
What You’ll Need
Before we begin, make sure you have all the necessary tools and products. Here’s a list of what you’ll need to create your own acrylic nails:
- Acrylic powder and liquid monomer
- Nail tips or dual forms
- Nail primer and dehydrator
- Acrylic brush
- Nail file and buffer
- Cuticle pusher
- A dappen dish or small bowl for the monomer
- A nail art wheel or accessories (optional for designs)
Step 1: Prep Your Nails
The first step is always to prep your nails for a flawless application. Follow these steps to ensure your acrylic nails last:
- Clean your nails: Start by removing any old nail polish and thoroughly cleaning your nails.
- Push back your cuticles: Use a cuticle pusher to gently push back your cuticles, creating space for the acrylic to adhere.
- File your natural nails: Lightly file the surface of your nails to remove any shine. This helps the acrylic bond better.
- Apply a nail dehydrator and primer: This step removes any excess oil from your nails, ensuring better adhesion.
Once your nails are prepped, you’re ready to move on to the acrylic application!
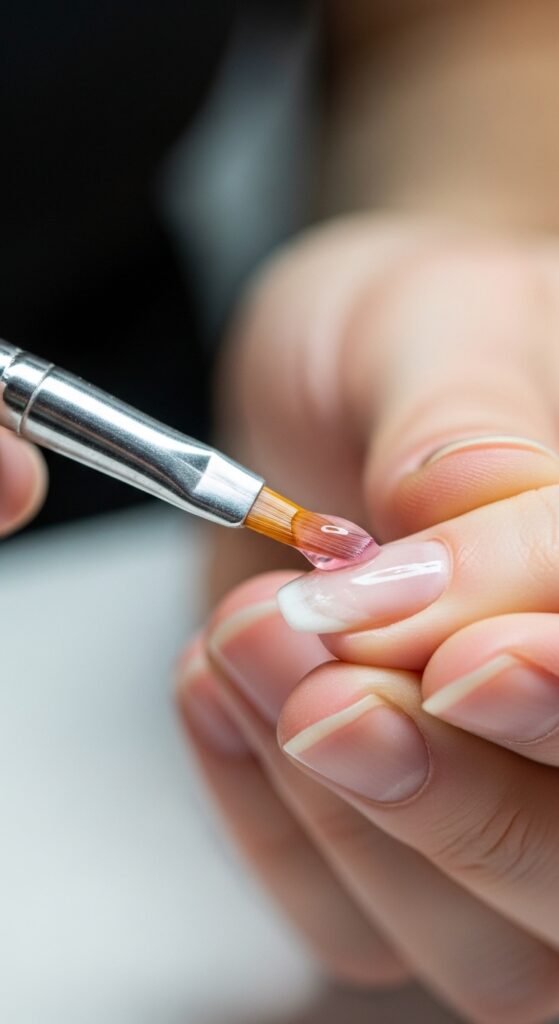
Step 2: Applying the Acrylic
Now that your nails are prepped, it’s time to apply the acrylic. You can use nail tips or dual forms to create a longer nail length.
For Nail Tips:
- Select your nail tips: Choose tips that fit your natural nail perfectly.
- Glue the tips on: Apply a small amount of nail glue to the tip and place it gently on your nail. Hold it in place for a few seconds until it sets.
- File the tips: After all tips are glued, file them to your desired length and shape.
- Mix the acrylic: Dip your acrylic brush into the monomer liquid, then into the acrylic powder to form a bead. Apply the bead to the nail and blend it down the tip.
- Build the nail: Continue adding small beads of acrylic to form a smooth, even surface. Work in small sections to avoid air bubbles.
For Dual Forms:
- Fill the dual form with acrylic: Place the acrylic powder and monomer inside the dual form. Make sure it’s evenly distributed.
- Press the form on your nail: Gently press the dual form onto your natural nail, ensuring it’s aligned correctly.
- Let it set: Allow the acrylic to set for a few minutes before carefully removing the dual form.
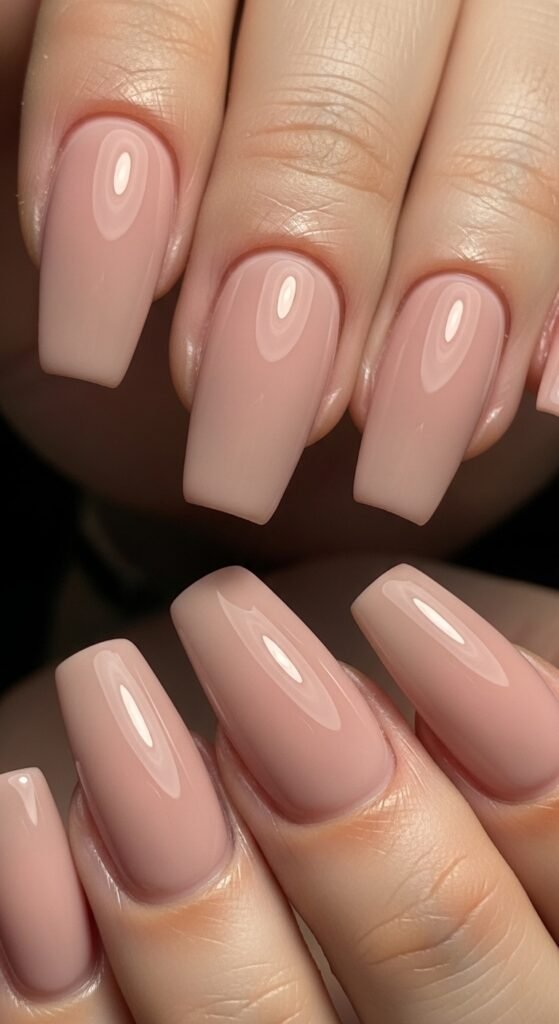
Step 3: Shaping and Filing
Once your acrylic has fully set, it’s time to shape your nails. Use a nail file to shape your nails to your desired style. Whether you want them square, coffin-shaped, or oval, it’s all up to you! Make sure the surface is smooth and free of any imperfections.
- File the sides: Shape the sides of the nail and blend the acrylic into the natural nail for a seamless look.
- Buff the surface: After filing, use a buffer to smooth out any rough spots and achieve a nice shine.
- Clean the nails: Wipe away any dust from the filing process to get a clean surface for the design.
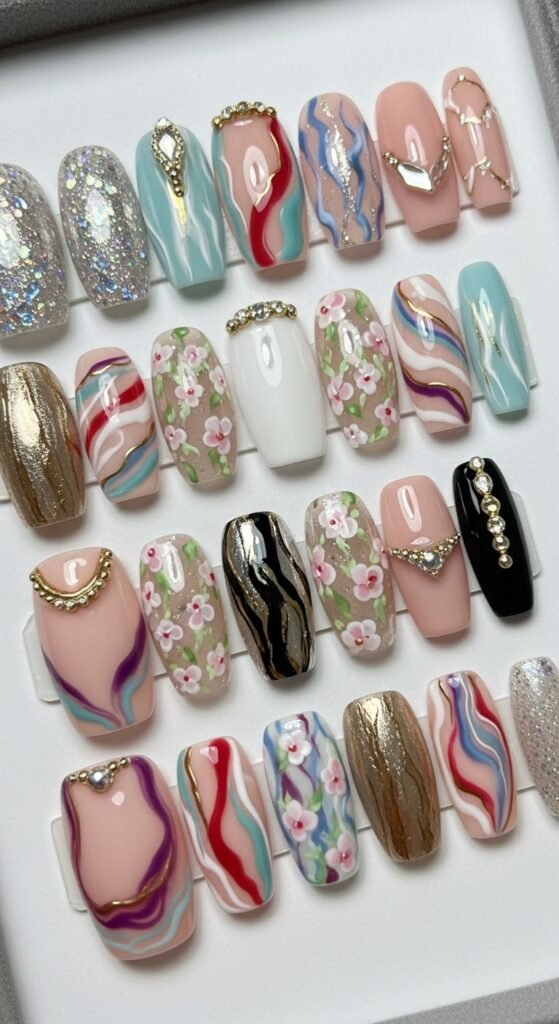
Step 4: Nail Art Designs (Optional)
Now comes the fun part—adding designs to your acrylic nails! Whether you’re looking for something simple or intricate, here are a few ideas to try:
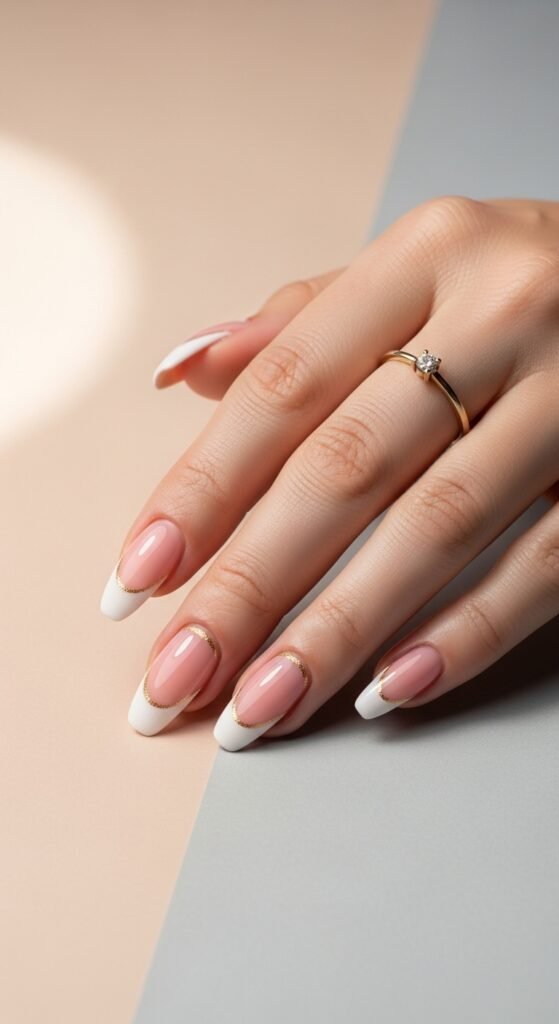
- French tips: A classic look with a white tip. Just use a nail art brush to create a clean line on the tip of the nail.
- Glitter accents: Apply glitter acrylic or a layer of glitter polish for some extra sparkle.
- Floral designs: Use a fine brush to paint tiny flowers or other cute designs on your nails.
- Marble effect: To create a marble effect, gently swirl two or more colors together using a nail art brush while the acrylic is still soft.
Step 5: Sealing and Protecting
Once your designs are complete, you’ll need to seal everything with a topcoat for a glossy finish and extra protection.
- Apply a topcoat: Choose a non-yellowing, high-gloss topcoat for the best results.
- Cure under a UV lamp (if necessary): If you’re using gel topcoat, cure it under a UV lamp for a long-lasting finish.
- Hydrate your cuticles: Finish by massaging some cuticle oil into your nails and cuticles to keep them moisturized.
Conclusion
And there you have it! With just a few simple steps, you can achieve stunning acrylic nails right at home. The key is to take your time, follow each step carefully, and have fun with the process. Once you get the hang of it, you’ll be designing your nails like a pro.
So, what are you waiting for? Grab your acrylic nail kit, get creative, and treat yourself to a salon-quality manicure in the comfort of your own home!

Leave a Reply