
Long nails are the perfect canvas for creative and stunning nail designs! Whether you’re prepping for a special occasion, a night out, or just want to pamper yourself, mastering long nail art can be both fun and rewarding. If you’re looking for ways to add flair to your fingertips, you’ve come to the right place. Here’s a step-by-step guide to help you create beautiful nail designs for long nails, so you can rock a stylish look with confidence.
Step 1: Start with Clean, Prepped Nails
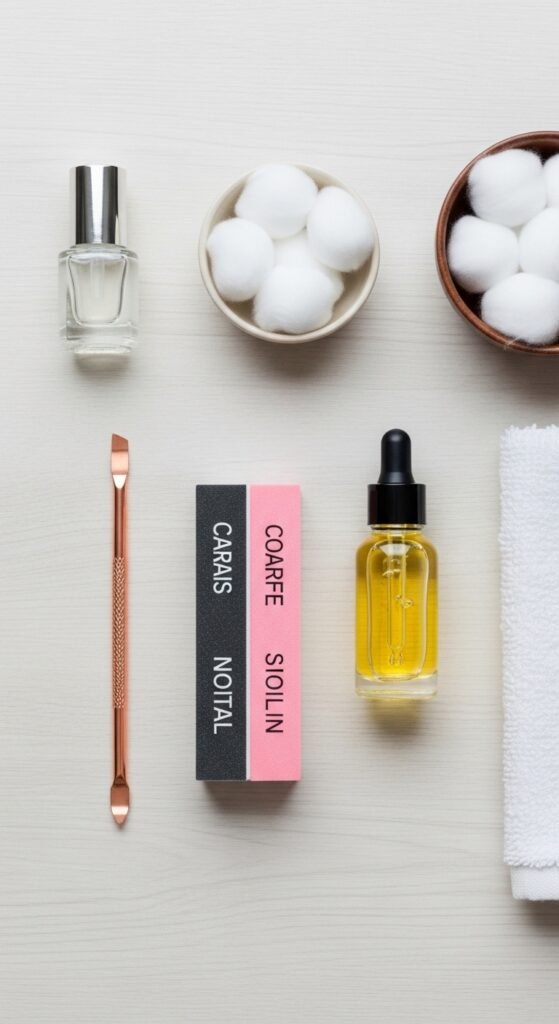
Before diving into any nail art, the key to long-lasting designs is starting with clean, healthy nails. Begin by removing any old polish and pushing back your cuticles gently. Here are some pre-nail prep tips:
- Trim your nails: Even if you’re growing out your nails, make sure they’re all the same length for consistency.
- Exfoliate your cuticles: Use a cuticle oil or cream to soften and push back your cuticles for a cleaner base.
- Buff your nails: Lightly buff the surface to remove any ridges and create a smooth base for your polish.
Step 2: Apply a Base Coat
A base coat is an essential step for long-lasting nail designs. Not only does it protect your nails from staining, but it also provides a smooth surface for your design.
- Choose a nourishing base coat: Opt for a base coat with strengthening properties if you have weaker nails.
- Apply in thin layers: Too thick a layer can cause smudging. Let it dry fully before applying color.

Step 3: Choose Your Nail Design Style
Long nails offer plenty of room to get creative! Depending on your mood and occasion, here are a few trendy design styles to consider:
- French Tips: A classic look that never goes out of style. You can play around with color by adding gold or silver tips for a chic twist.
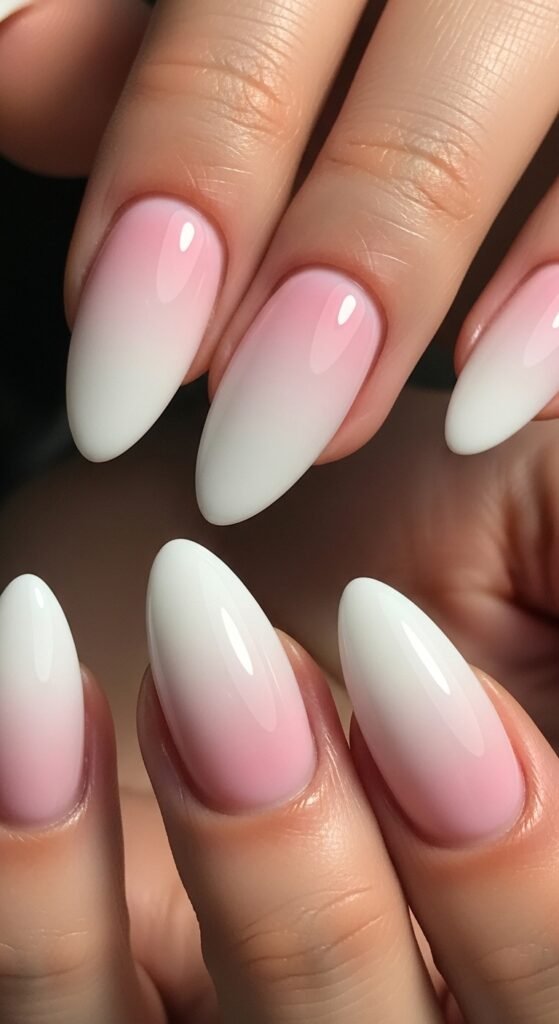
- Ombre Nails: For a more elegant look, create an ombre effect by blending two or more colors. Soft pinks and whites make for a beautiful gradient.
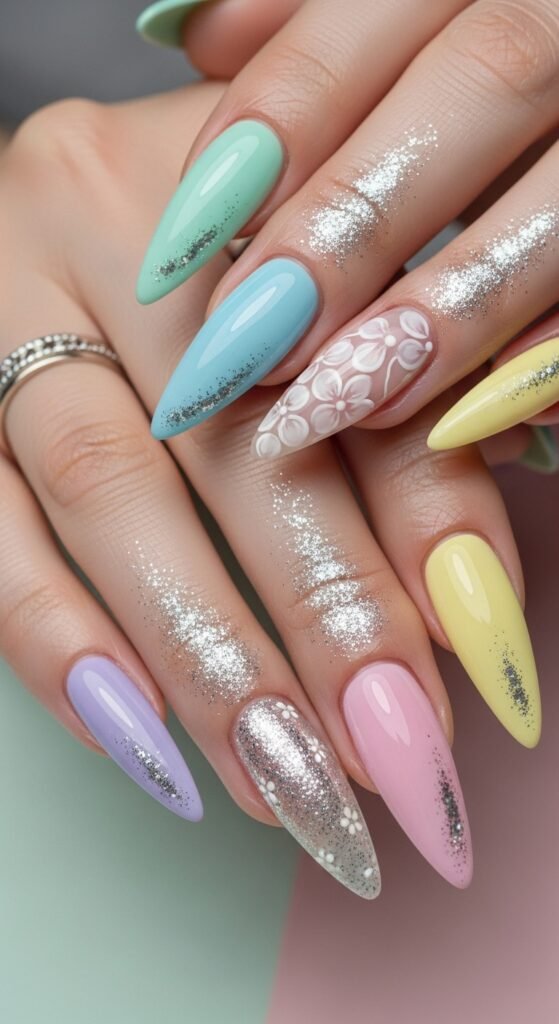
- Floral Designs: Whether subtle or bold, delicate flower designs add a touch of femininity to your nails. Hand-painting flowers or using decals can help you achieve this look.
- Geometric Art: Clean lines and abstract shapes make for a modern and edgy style. You can use tape to create perfect lines or freehand your design.
Step 4: Get Creative with Color Combinations
The great thing about long nails is that you have the space to experiment with multiple colors or techniques. Mix and match different shades or go bold with contrasting hues. A few popular combos include:
- Black and gold: A sophisticated combination that works well for both casual and formal looks.
- Pastels: Soft pinks, blues, and lilacs are perfect for spring or summer.
- Neon colors: Perfect for a night out or a festival vibe, neon hues will definitely make your nails pop.
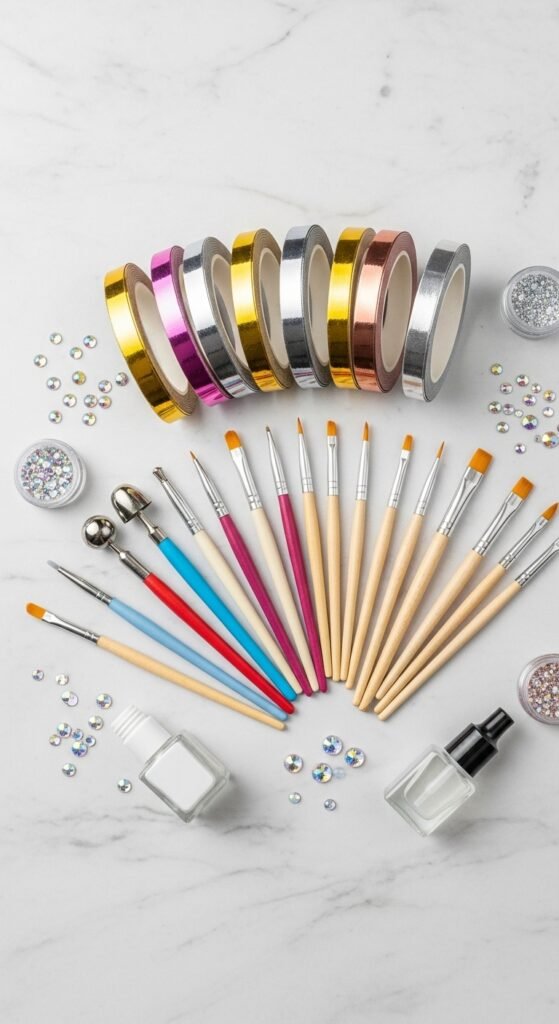
Step 5: Add Details with Nail Art Tools
Nail art tools like dotting tools, brushes, and striping tape will take your designs to the next level. Here’s how to incorporate them into your design:
- Dotting tools: Use a dotting tool to create polka dots, floral centers, or even small geometric shapes. The smaller the dot, the more intricate the design!
- Striping tape: For perfectly straight lines or creating geometric patterns, striping tape is a game-changer.
- Nail pens and brushes: Use these for more detailed artwork, like tiny flowers, intricate designs, or even hand-painted art.
Step 6: Seal with a Top Coat
Once your design is complete and your nails are dry, it’s time to lock in the design with a top coat. This is the final step that not only adds shine but also extends the longevity of your nail art.
- Choose a high-gloss top coat: A shiny finish gives your nails a polished, professional look.
- Go for a matte top coat: If you’re going for a more subtle, sophisticated look, a matte finish is a great option.
- Use a quick-dry top coat: For those in a rush, this will help you avoid smudging and speed up the drying process.
Step 7: Maintenance Tips for Long Nails
Maintaining long nails and your nail design can be tricky, but here are a few tips to keep them looking fresh:
- Avoid using your nails as tools: Don’t open cans or use your nails to scrape things. This can lead to chips or cracks.
- Moisturize your hands and nails: Keep your nails strong and hydrated with hand lotion and cuticle oil.
- Fix chips immediately: If your design chips or gets damaged, fix it right away to avoid further damage.

Conclusion: Show Off Your Beautiful Long Nails!
Creating beautiful designs on long nails doesn’t have to be intimidating! With a little practice, you can master everything from simple patterns to intricate artwork. Whether you’re preparing for an event or just want to treat yourself, your long nails are the perfect canvas to express your creativity. Don’t forget to share your stunning nail art with friends and save your favorite designs for later!
Call-to-action:
Save these nail design tips and refer to them whenever you need fresh ideas for your next manicure. Have fun experimenting and showing off your fabulous long nails!

Leave a Reply