
Nail art looks fancy, but it doesn’t have to be complicated. You don’t need professional tools, a steady salon-trained hand, or hours of free time. With a few basics and the right mindset, anyone can create cute, eye-catching nail designs at home—even on the first try.
This beginner-friendly guide breaks nail art down into easy steps. Start simple, build confidence, and have fun along the way.
Start With the Right Nail Prep
Great nail art always starts with clean, well-prepped nails. Skipping this step is the fastest way to chipped polish and messy designs.
Here’s what to do before you paint:
- Remove old polish completely
- Trim and file nails to a similar shape
- Gently push back cuticles
- Lightly buff the nail surface
- Wash hands and dry thoroughly
Finish with a thin layer of base coat. This protects your nails and helps polish stick better.
Beginner tip: Short to medium-length nails are easier to work with when you’re learning.
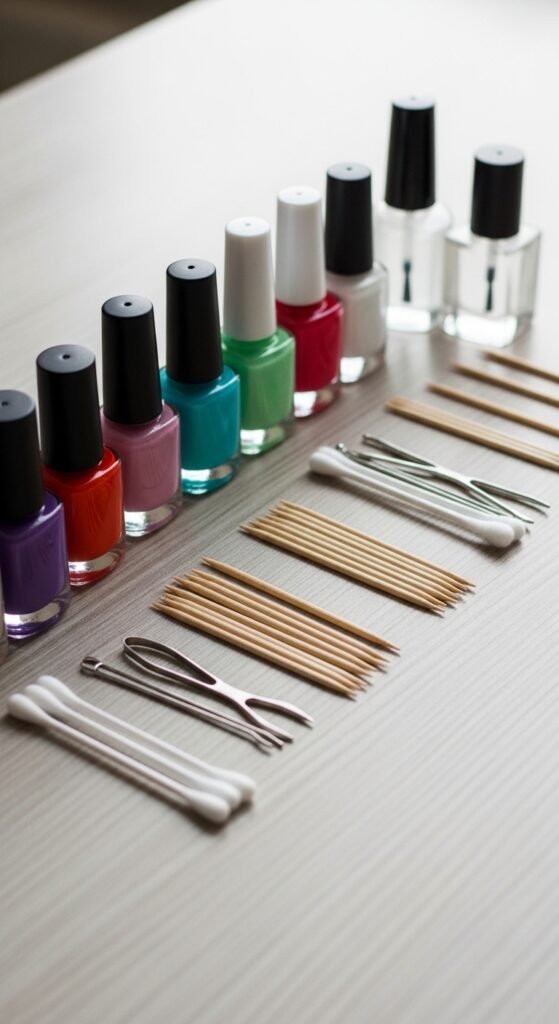
Gather Beginner-Friendly Nail Art Tools
You don’t need a big kit to get started. Many beginner designs can be done with items you already have.
Basic tools to try first:
- Nail polish in 2–3 colors
- Toothpicks or bobby pins (for dots)
- A small makeup brush or thin paintbrush
- Cotton swabs for cleanup
- Clear top coat
Once you’re comfortable, you can add dotting tools, striping brushes, or nail tape.
Choose Easy Nail Art Designs for Your First Try
Start with designs that don’t require perfect lines. Simple patterns look intentional—even if they’re slightly uneven.
Great beginner nail art ideas:
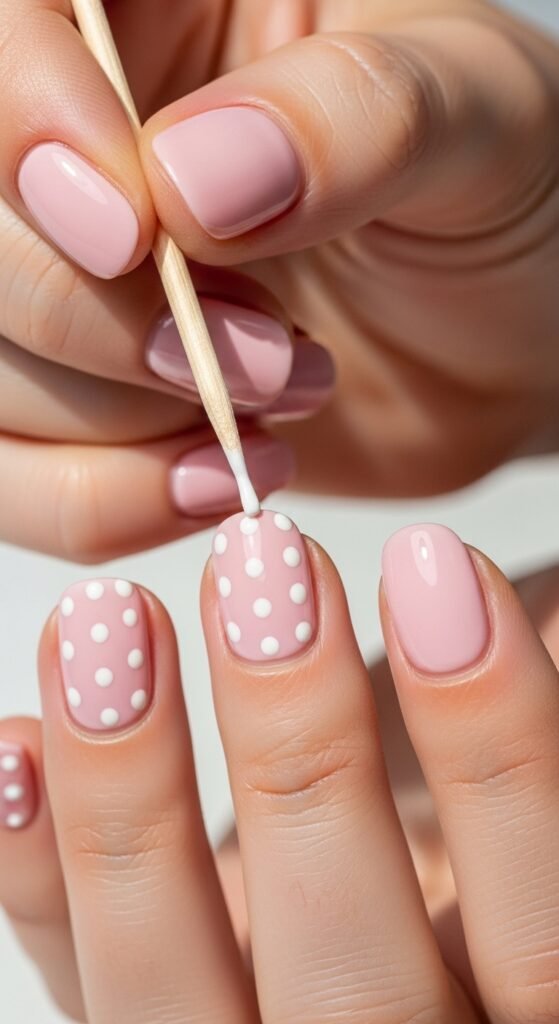
- Polka dots
- Simple stripes
- Accent nails (design on one nail only)
- Color blocking
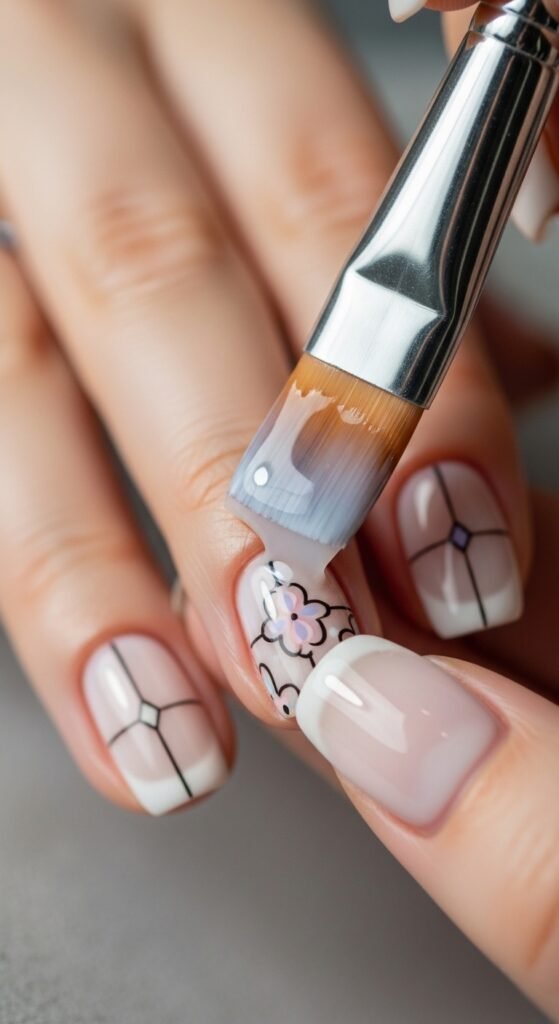
- Minimal floral dots
Avoid complex characters or detailed drawings at first. Master the basics before leveling up.
Confidence booster: Imperfect designs often look more creative and handmade.
Learn the Basic Techniques Step by Step
Polka Dots
- Paint a solid base color and let it dry
- Dip a toothpick into polish
- Gently dot onto the nail
Simple Stripes
- Use a thin brush or nail tape
- Paint stripes slowly in one direction
- Let each layer dry before adding another
Accent Nails
- Paint most nails one color
- Choose one nail per hand for a design
- Keep it simple to balance the look
Use Thin Layers and Let Them Dry
Thick polish is the enemy of clean nail art. Thin layers dry faster and look smoother.
Keep these rules in mind:
- Apply polish in light, even strokes
- Wait at least 2–3 minutes between layers
- Let your design dry before adding top coat
If you rush, designs can smear or blend together.
Quick fix: If something smudges, turn it into part of the design instead of removing everything.
Seal Your Nail Art the Right Way
A top coat is non-negotiable. It smooths the design, adds shine, and helps everything last longer.
How to apply top coat without smearing:
- Use a floating motion (don’t press hard)
- Start in the middle, then swipe outward
- Apply one generous layer
If your design is textured, wait a few extra minutes before sealing.
Fix Mistakes Like a Pro (Even as a Beginner)
Mistakes happen—and that’s normal.
Easy cleanup tricks:
- Dip a cotton swab in nail polish remover
- Gently clean edges and cuticles
- Use a small brush for detailed fixes
You don’t need to start over unless the base layer is ruined.
Practice Without Pressure
The fastest way to improve is repetition. Practice on:
- Your non-dominant hand
- A plastic nail wheel
- Old press-on nails
Try one new technique at a time. Don’t compare your work to professionals—you’re building skills, not perfection.
Beginner Nail Art Mindset That Actually Works
- Keep designs simple
- Work slowly
- Embrace imperfections
- Have fun with colors
- Stop before frustration kicks in
Nail art should feel relaxing, not stressful.
Final Thoughts
Learning how to do nail art for beginners is all about starting small and staying consistent. With basic tools, easy designs, and a little patience, you’ll be surprised how quickly your nails start looking intentional and stylish.
Save this guide for later, grab your favorite colors, and start experimenting—your next favorite manicure might be your own creation.

Leave a Reply