
Nail art doesn’t have to feel intimidating. You don’t need a salon appointment, fancy tools, or years of practice to create cute, stylish nails at home. With a little patience and the right steps, you can turn simple polish into designs that look polished and intentional.
Whether you’re a beginner or just want to clean up your technique, this step-by-step guide walks you through the basics—no stress, no guesswork.

Start With Proper Nail Prep (Don’t Skip This)
Great nail designs always start with a clean base. Skipping prep is the fastest way to uneven polish and short-lived results.
Here’s how to prep your nails the right way:
- Remove old polish completely
- Wash hands and dry thoroughly
- Trim and file nails to your preferred shape
- Gently push back cuticles (don’t cut them)
- Lightly buff the nail surface for smoothness
- Wipe nails with remover to remove oils
This step helps polish stick better and makes designs look cleaner.
Tip: Square or soft-round shapes are easiest for beginners because designs look more balanced.
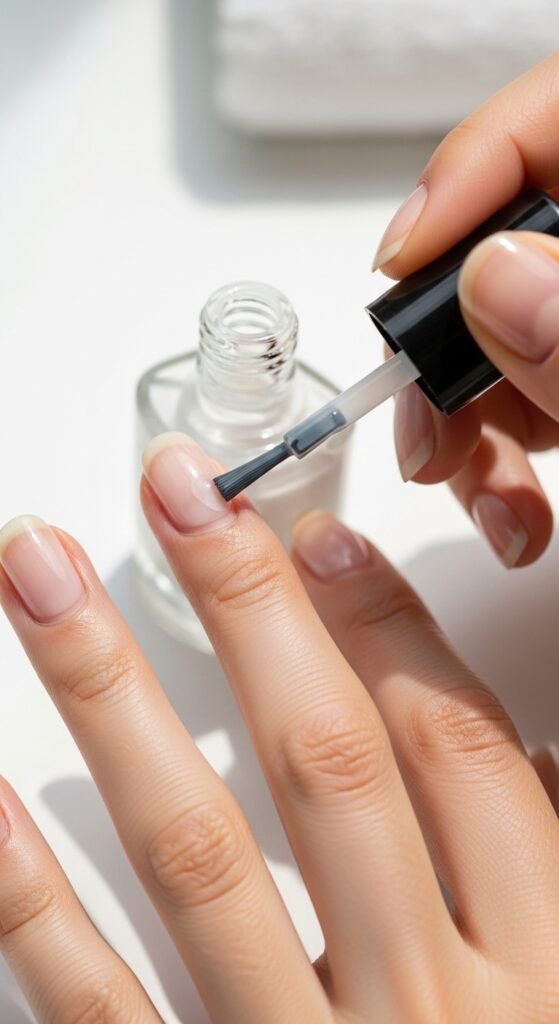
Apply a Base Coat Like a Pro
A base coat does more than protect your nails—it creates a smooth surface that makes designs easier.
When applying:
- Use thin layers
- Start in the center, then swipe each side
- Cap the tip of the nail to prevent chipping
Let the base coat dry fully before moving on.
Choose a Simple Base Color
If you’re learning nail designs step by step, keep the base color simple. Neutral shades, soft pinks, or solid pastels make designs easier to see and fix.
Apply your polish like this:
- Two thin coats instead of one thick coat
- Let each layer dry before the next
- Clean edges with a small brush or cotton swab
A smooth base sets the stage for everything else.
Easy Nail Designs You Can Do at Home
Now for the fun part. These beginner-friendly designs don’t require advanced skills or expensive tools.
Dot Designs
Perfect for first-timers.
How to do it:
- Dip a bobby pin or dotting tool into polish
- Gently press onto the nail
- Create flowers, lines, or random patterns

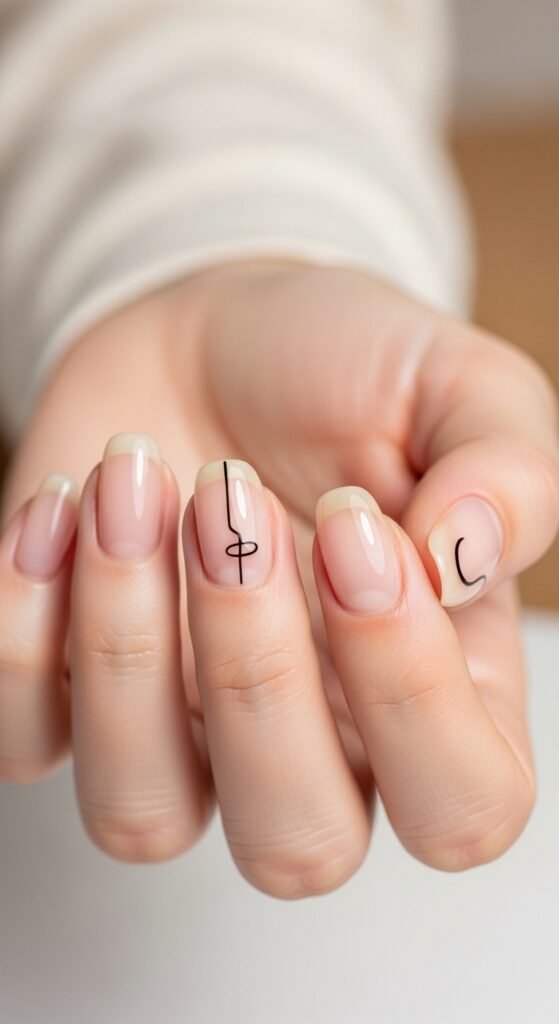
Simple Line Art
Minimal and modern.
Steps:
- Use a thin brush or toothpick
- Draw straight or slightly curved lines
- Keep designs small and spaced out
Black or white lines work best on light bases.
French Tips With a Twist
A modern update on a classic look.
Try:
- Colored tips instead of white
- Diagonal or double tips
- Micro tips for a subtle effect
Tape can help keep lines clean.
Accent Nail Designs
When in doubt, decorate just one nail.
Ideas:
- Glitter on the ring finger
- Tiny heart or star
- Different color on one nail
This keeps things stylish without overwhelming your hands.
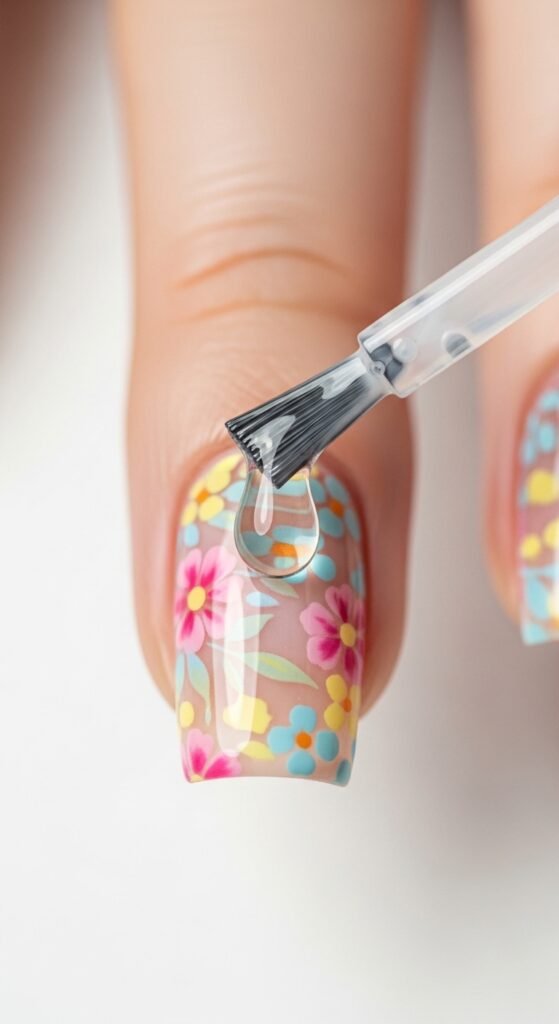
Seal Your Design With a Top Coat
A top coat locks everything in and gives your nails that smooth, finished look.
For best results:
- Use a generous but controlled layer
- Float the brush over the design (don’t press hard)
- Cap the nail tip again
If your design feels delicate, wait an extra minute before sealing.
Fix Mistakes Without Starting Over
Mistakes happen. The trick is knowing how to fix them without ruining everything.
Quick fixes:
- Use a toothpick for tiny corrections
- Dip a small brush in remover to clean edges
- Add extra dots or lines to disguise slips
Most designs look intentional with a little creativity.
Let Nails Dry Properly
Drying time matters more than you think.
To avoid smudges:
- Wait at least 10–15 minutes before using hands
- Avoid heat or rushing
- Lightly tap nails together to test dryness
If possible, let nails rest for 30 minutes before doing anything hands-on.
Beginner Nail Art Tips That Make a Big Difference
- Work in good lighting
- Sit at a table for stability
- Practice designs on paper first
- Keep polish bottles closed between uses
- Start simple and build confidence
Nail art is a skill—and skills improve with practice.
Final Thoughts
Learning how to do nail designs step by step is all about patience and having fun with the process. You don’t need perfection. You just need a few basic techniques and the confidence to try.
Start simple. Experiment often. And don’t be afraid to redo a nail or two.
Save this guide for your next at-home manicure and start creating designs you actually love wearing.

Leave a Reply