
Your nails are like mini canvases, and the best part? You don’t need a salon appointment to create beautiful designs. With a few simple tools, a splash of creativity, and some patience, you can achieve Pinterest-worthy nail art right at home. Whether you want a subtle accent or bold, glittery nails, this guide will show you how to nail it—literally!
Gather Your Tools
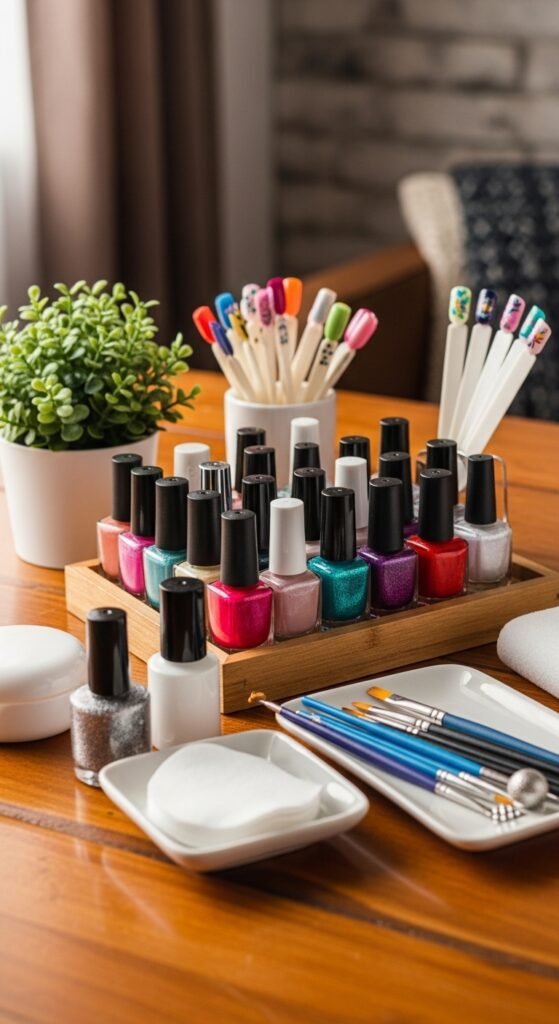
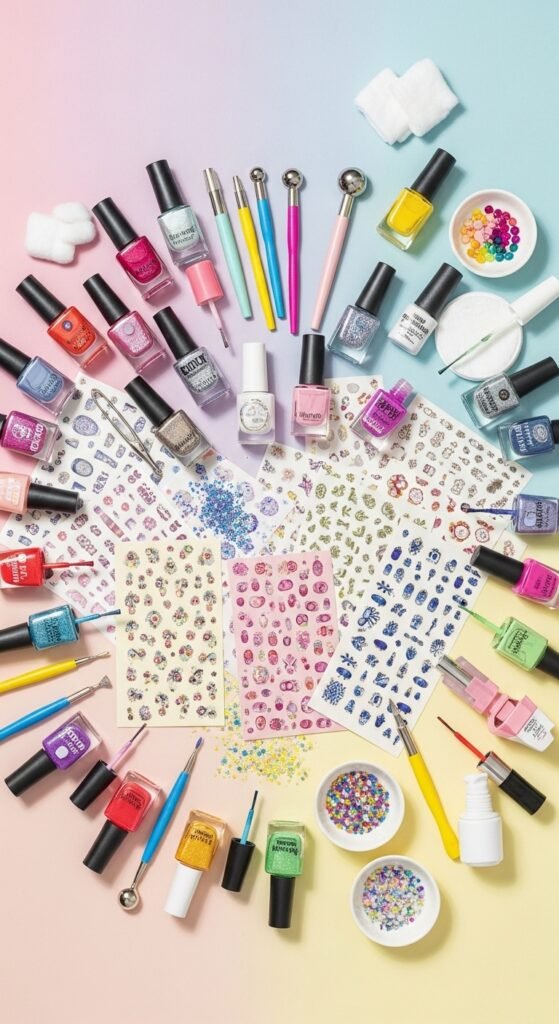
Before diving in, it’s essential to have the right tools. You don’t need a professional kit; just a few basics will do:
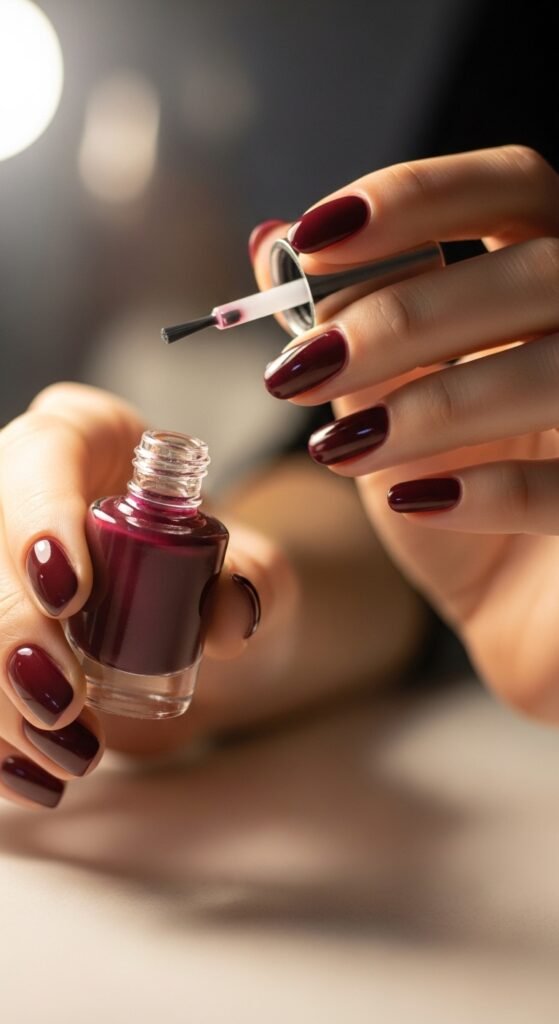
- Base coat & top coat – These protect your nails and make your design last longer.
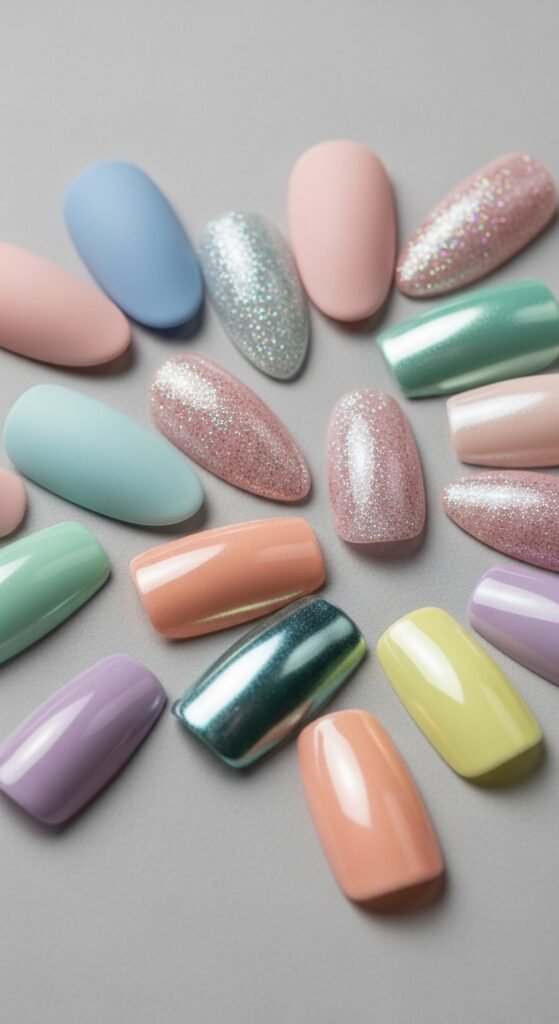
- Nail polish colors – Choose 2–4 complementary shades for a simple design.
- Dotting tools or toothpicks – Perfect for polka dots and small details.
- Striping tape or thin brush – Helps create straight lines or geometric patterns.
- Small sponge – Great for gradient or ombré effects.
- Nail stickers or decals – A fast way to add flair if freehand isn’t your thing.
Tip: Keep cotton pads and nail polish remover handy for easy corrections.
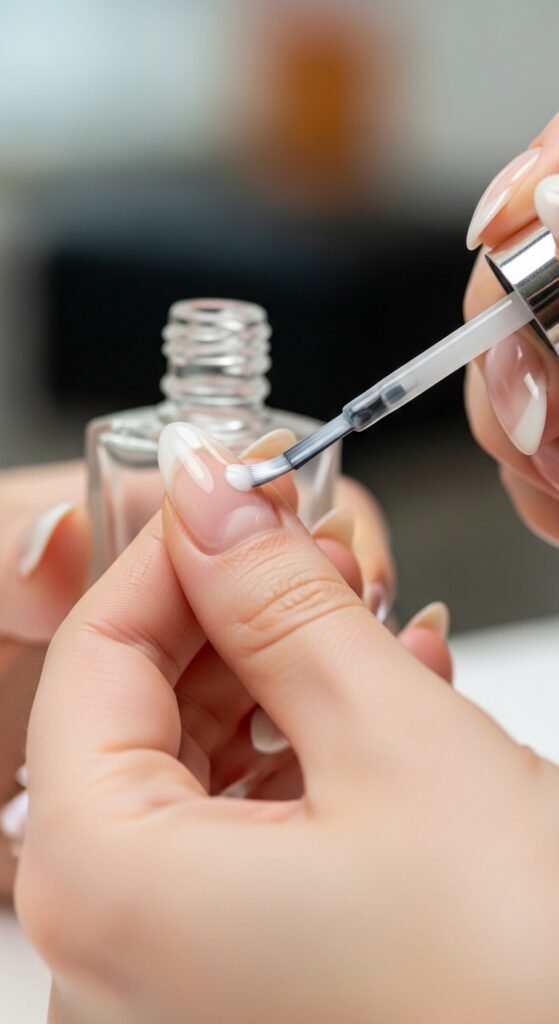
Prep Your Nails
Good nail art starts with a clean canvas. Follow these steps for a flawless foundation:
- Remove old polish – Use a gentle remover to wipe nails completely clean.
- Shape your nails – File in one direction to avoid splitting.
- Push back cuticles – Soft cuticles make your nails look neat and polished.
- Apply a base coat – This prevents staining and gives polish a smooth surface.
Pro tip: Let each layer dry completely before moving to the next. Rushing can cause smudges and bubbles.
Easy Nail Designs for Beginners
Here are a few simple designs that anyone can do at home:
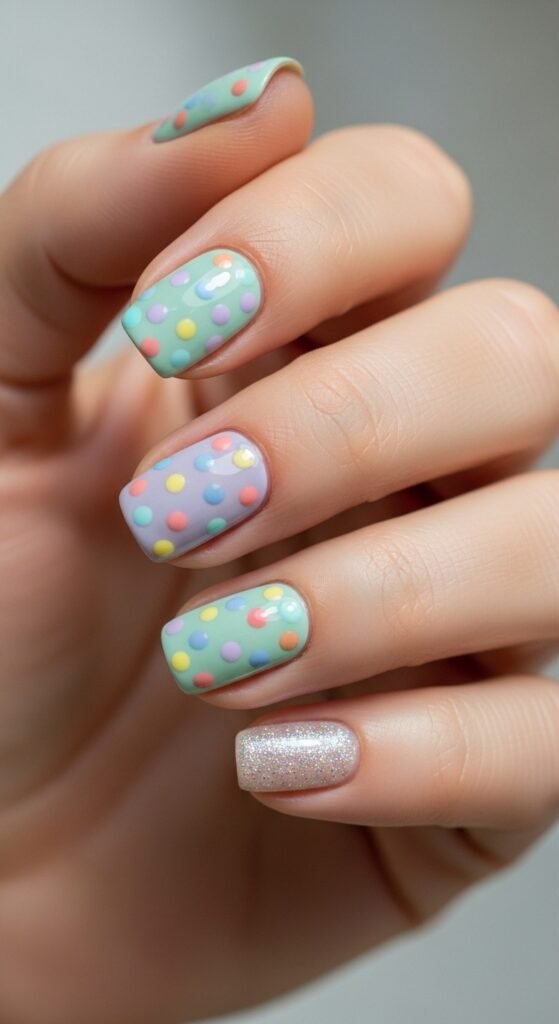
1. Polka Dots
- Apply your base color and let it dry.
- Use a dotting tool or toothpick dipped in a contrasting color.
- Gently dot nails in a pattern you like.
2. Stripes and Lines
- Apply your base color first.
- Once dry, place striping tape or freehand thin lines using a small brush.
- Add a top coat to smooth out the lines and make them pop.
3. Gradient or Ombre
- Use a small sponge to dab two or more colors onto your nail.
- Blend them gently for a soft gradient effect.
- Finish with a top coat to even out the texture.
4. Simple Accent Nail
- Paint all nails a single color.
- Choose one nail on each hand to add a design, glitter, or sticker for a subtle statement.
Advanced Tips for Extra Flair
Once you’re confident, try these techniques:
- Mix textures: Combine matte and glossy polish for a trendy look.
- Use metallic or shimmer polishes: Adds sparkle without overcomplicating the design.
- Layering: Try layering stickers, glitter, and dots for a 3D effect.
- Practice on fake nails: Perfect for testing new designs before committing to your real nails.
Remember, nail art is about experimenting—mistakes can be part of the charm!
Clean-Up and Finishing Touches
The final steps make your nail design look professional:
- Use a small brush dipped in remover to clean polish from cuticles.
- Seal your design with a glossy top coat for shine and durability.
- Moisturize your cuticles and hands to keep them looking fresh.
Extra tip: Reapply the top coat every few days to maintain your design and prevent chipping.
Final Thoughts
Creating nail designs at home is easier than you think. Start simple, gather your tools, and let your creativity shine. In no time, you’ll have nails that look like they came straight from a salon—without the hefty price tag.
Pro tip: Take photos of your favorite designs to recreate or improve them later.
Save this guide for your next nail session and turn your hands into a canvas of self-expression!

Leave a Reply