
You don’t need fancy brushes, dotting tools, or a drawer full of nail gadgets to create cute nail art. Honestly? Some of the best designs come from using what you already have at home—or just your hands. If you’ve ever scrolled Pinterest and thought, “I love this, but I don’t have the tools,” this guide is for you.
This is nail art made easy, relaxed, and totally beginner-friendly. No stress. No perfection required.
Start With a Clean, Simple Base
Before you think about designs, focus on prep. A smooth base makes everything look better—even the simplest nail art.
Here’s what to do:
- Remove old polish completely
- Wash and dry your hands
- Gently push back cuticles with a towel (no tools needed)
- Lightly buff with a soft cloth if your nails feel rough
Choose a base color that works with imperfect designs:
- Soft neutrals
- Milky pinks
- Pastels
- Clear or sheer shades
These colors forgive uneven lines and make minimalist nail art shine.
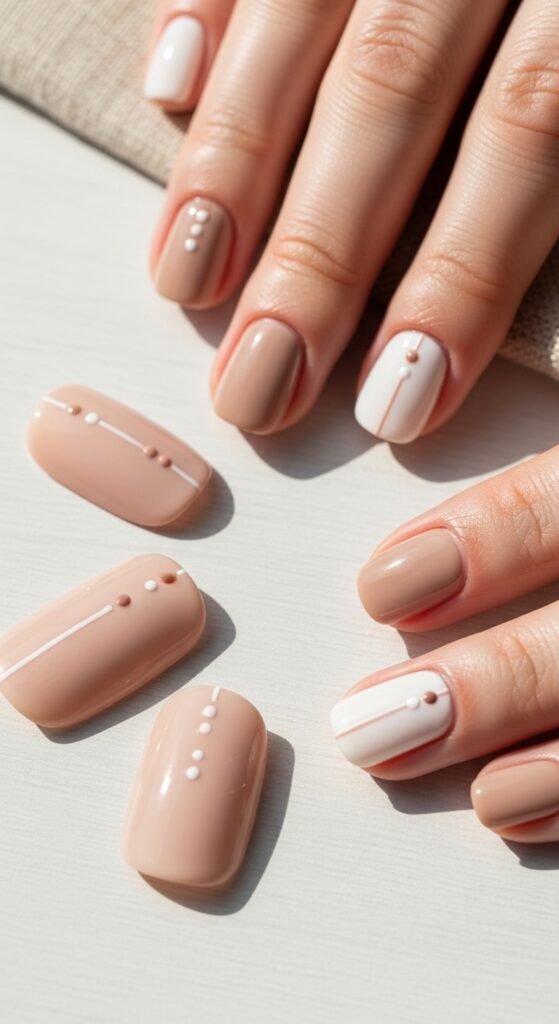
Use Your Fingertips for Dots and Flowers
Your fingers are the easiest “tool” you already own.
To make dots:
- Add a small drop of polish to a paper surface
- Lightly tap your fingertip into the polish
- Press gently onto your nail
For tiny flowers:
- Make five dots in a circle
- Add one dot in the center using a different color
This works beautifully for:
- Daisy nails
- Accent nails
- Cute, playful designs
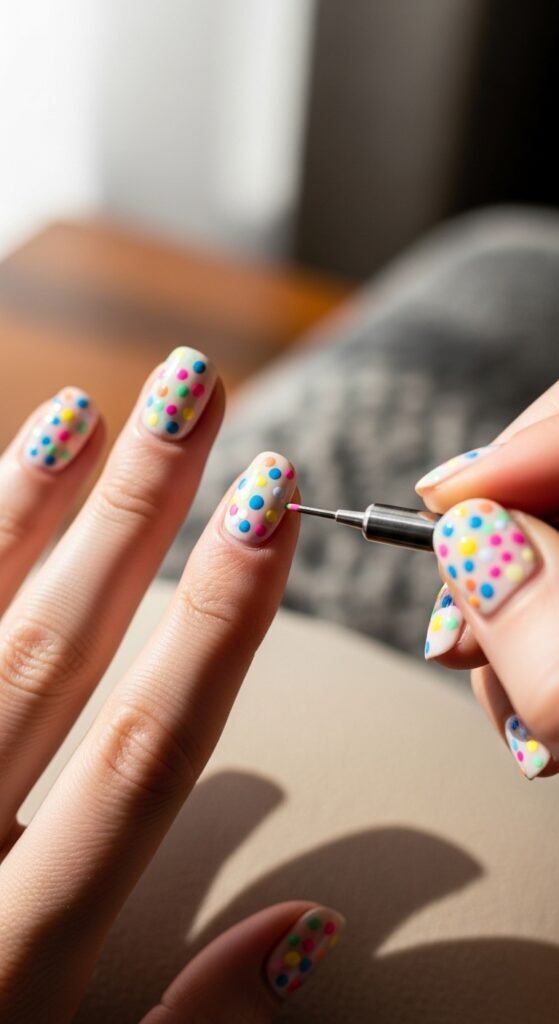
Tip: Less polish on your finger gives you more control.
Create Swirls and Lines With Toothpicks
A simple toothpick can do more than you think.
Use it to:
- Drag wet polish into soft swirls
- Create thin lines
- Add marble effects
Try this easy swirl technique:
- Paint your nail with a base color
- While still wet, add a few dots of a second color
- Gently drag a toothpick through the dots in a curved motion
The result looks artistic—even if it’s not perfect.
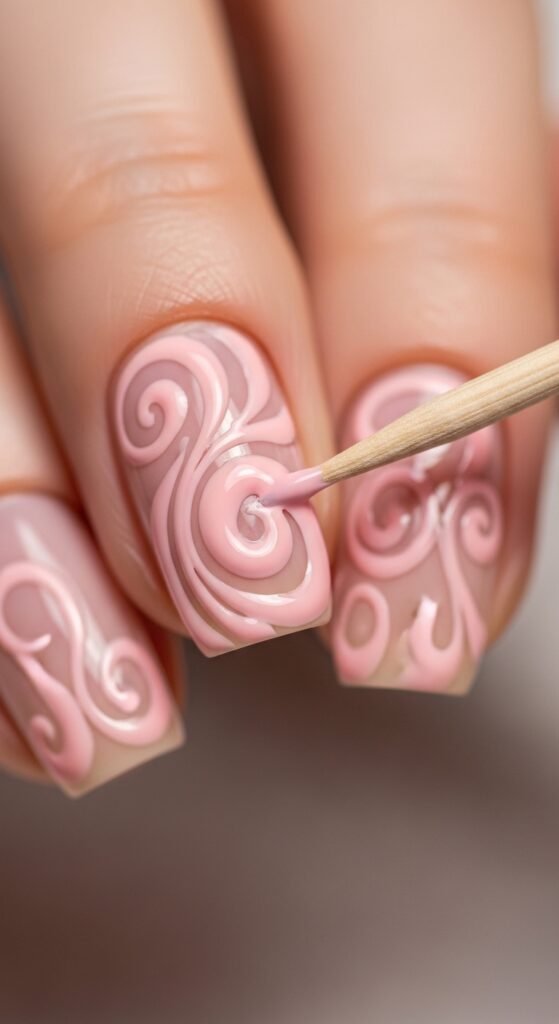
This technique is great for abstract nails and modern designs.
Make Stripes With Tape or Paper
Straight lines without brushes? Totally doable.
Use:
- Small pieces of tape
- Thin paper strips
- Sticky notes cut into narrow shapes
How to do it:
- Paint your base color and let it dry fully
- Place tape or paper where you want clean lines
- Paint over with a second color
- Carefully remove while polish is still slightly wet
You’ll get crisp stripes with zero tools.
Great for:
- Minimal nail art
- French tip variations
- Geometric designs
Try Sponge Effects With Makeup Sponges
If you own makeup, you already have a nail art helper.
A sponge is perfect for:
- Ombre nails
- Soft gradients
- Textured looks
Steps:
- Paint your base color and let it dry
- Dab two colors next to each other on a sponge
- Lightly press onto your nail
- Repeat until you like the blend
Finish with a top coat to smooth the texture.
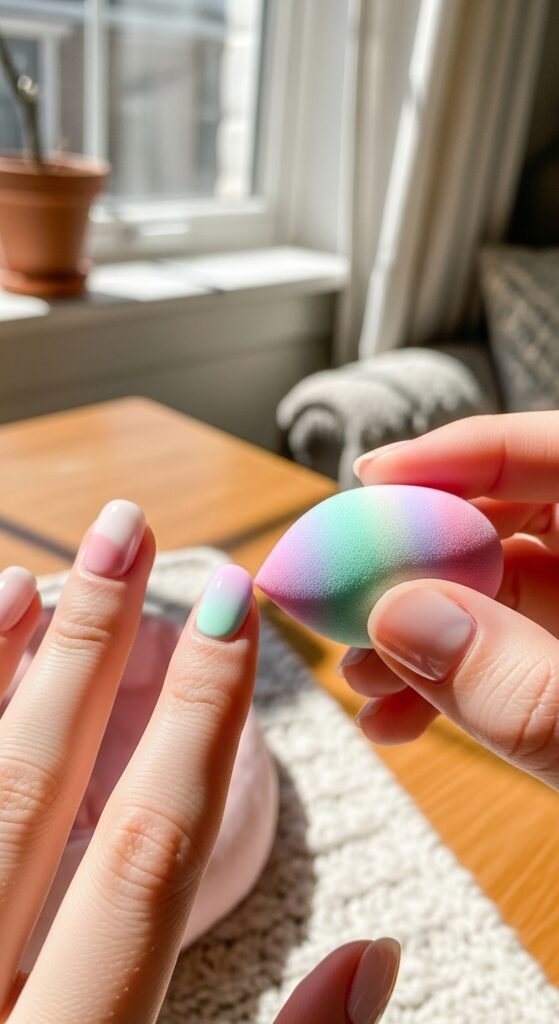
This method hides small mistakes and always looks intentional.
Use Household Items for Fun Details
Look around your home—you’ll be surprised what works.
Easy alternatives:
- Bobby pins for dots
- Hairpins for hearts
- Sewing needles for fine details
- Paperclips bent into simple shapes
Dip lightly into polish and work slowly. Small details go a long way.
Seal Everything With a Top Coat
This step matters more than people realize.
A good top coat:
- Smooths uneven textures
- Blends small mistakes
- Makes designs look professional
Apply gently and avoid dragging too hard over designs. If possible, float the brush slightly above the nail.
Keep Designs Simple (That’s the Secret)
The best no-tool nail art is:
- Minimal
- Playful
- Slightly imperfect
Stick to:
- One or two colors
- Accent nails instead of all ten
- Simple shapes
Pinterest loves nails that feel real, not overly polished.
Final Takeaway
Nail art doesn’t have to be complicated—or expensive. With your fingers and a few everyday items, you can create cute, stylish designs that feel personal and fun. The goal isn’t perfection. It’s creativity.
Save this guide for your next DIY nail moment and start experimenting tonight

Leave a Reply