
Want gorgeous nails but don’t want to deal with messy polish or harsh chemicals? You’re in luck! Nail art without nail polish is not only possible—it can be fun, creative, and surprisingly simple. From using household items to DIY stickers, there’s a world of ways to make your nails pop without ever reaching for a bottle of polish.
Whether you’re allergic to nail polish, avoiding chemicals, or just love a hands-on craft project, this guide will show you how to achieve stunning nail art using alternatives that are safe, easy, and playful. Let’s dive in!
1. Start With a Clean Canvas
Before you can get creative, your nails need to be prepped. A smooth, clean nail is key for anything you’ll add on top.
Steps:
- Wash your hands thoroughly and remove any residue.
- Trim and shape nails with a nail file.
- Push back cuticles gently with a cuticle pusher or soft cloth.
- Buff the nail surface lightly to help designs stick better.
Tip: Even without polish, a base layer like clear topcoat alternatives (think non-toxic or water-based) can help any nail art last longer.
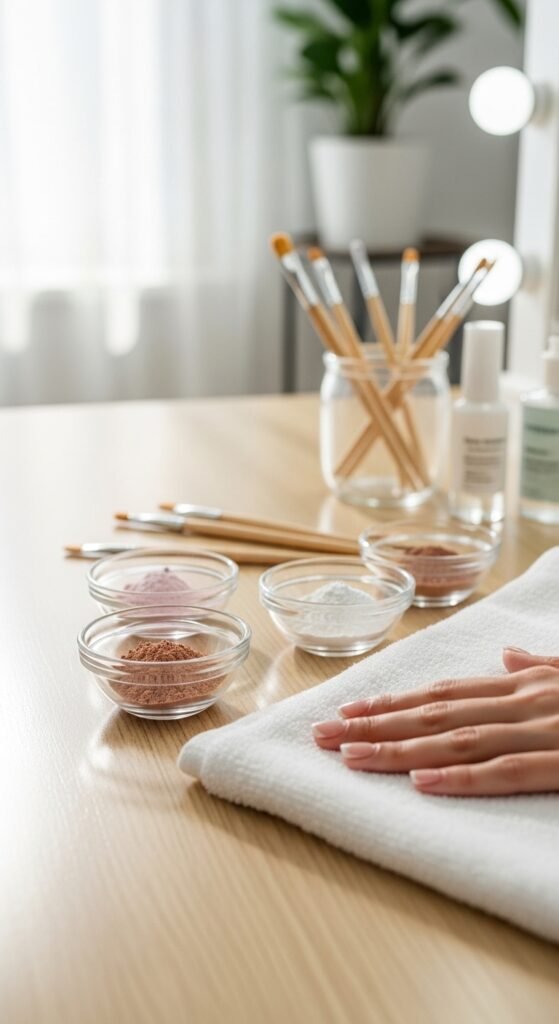
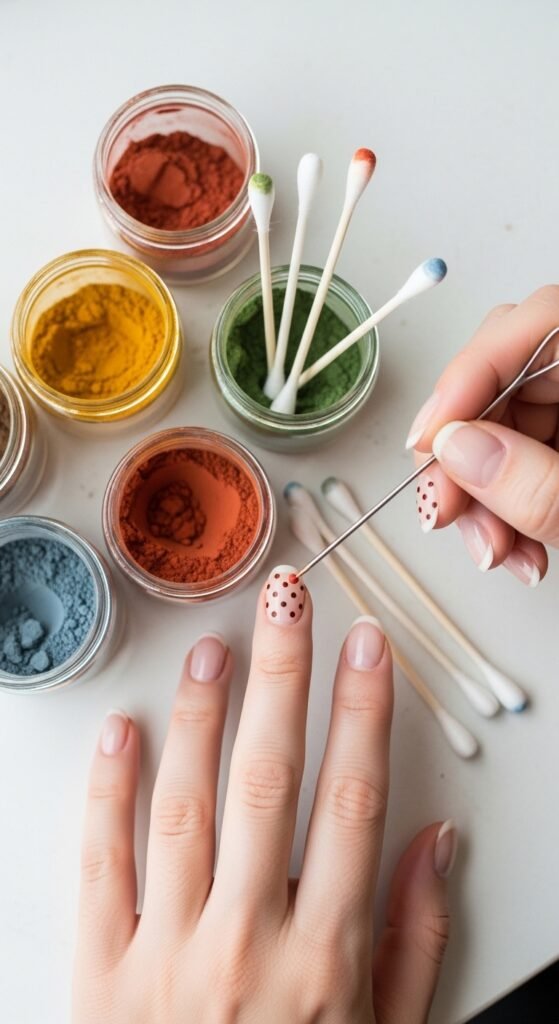
2. Use Household Items for Creative Designs
You don’t need fancy tools to create beautiful designs—many everyday items work perfectly.
Ideas:
- Toothpicks or bobby pins – Great for dots, swirls, and tiny patterns.
- Tape or stickers – Make geometric designs by cutting small strips or shapes.
- Nail stamps made from household objects – Try pressing bubble wrap, leaves, or fabric textures for unique patterns.
- Food coloring or coffee – Natural pigments can be applied lightly with a brush for soft, earthy tones.
Tip: Keep a small bowl of water handy to clean tools between designs.
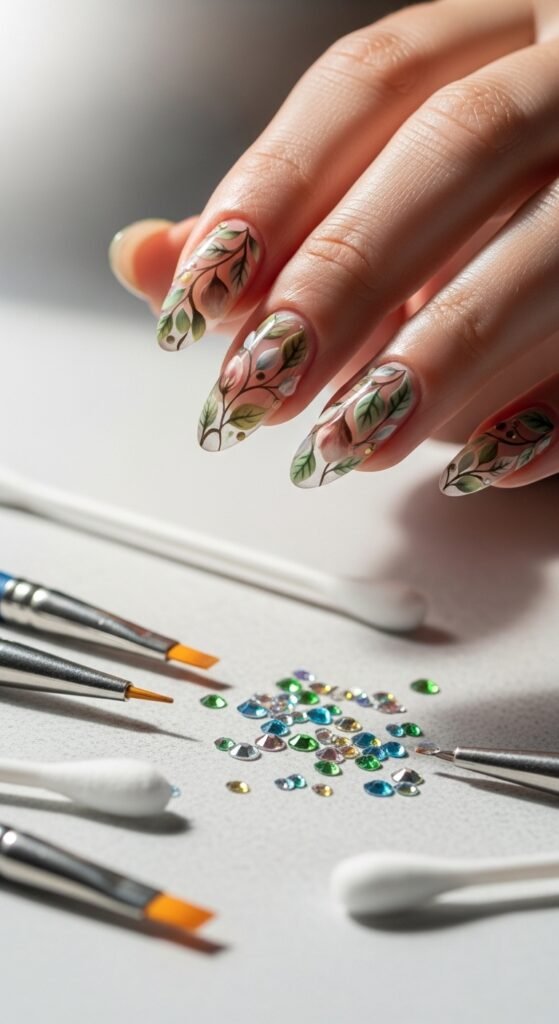
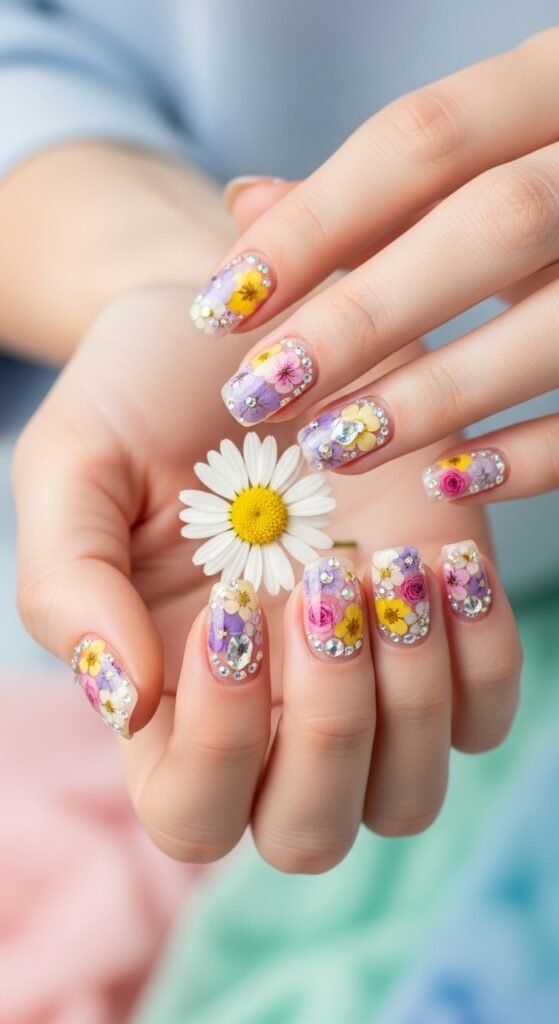
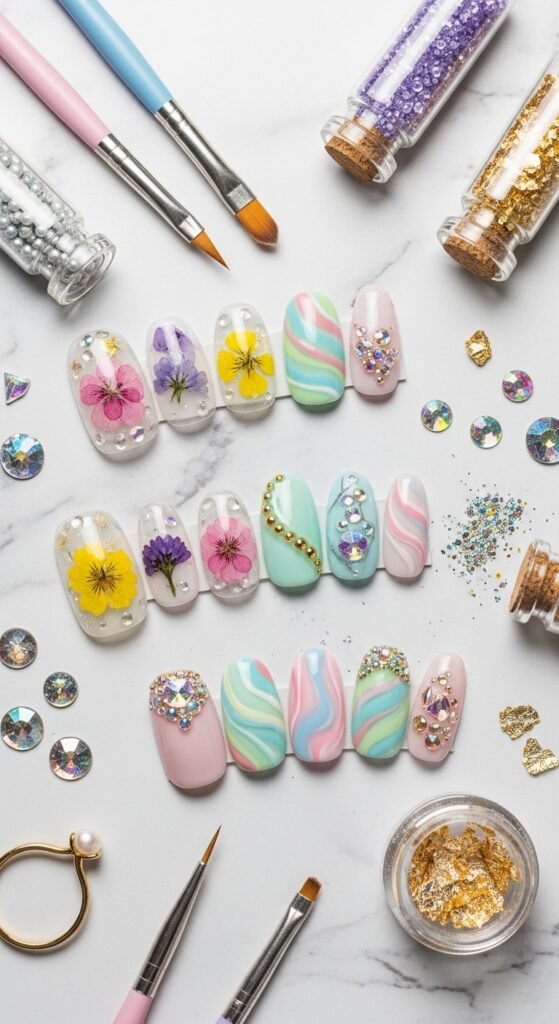
3. Go 3D With Non-Polish Accessories
For a bold, playful look, you can add dimension to your nails without paint.
Options:
- Tiny gems, beads, or rhinestones – Adhere with skin-safe glue.
- Pressed flowers – Perfect for a delicate, springtime look.
- Foil or glitter sheets – Cut into shapes and stick for sparkle without polish.
Tip: Use tweezers for precise placement and a clear, non-toxic adhesive to make sure your decorations stay put.
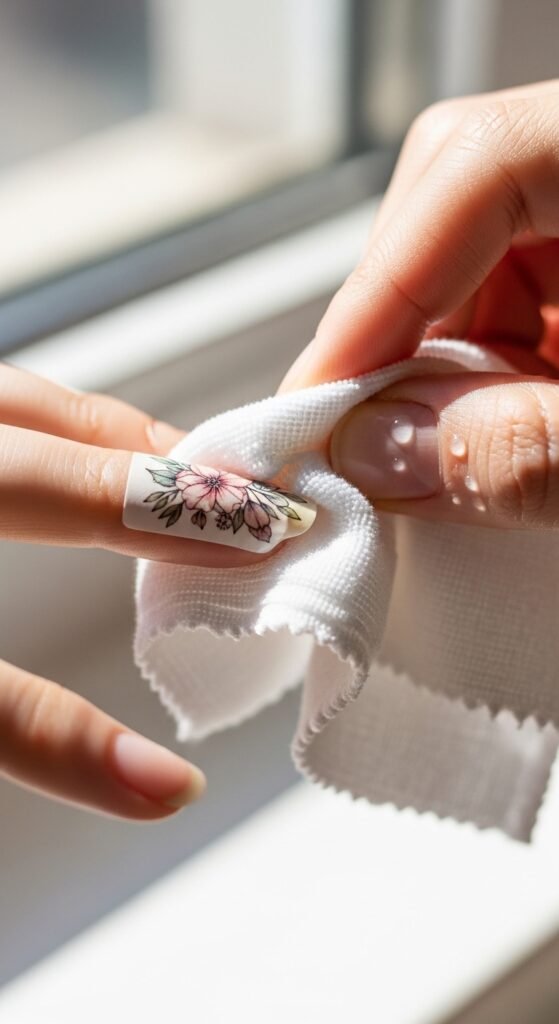
4. Try Temporary Tattoos or Stickers
Temporary tattoos aren’t just for skin—they make incredible nail art too!
How to use:
- Trim the tattoo to fit your nail size.
- Place it face down on your nail.
- Press with a damp cloth for 30–40 seconds.
- Carefully peel off the backing, and voila!
Tip: Seal with a topcoat or a thin layer of clear glue for longer-lasting results.
5. Experiment With Chalk or Pastels
Soft pastels and chalks are fantastic for creating subtle, artistic designs.
How to apply:
- Use a fine brush or your fingertip to rub pastel onto the nail surface.
- Blend colors gently for an ombre effect.
- Seal with a clear nail-friendly adhesive or non-toxic topcoat.
Tip: Pastels are perfect for seasonal designs like spring flowers or soft gradient skies on nails.

Final Tips for Nail Art Without Polish
- Always work in a well-lit area for precision.
- Keep designs simple at first—small patterns can be surprisingly effective.
- Experiment! Sometimes the quirkiest DIY tools produce the most charming results.
- Take a picture of your creations—they make perfect inspiration for future designs.
Nail art without polish is a fun way to let your creativity shine while avoiding chemicals and mess. Whether you prefer delicate designs or bold, textured nails, these techniques give you endless possibilities.
Save these tips and try them at home—you’ll never look at your nails the same way again!

Leave a Reply