
Want salon-worthy nails without leaving your house or spending a fortune? Tape nail art is a game-changer for beginners and pros alike. With just a few simple tools and some creativity, you can transform plain nails into chic, geometric masterpieces. The best part? No messy hand-painting required—just patience, precision, and tape!
Let’s break down the steps so you can create stunning nail designs in no time.
Why Tape Nail Art Works
Tape nail art is popular because it:
- Simplifies complex designs – Straight lines, stripes, and shapes are easier with tape.
- Reduces mistakes – You don’t need a steady hand to create clean edges.
- Is versatile – Works on short or long nails, with any color palette.
- Is budget-friendly – All you need is tape, nail polish, and topcoat.
You can experiment with metallic tapes, thin striping tapes, or even painter’s tape for wider patterns.
What You’ll Need
Before starting, gather these essentials:
- Base coat
- 2–3 nail polish colors of your choice
- Stripping tape, painter’s tape, or Scotch tape cut into thin strips
- Small scissors or nail art tweezers
- Topcoat
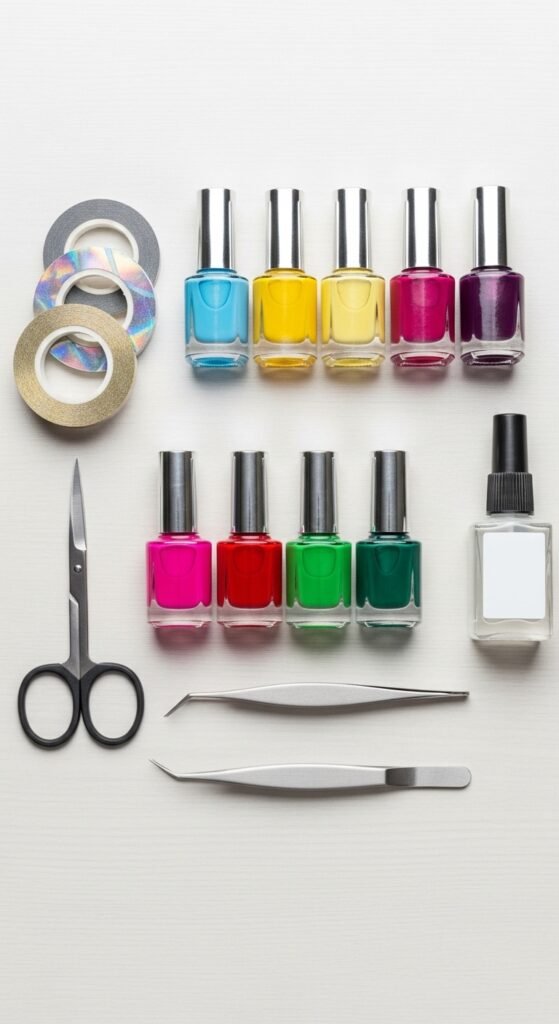
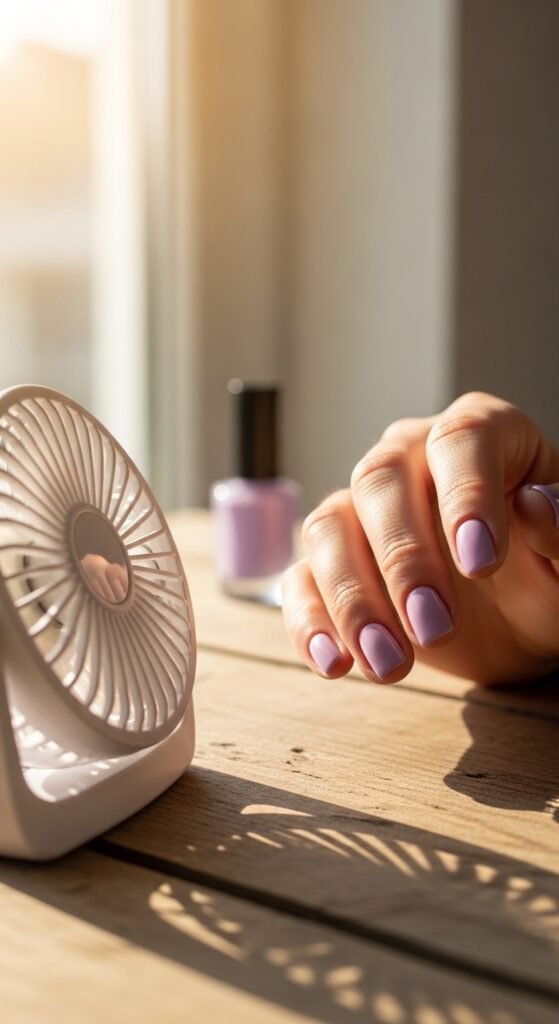
Pro tip: Use a fast-drying polish to prevent smudges and make tape removal easier.
Step-by-Step Guide to Easy Tape Nail Art
1. Prep Your Nails
- Remove old polish and file your nails to your desired shape.
- Push back cuticles and clean nails with a gentle cleanser.
- Apply a base coat to protect your nails and help polish adhere.
2. Apply Base Color
- Choose a color for your base layer and paint 1–2 coats evenly.
- Let it fully dry before adding tape to prevent peeling.
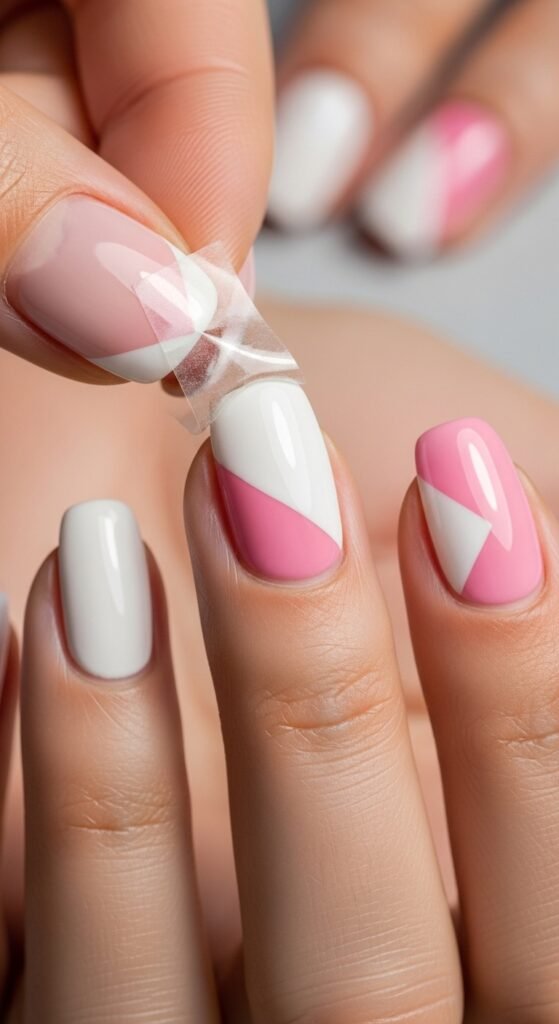
3. Apply Tape for Design
- Cut pieces of tape into strips or shapes.
- Place tape on your nails to create geometric patterns, stripes, or diagonal lines.
- Make sure the tape edges are pressed down firmly to avoid polish bleeding.
Tips for tape placement:
- Combine horizontal and vertical lines for a modern look.
- Leave small gaps between tape for negative space designs.
- Use multiple tapes on one nail for more intricate patterns.
4. Paint Over the Tape
- Apply your secondary color(s) over the taped sections.
- Be gentle—use thin layers to prevent polish from pooling under the tape.
5. Remove Tape Carefully
- Wait a few seconds after painting before removing the tape.
- Peel slowly at a 45-degree angle for sharp, clean lines.
- Fix any minor mistakes with a thin brush dipped in polish remover.
6. Seal With a Topcoat
- Apply a generous topcoat to protect your design and add shine.
- Let it dry completely to avoid smudging.
Pro tip: A matte topcoat can create a sophisticated, modern effect, while glossy finishes make colors pop.
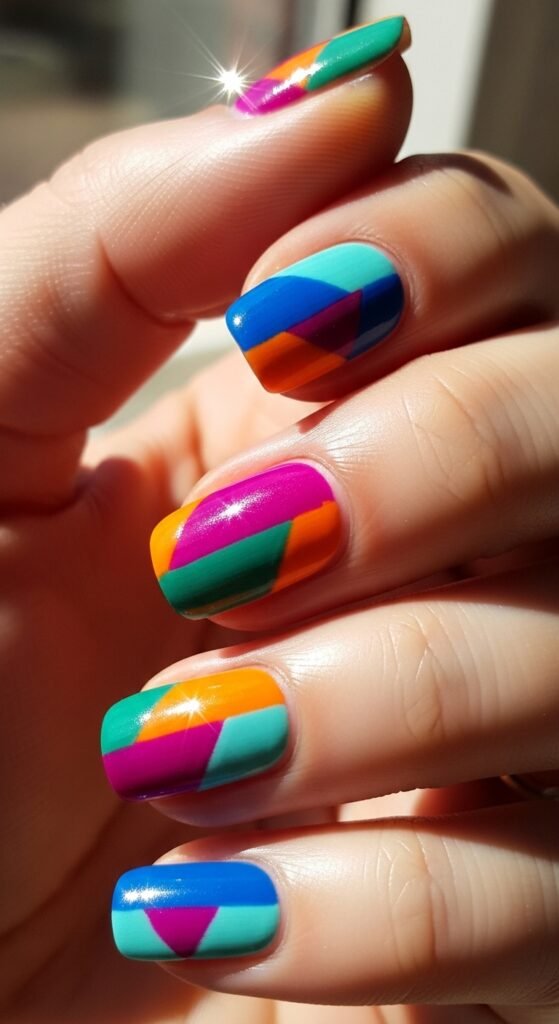
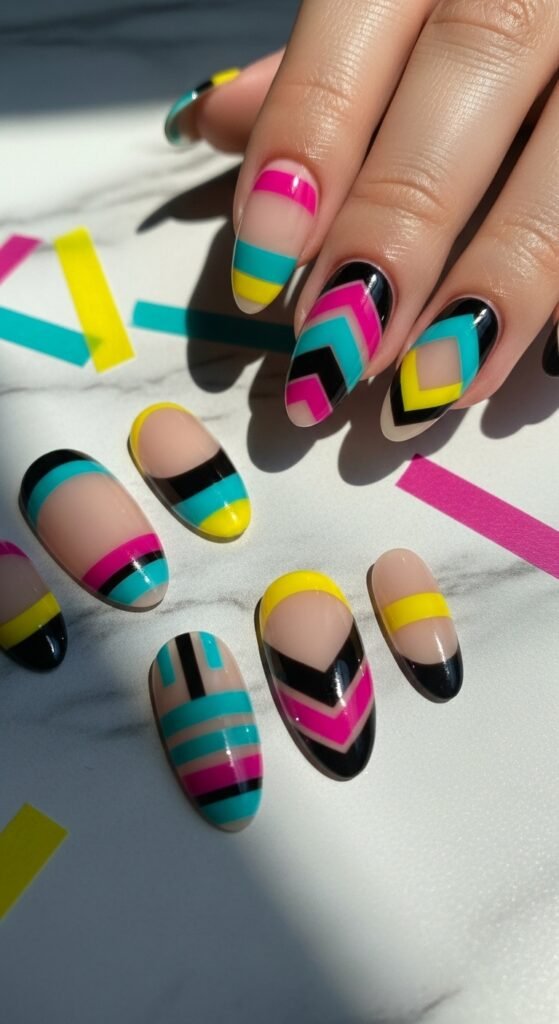
Design Ideas to Try
- Diagonal Stripes – Simple yet elegant. Use two contrasting colors for a bold look.
- Chevron Pattern – Create a zigzag using small tape strips.
- Color Blocks – Tape off sections of your nail for multi-color geometric designs.
- Negative Space – Let parts of your nail peek through for a trendy, minimalist vibe.

Experimenting with metallic or glitter polishes over tape can also give your nails a high-end finish without the salon price.
Extra Tips for Perfect Tape Nail Art
- Always remove tape while the polish is slightly wet, not fully dry.
- If tape sticks too much, lightly press with a fingertip rather than pulling harshly.
- Clean up edges with a small angled brush dipped in nail polish remover.
- Practice on one nail first—once you get the hang of it, the rest are easy!
Final Thoughts
Tape nail art is an easy, fun way to get creative with your nails. Whether you’re aiming for bold geometric designs, subtle stripes, or colorful blocks, this technique is beginner-friendly and endlessly customizable.
Save this guide, stock up on tape and polish, and turn your next manicure into a mini art project!

Leave a Reply