
Nail art is a fantastic way to express your creativity, but creating intricate designs can often feel intimidating—especially if you don’t have the steady hand of a professional. But here’s a secret: you don’t need to be a pro to achieve a flawless nail design! Tape is the key to simplifying your nail art and creating beautiful, geometric designs with precision. Whether you’re a beginner or a seasoned nail artist, tape can help you nail that clean, crisp look every time. Ready to dive in?

Step-by-Step Guide to Nail Art with Tape
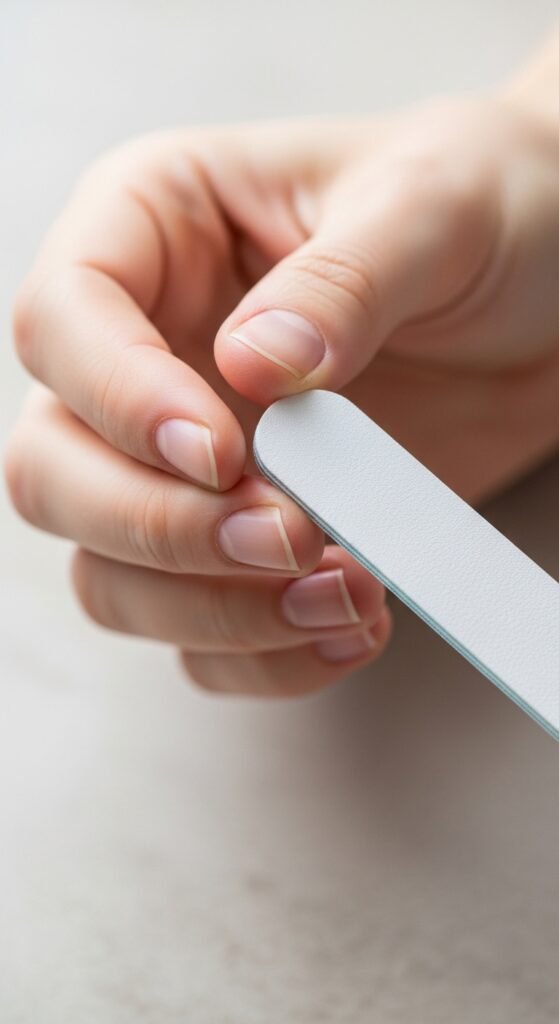
Step 1: Prepare Your Nails
Before diving into the nail art, prep your nails by removing any old polish and filing your nails into your desired shape. Clean the nail beds to remove oils and dust. Applying a base coat is a must! It helps protect your nails and ensures your design will last longer. Allow your base coat to dry completely before moving to the next step.
Step 2: Apply the Base Color
Pick a nail polish color that will be the foundation of your design. This could be a solid color or a gradient, depending on your style. Apply the base coat evenly and let it dry for at least 10 minutes. The base coat serves as the canvas for your design, so make sure it’s smooth and free of bubbles.
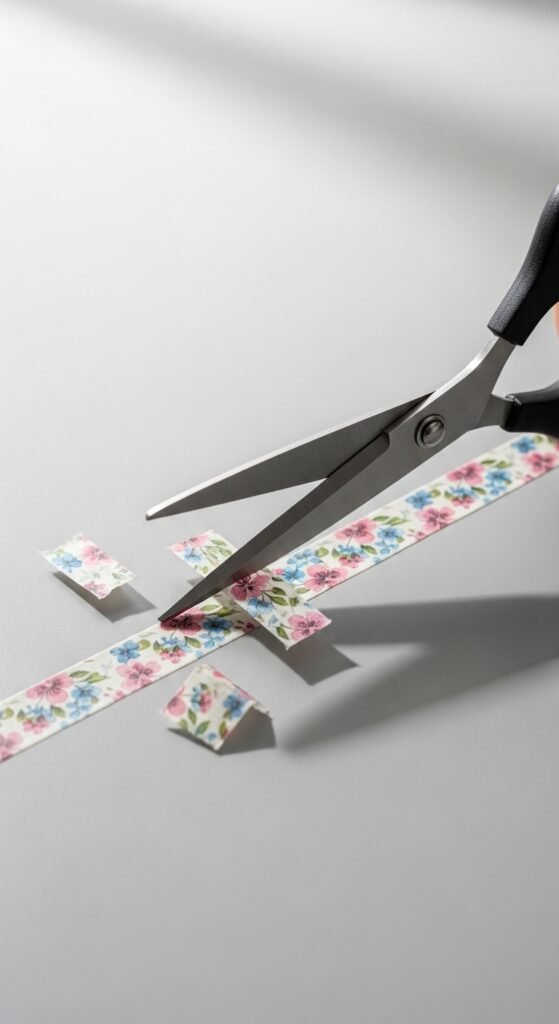
Step 3: Get Your Tape Ready
The most important tool for this technique is—believe it or not—simple tape. You can use painter’s tape, washi tape, or even masking tape. Cut your tape into different shapes, like stripes or triangles, depending on the design you want. It’s best to cut smaller strips and keep them handy to avoid unnecessary mess.
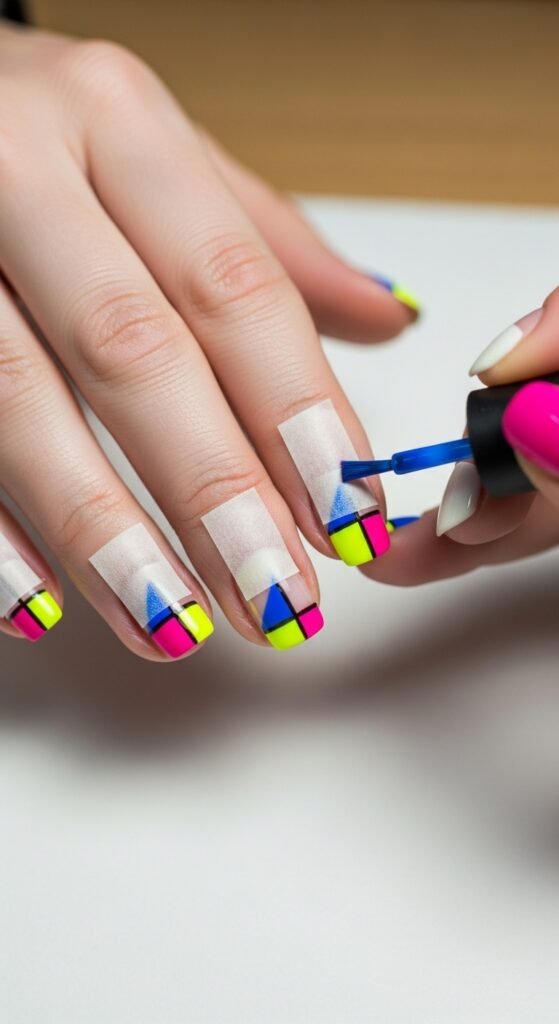
Step 4: Apply the Tape to Your Nails
Now for the fun part—applying the tape! Carefully place the tape on your nails to create clean lines or shapes. Make sure the tape sticks flat to the nail to prevent any polish from bleeding underneath. This step is great for geometric designs or creating negative space effects. If you’re feeling adventurous, you can overlap the tape to create a more complex design.
Step 5: Add Your Second Color
After the tape is securely placed on your nails, it’s time to add your second color. This could be a bold color contrast or a subtle tone that complements your base color. Using a small nail polish brush or a regular polish bottle, apply the second coat of polish over the area exposed by the tape. Be sure to apply a thin, even layer.
Step 6: Remove the Tape
Once you’ve applied your second coat of polish, let it dry for a minute or two—just enough so the design holds its shape but is still wet enough to remove the tape without smudging. Slowly peel the tape away from your nails at a 45-degree angle. Do this carefully to avoid disturbing your clean lines.
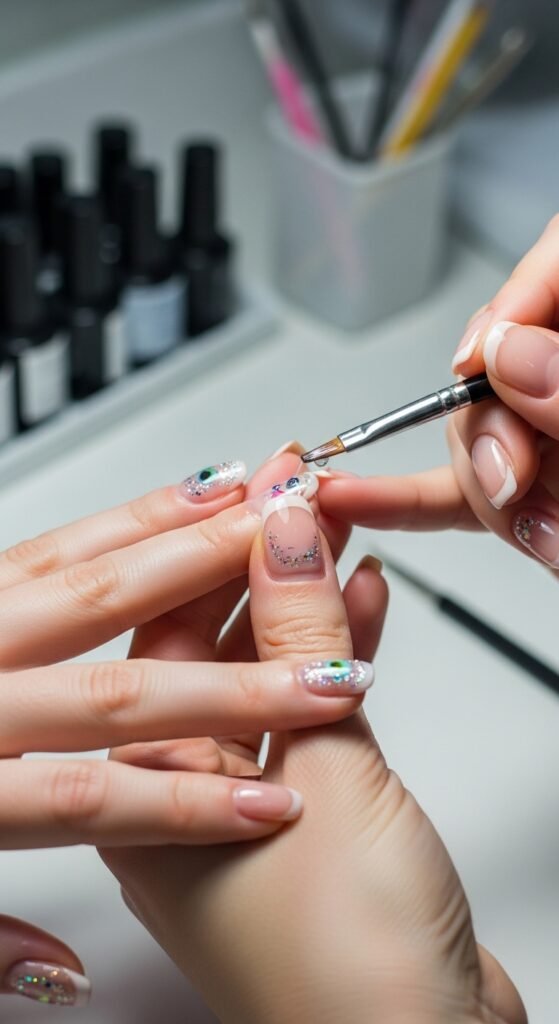
Step 7: Top Coat and Final Touches
After removing the tape, finish your design with a glossy top coat to seal everything in and give it that polished, salon-quality look. A top coat also helps your design last longer, so you can show off your gorgeous nail art without worrying about chipping. Don’t forget to clean up any polish around the edges of your nails with a bit of nail polish remover.
Tips for Perfect Tape Nail Art
- Choose the right tape: Not all tapes are created equal! Painter’s tape works best for delicate designs because it’s less likely to tear or pull up your base coat. Washi tape is also a great option for softer lines.
- Use tweezers for precision: If you’re working with small tape shapes, tweezers can help you place them more precisely.
- Be patient with drying: Make sure each layer is fully dry before applying the tape or adding more polish. Otherwise, you risk smudging your design.
- Experiment with textures: Use matte polishes or glitter over your base color for added dimension and flair.
Final Thoughts
Tape nail art is a simple yet effective way to create eye-catching designs without the hassle. With just a little practice, you can master geometric patterns, stripes, and even custom designs using basic tape and nail polish. Whether you’re looking to create a sleek, minimalistic look or a bold, colorful statement, this technique is perfect for all nail lovers!
So, what are you waiting for? Grab some tape and get creative—your next show-stopping nail art design is just a few steps away. Save this tutorial for your next DIY nail art session!

Leave a Reply