
Want nails that look professionally done without the salon price tag? Nail art using a sponge is one of the easiest ways to create stunning, gradient, and textured designs at home. Whether you’re dreaming of ombré effects, galaxy nails, or fun spring vibes, a simple sponge can be your magic tool.
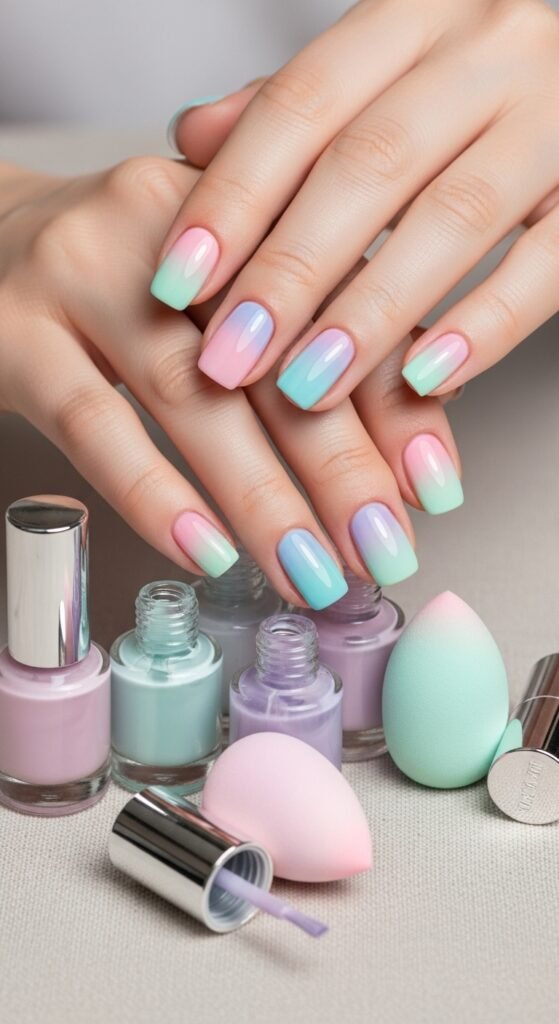
Let’s dive into this fun, creative technique that will have your nails looking Pinterest-perfect in no time.
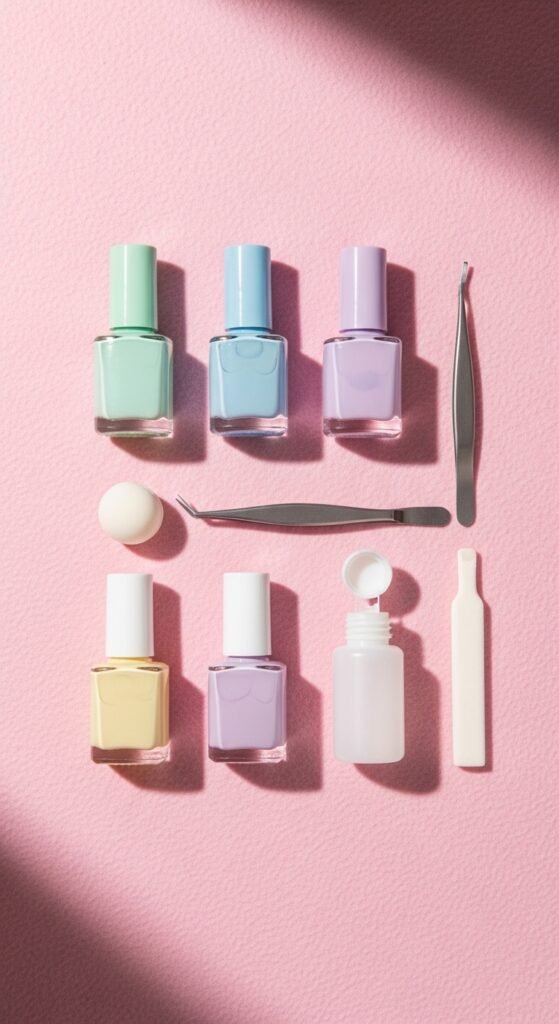
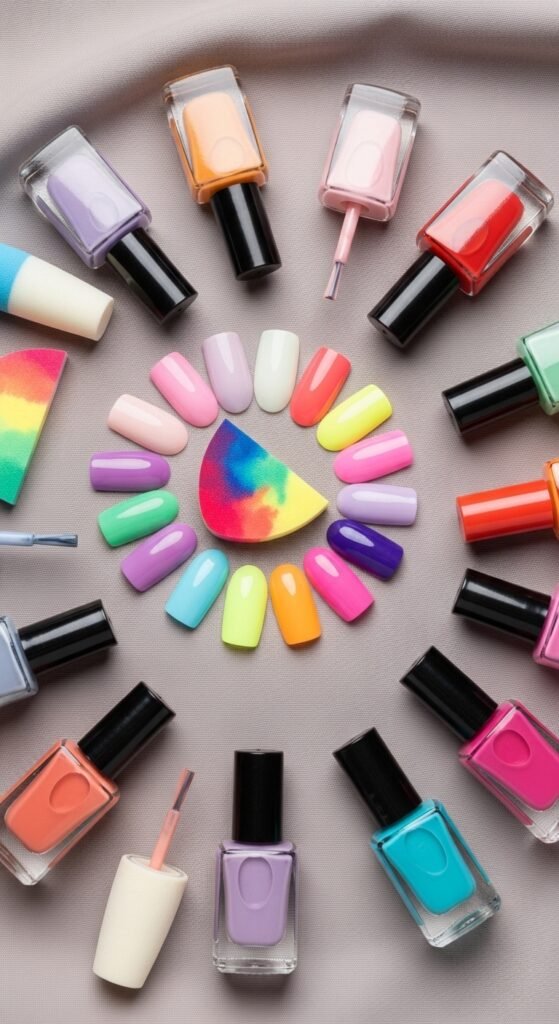
What You’ll Need for Sponge Nail Art
Before you start, gather all the essentials. You don’t need a huge stash of supplies—just a few basics:
- Base coat & top coat – Protects nails and seals your design.
- Nail polishes – Choose 2–3 complementary colors for gradients or patterns.
- Small makeup sponge – The classic beauty blender works perfectly.
- Tweezers or a toothpick – Optional, for touch-ups.
- Liquid latex or tape – To protect skin from polish smudges.
Pro tip: Start with colors you love together, and don’t be afraid to experiment with bold combinations—they often look even better in gradient form!
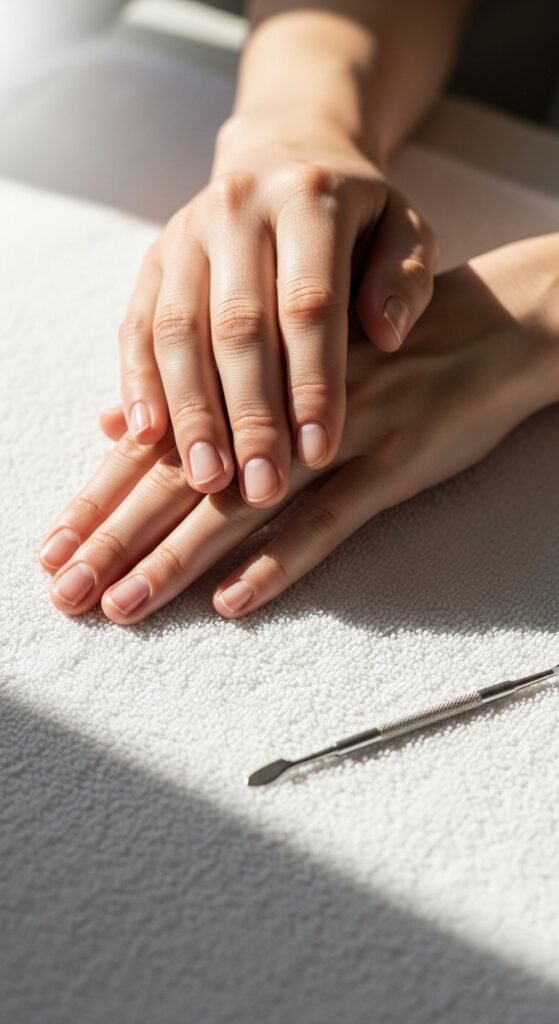
Step 1: Prep Your Nails
A smooth canvas is key for any nail art:
- Trim and shape your nails.
- Push back cuticles and remove excess oils.
- Apply a base coat to protect your nails from staining.
- Let it dry completely before moving to the next step.
Remember, neat prep makes the art pop and last longer.
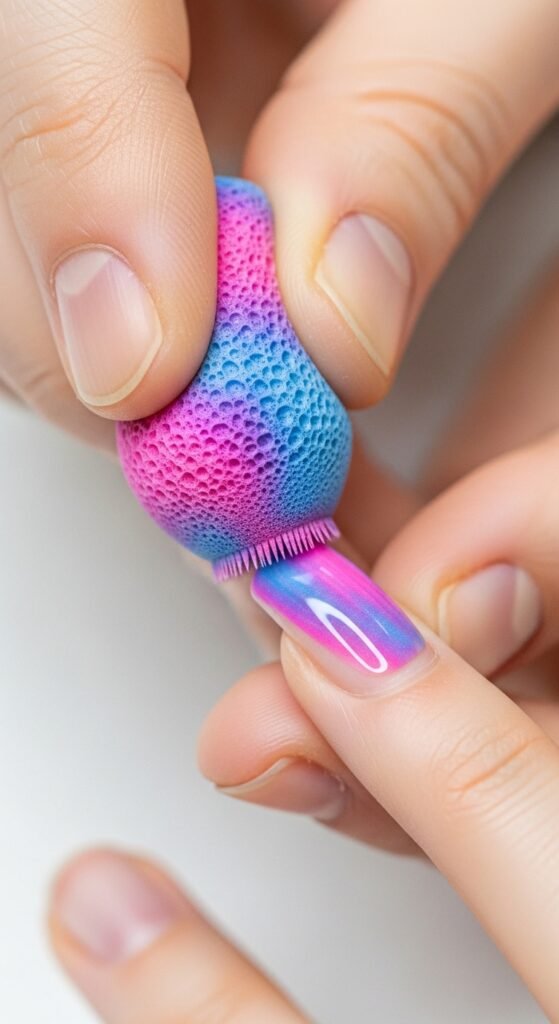
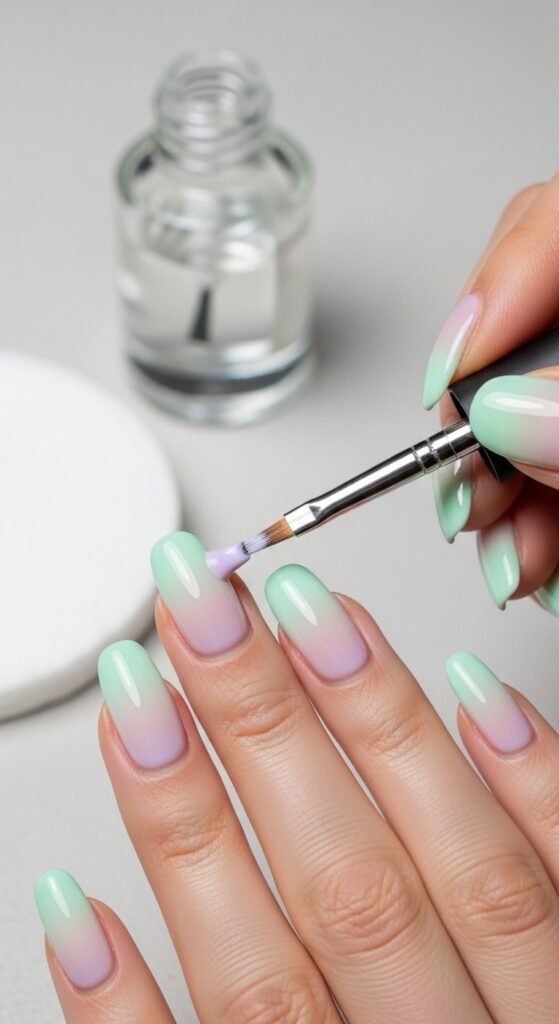
Step 2: Create the Gradient with a Sponge
This is where the magic happens:
- On a clean surface or palette, paint stripes of your chosen colors directly onto the sponge. Slightly overlap them.
- Dab the sponge gently onto your nail. Don’t press too hard—layering is better than smearing.
- Repeat dabbing until the color blends smoothly from one shade to the next.
- Let it dry for a minute, then repeat if you want a more vivid gradient.
Tip: Use a light hand and small sponge sections for better control on shorter nails.
Step 3: Clean Up the Edges
Gradient nails are gorgeous, but the edges can get messy. Here’s how to fix it:
- Use a small brush or cotton swab dipped in nail polish remover to clean around the cuticles.
- If you applied liquid latex or tape, simply peel it off.
This little step makes your nails look polished and professional.
Step 4: Seal Your Design
After your gradient looks perfect:
- Apply a top coat to smooth out the texture and make the colors pop.
- Allow it to dry completely.
- Admire your beautiful, salon-worthy nails!
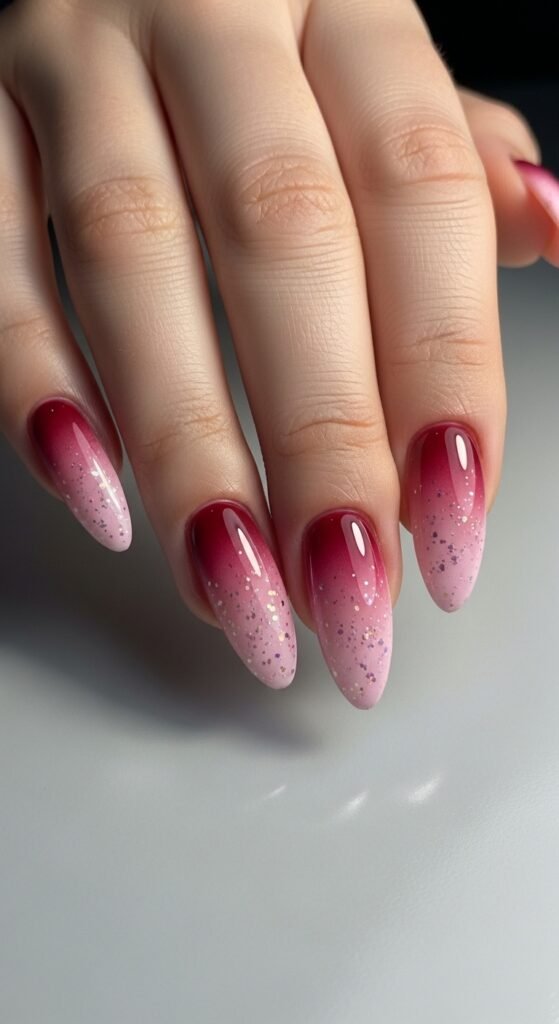
Extra Tips for Sparkle:
- Add a thin glitter polish over the gradient for a sparkling effect.
- Use a white or metallic polish for accent nails to make the design stand out.
Fun Variations to Try
Once you master the basic sponge gradient, you can get creative:
- Galaxy Nails: Layer dark blues, purples, and a touch of black; add white dots for stars.
- Sunset Nails: Warm shades like orange, pink, and purple blended for a sunset effect.
- Pastel Rainbow: Perfect for spring—soft rainbow gradients on each nail.
The possibilities are endless!
Final Thoughts
Sponge nail art is easy, fun, and perfect for experimenting with color. With just a few supplies and a bit of patience, your nails can become mini works of art.
Save this guide for your next manicure session, and don’t forget: practice makes perfect. Soon, you’ll be creating gradient designs that look straight off Pinterest!

Leave a Reply