
Nude nail art is one of the most timeless and versatile trends in the world of nails. Whether you’re preparing for a special occasion or just want to keep things chic and understated, nude nails can complement any outfit and suit any season. But just because you’re opting for a neutral palette doesn’t mean your nails have to be boring! With the right techniques and a bit of creativity, you can elevate nude nail art into something truly elegant. Let’s dive into how you can achieve this refined look that’s perfect for any occasion.
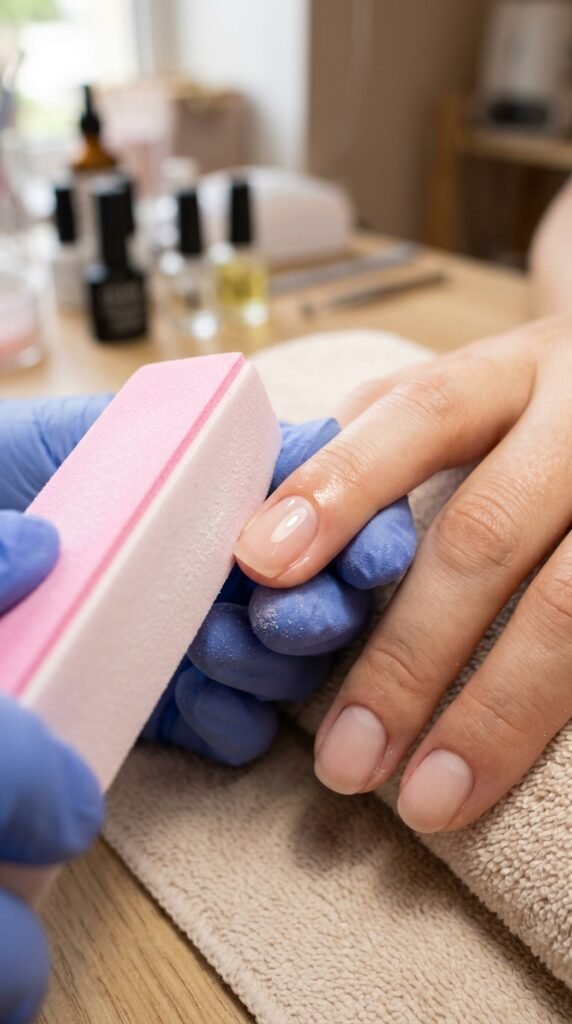
Step 1: Prepare Your Nails for Perfection
Before you begin painting your nails, a solid foundation is key. Here’s what you need to do to get your nails in tip-top shape:
- Trim and Shape: Start by trimming your nails to your desired length. If you prefer a classic look, go for a square or oval shape. For a more modern and sleek vibe, consider a stiletto or almond shape.
- Push Back Cuticles: Gently push back your cuticles using a cuticle pusher to give your nails a clean, polished look.
- Buff and Smooth: Lightly buff your nails to remove any rough patches, making sure they’re smooth and ready to absorb polish.
- Hydrate: Moisturize your cuticles and hands with a nourishing oil or hand cream to keep everything soft and hydrated.
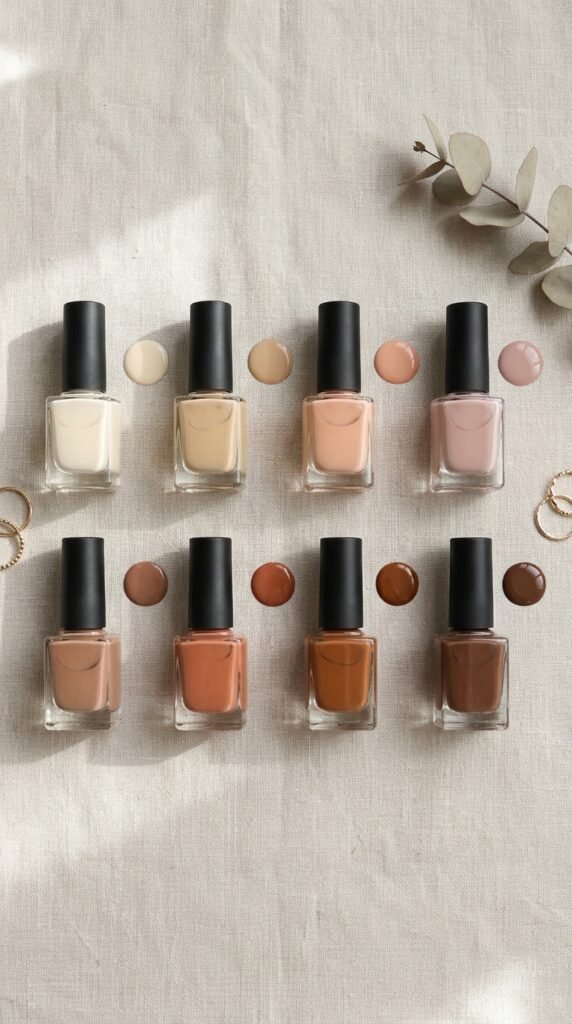
Step 2: Choose the Right Nude Shade for Your Skin Tone
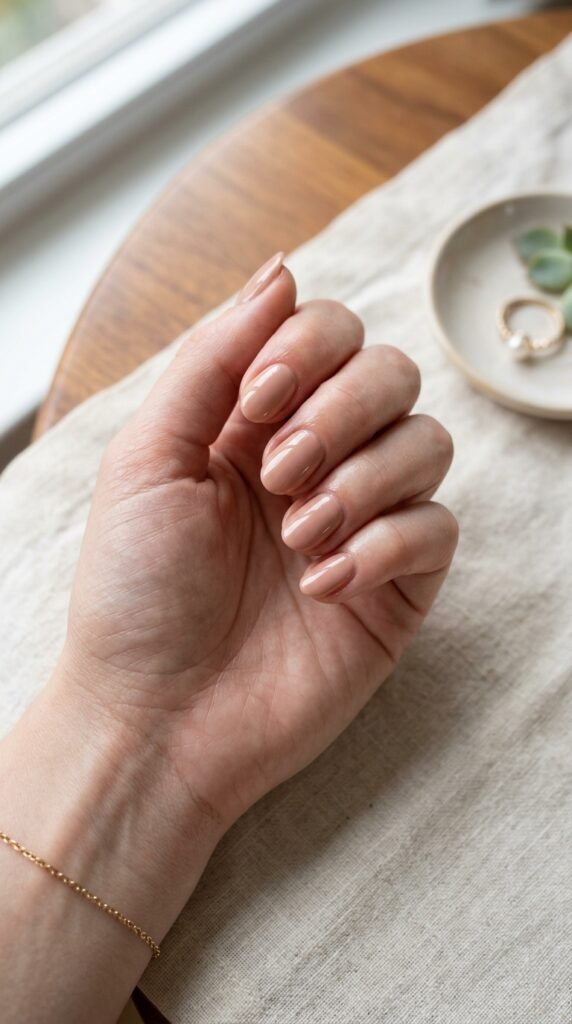
The beauty of nude nail art lies in its simplicity, but the key to achieving an elegant look is selecting the right nude tone. Here’s a guide to picking a nude polish that complements your skin tone:
- Fair Skin: Go for a soft pink, pale beige, or light peach shade to complement your complexion.
- Medium Skin: Opt for a beige or caramel nude with subtle warm undertones to enhance your natural hue.
- Dark Skin: Choose a deep nude, such as a rich chocolate or a reddish-brown shade, that will pop beautifully against your skin tone.
Step 3: Apply a Smooth Base Coat
Once you’ve picked your perfect shade, it’s time to apply a base coat. This step is crucial for several reasons:
- It prevents staining from colored polishes.
- It ensures the polish adheres better and lasts longer.
- It smooths out any imperfections on your nail surface.
Start by applying a thin layer of base coat and allow it to dry before proceeding to the next step.
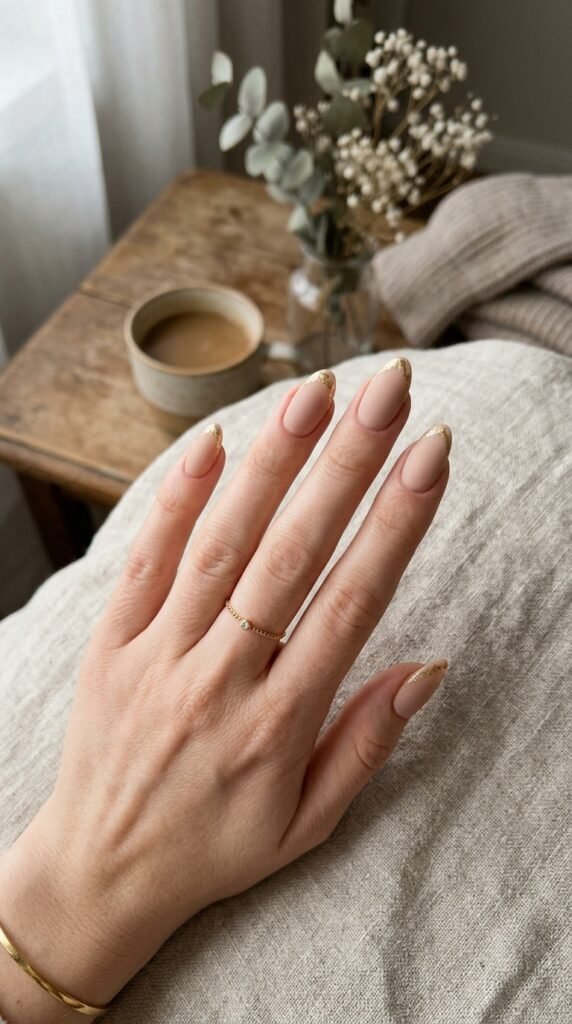
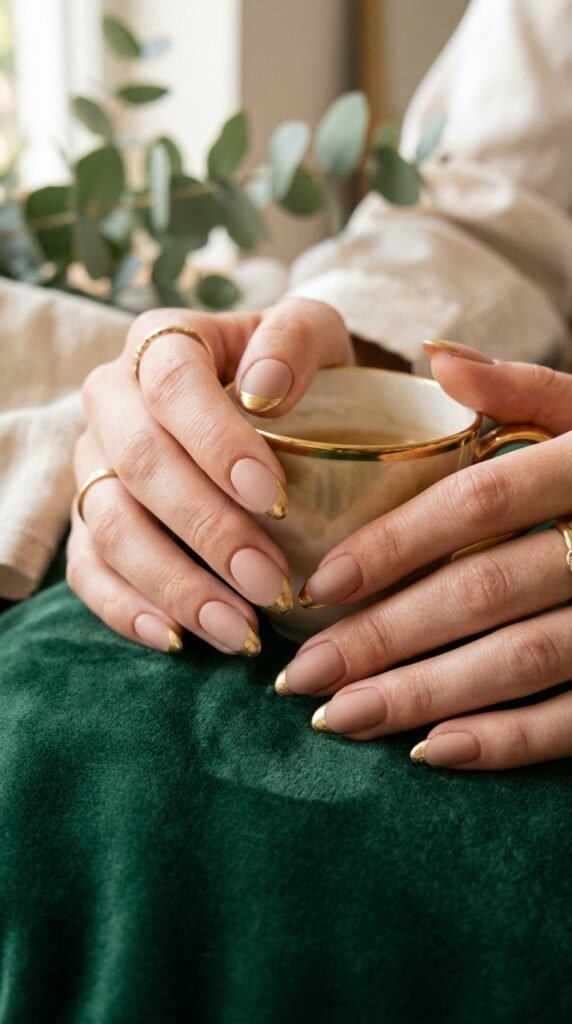
Step 4: Perfect Your Nude Nail Art with Elegant Details
Nude nails can look stunning on their own, but adding a subtle design can really elevate your look. Here are a few elegant ideas to try:
- Gold Accents: Add a delicate gold accent on the tips of your nails for a luxurious, sophisticated finish. You can also use gold leaf or fine gold strips for a minimal yet striking effect.
- Matte Top Coat: For a chic, modern vibe, finish your nude nails with a matte top coat. It adds a sophisticated twist to the glossy nude look.
- Negative Space Designs: Use striping tape to create negative space designs, such as lines, triangles, or geometric shapes, giving your nails a modern and trendy edge.
- Simple Florals: For a touch of elegance, use a fine brush to paint small, delicate floral designs in white or soft pastel shades. This adds a hint of whimsy without overpowering the nude base.
Step 5: Seal It All with a Top Coat
Once your design is complete, don’t forget the final step: applying a top coat. This will not only give your nails a beautiful shine but also protect your design from chipping. Here are some options:
- Glossy Top Coat: For a classic look, use a high-shine top coat that enhances the natural beauty of your nude nails.
- Matte Top Coat: If you’ve already applied a matte finish, choose a matte top coat to preserve that sleek, modern aesthetic.
- Quick-Dry Top Coat: If you’re in a rush, a quick-dry top coat will speed up the drying process and prevent smudging.
Step 6: Maintain and Enjoy Your Elegant Nude Nails
Now that your nude nail art is done, it’s essential to keep your nails in great shape. Here are a few tips for maintaining your elegant look:
- Avoid Hot Water: Hot water can cause nail polish to chip, so try to keep your hands out of hot water for long periods.
- Touch Up as Needed: If you notice any chips or wear, touch up your polish as soon as possible to maintain that fresh, clean look.
- Moisturize Regularly: Keep your nails and cuticles hydrated to prevent dryness and breakage.
Conclusion
Nude nail art is all about achieving a clean, elegant, and refined look. With the right shade, techniques, and a bit of creativity, you can create a stunning design that works for any occasion. Whether you prefer a classic nude look or love to add a bit of sparkle and detail, this style is incredibly versatile and sophisticated. So, grab your favorite nude polish and start experimenting with these elegant tips!
Save this guide for later and get inspired to try new designs!

Leave a Reply