
Nail art is a fun and creative way to express yourself, and gel polish is the perfect medium to bring your designs to life. Not only does gel polish provide a glossy, long-lasting finish, but it also gives your nails a professional look right at home. If you’ve ever wondered how to master the art of gel nails, you’re in the right place. Let’s dive into this step-by-step guide on how to do nail art with gel polish and make your nails shine!

What You Need to Get Started
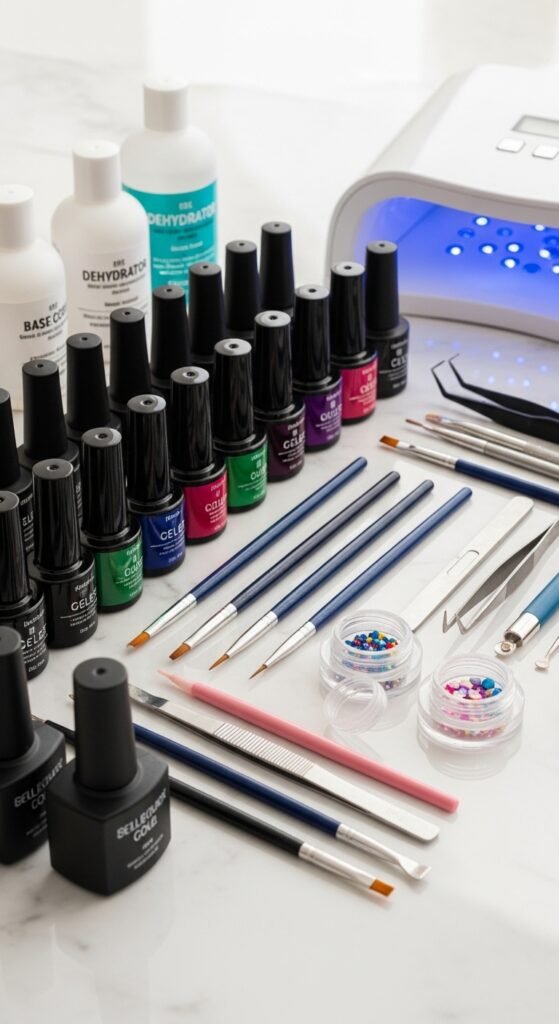
Before you can start creating stunning designs, make sure you have all the necessary tools. Here’s what you’ll need:
- Gel nail polish in your favorite colors
- Base coat and top coat (to protect your nails and add a shiny finish)
- UV or LED lamp (to cure the gel polish)
- Nail art brushes (for intricate designs)
- Dotting tools (for creating dots or patterns)
- Nail file and buffer (to shape your nails)
- Cuticle oil (to keep your nails healthy)
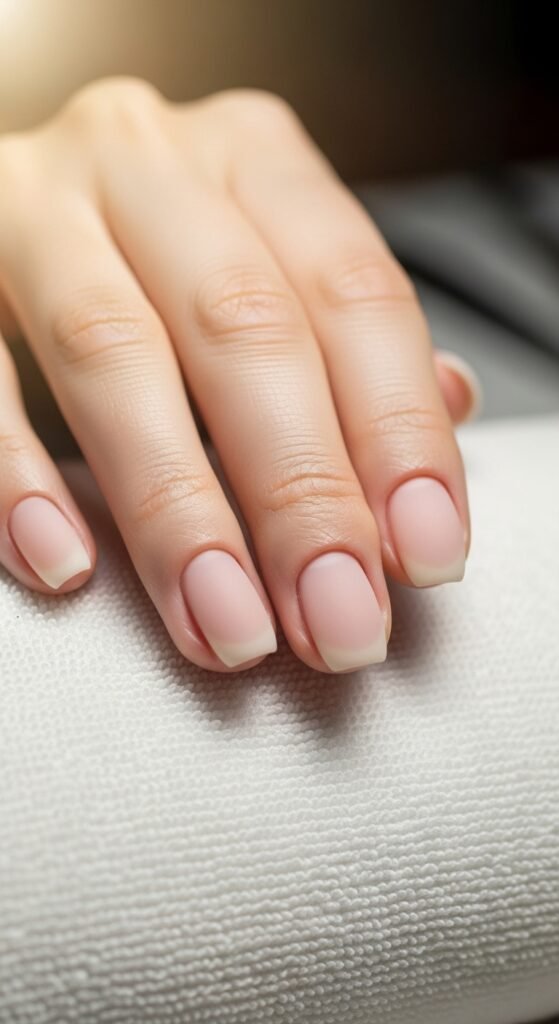
Step 1: Prep Your Nails
The first step to beautiful nail art is preparing your nails. Clean nails are a must for the gel polish to adhere properly. Follow these steps:
- Remove any old polish using a non-acetone remover.
- Shape your nails with a nail file, and gently buff the surface to remove any shine.
- Push back your cuticles with a cuticle pusher. This ensures your nails are clean and ready for polish.
- Clean your nails using a lint-free wipe and some alcohol to remove any dust or oils.
Now your nails are prepped, and you’re ready to start the fun part!
Step 2: Apply the Base Coat
A base coat is essential for ensuring your gel polish lasts longer and doesn’t chip easily. Here’s how to apply it:
- Apply a thin layer of base coat to each nail.
- Cure the base coat under your UV or LED lamp according to the instructions (usually 30-60 seconds).
- Check for smoothness—the base coat should provide a nice, even surface for the color to adhere to.
Taking your time with this step will set you up for a perfect application later!
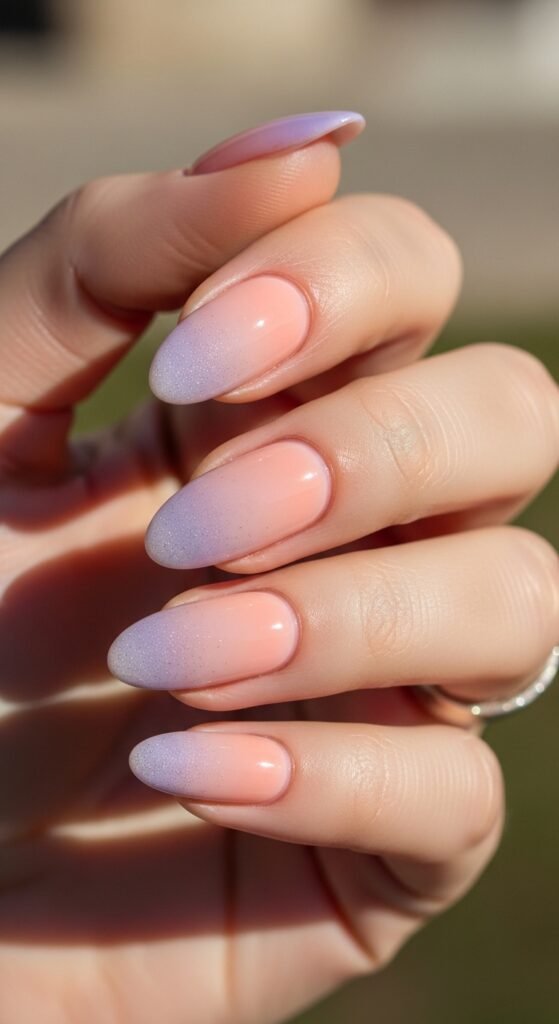
Step 3: Add Color and Nail Art Designs
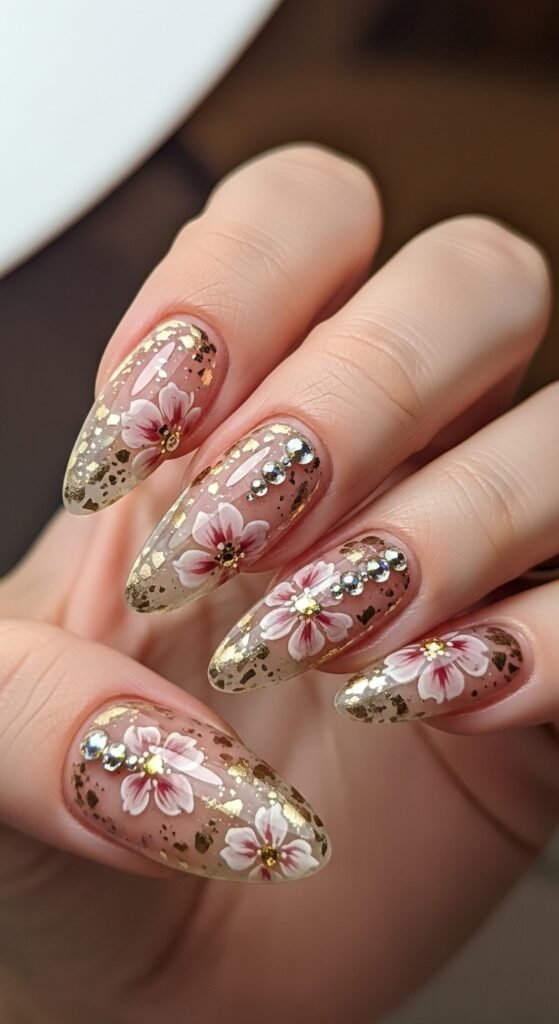
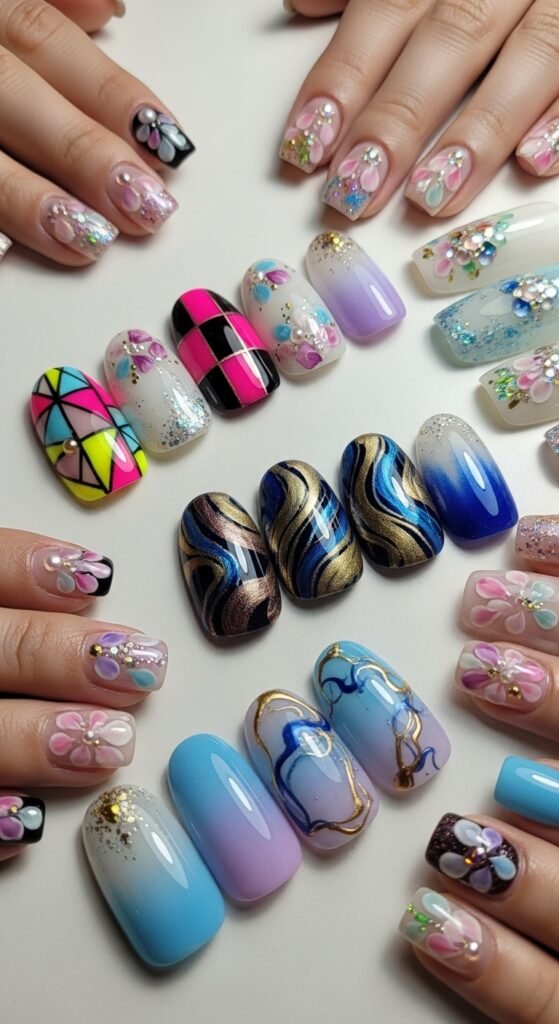
Now comes the fun part—creating your masterpiece! Whether you’re going for a classic solid color, an ombré effect, or something more intricate like flowers or geometric designs, gel polish is versatile enough for all your creative ideas.
- For a solid color, apply a thin layer of your chosen gel polish. Cure under the lamp, then repeat with a second layer for full opacity.
- For simple designs, use a fine nail art brush or dotting tool to create patterns or add small details. Popular designs include polka dots, stripes, or hearts.
- For ombré nails, use a sponge to blend two colors together for a beautiful gradient effect.
Step 4: Seal with a Top Coat
Once you’ve added your designs, it’s time to lock everything in place. The top coat is crucial for both protection and that perfect glossy shine.
- Apply a thin layer of top coat to each nail.
- Cure the top coat under the UV or LED lamp (usually 30-60 seconds).
- Wipe off any tacky residue using a lint-free wipe and some alcohol, revealing a smooth, shiny finish.
Now your nails are beautifully sealed and ready to show off!
Step 5: Moisturize and Maintain
Nail care doesn’t end with the design! To keep your nails looking fresh and healthy:
- Apply cuticle oil around the nails to keep the skin soft and hydrated.
- Avoid harsh chemicals or excessive water exposure to prolong your gel manicure.
- Reapply cuticle oil daily for healthier nails.
Regular maintenance is the secret to keeping your nails in perfect condition between manicures.
Final Thoughts
Now that you know the steps to doing nail art with gel polish, it’s time to get creative! Gel polish not only provides long-lasting results but also allows for endless design possibilities. Whether you’re a beginner or an expert, you can achieve beautiful, salon-quality nails right at home.
So, gather your tools, pick your favorite colors, and start experimenting with your own nail art designs today. Save this guide for your next manicure, and don’t forget to share your amazing creations with your friends!
Now go ahead and create your own unique nail art masterpiece!

Leave a Reply