
Nail art doesn’t have to be complicated or intimidating. In fact, some of the cutest designs start with one simple tool: the dotting tool. With just a few dots, you can create flowers, hearts, abstract patterns, and trendy minimalist looks right at home—no salon appointment needed.
Whether you’re brand new to nail art or just want an easy way to level up your manicures, this guide will walk you through everything you need to know.
What Is a Dotting Tool (and Why It’s So Handy)?
A dotting tool is a small, pen-like tool with a rounded metal tip. It’s designed to pick up nail polish and place it onto the nail in clean, controlled dots.
Why people love it:
- It’s beginner-friendly
- It creates consistent shapes
- It works with almost any polish
- It’s affordable and reusable
Most sets come with multiple sizes, which means you can mix tiny dots with larger ones for more interesting designs.
What You’ll Need Before You Start
You don’t need a full nail kit to get started. Keep it simple.
Here’s what to gather:
- Dotting tool (or alternatives like a bobby pin or toothpick)
- Base coat
- One or more nail polish colors
- Top coat
- A flat surface or palette (foil works great)
- Nail polish remover and cotton swabs for cleanup
Tip: Choose polish colors that contrast well so your dots really pop.
Prep Your Nails for the Best Results
Great nail art starts with good prep. Skipping this step can lead to smudges or uneven designs.
Before painting:
- Remove old polish completely
- Shape and file your nails
- Push back cuticles gently
- Apply a base coat and let it dry
- Paint one or two thin layers of your base color
Let the base color dry until it’s tacky, not wet. This helps the dots stay crisp.
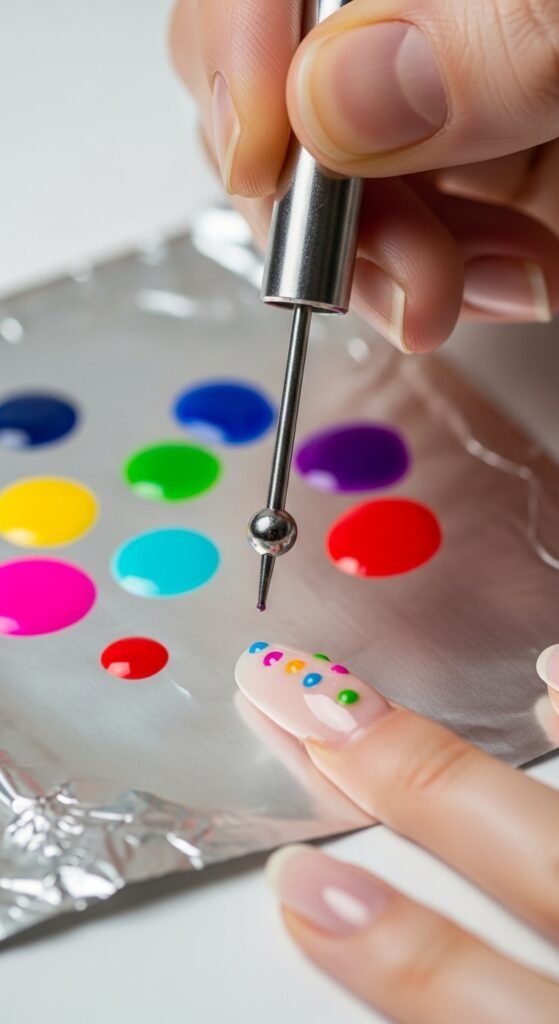
How to Use a Dotting Tool (Step by Step)
Using a dotting tool is easier than it looks.
Basic steps:
- Pour a small drop of polish onto foil or a palette
- Dip the dotting tool tip lightly into the polish
- Hold the tool straight down
- Gently touch the nail—don’t press too hard
- Lift straight up for a clean dot
Pro tips:
- Reload polish after every 1–2 dots
- Wipe the tool clean when switching colors
- Practice dots on paper first if you’re nervous
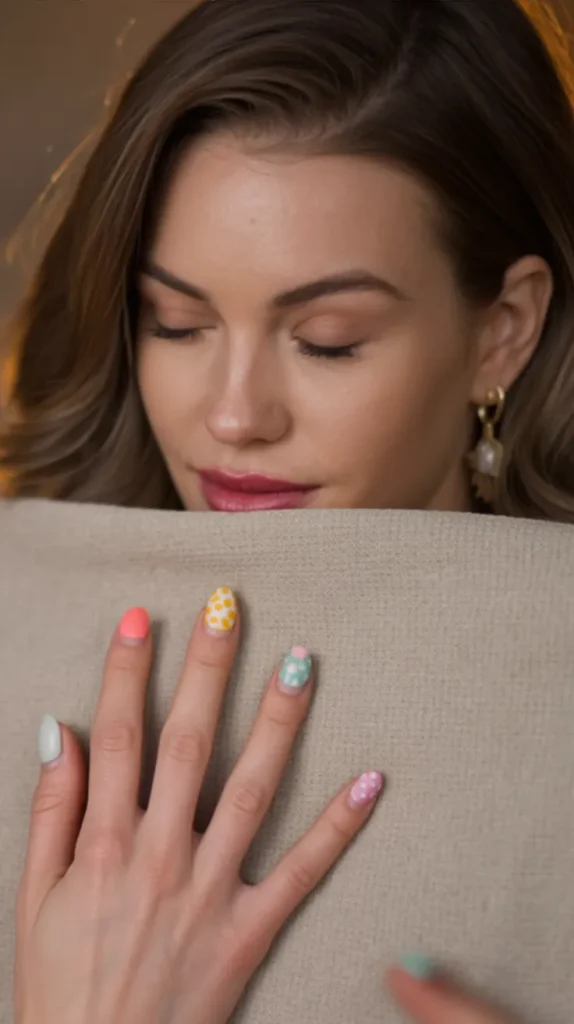
Easy Dotting Tool Designs to Try First
You don’t need advanced skills to create cute designs. Start with these beginner-friendly ideas.
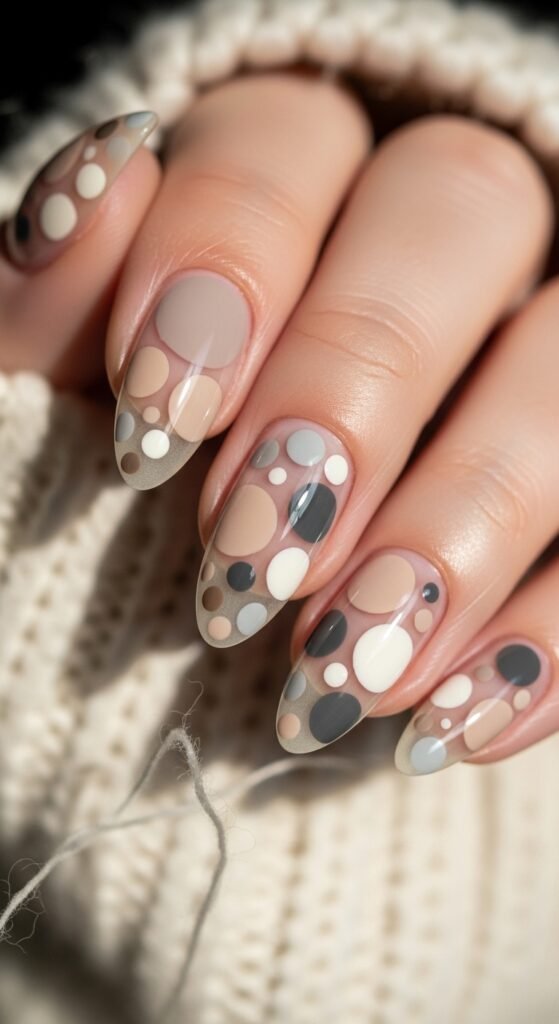
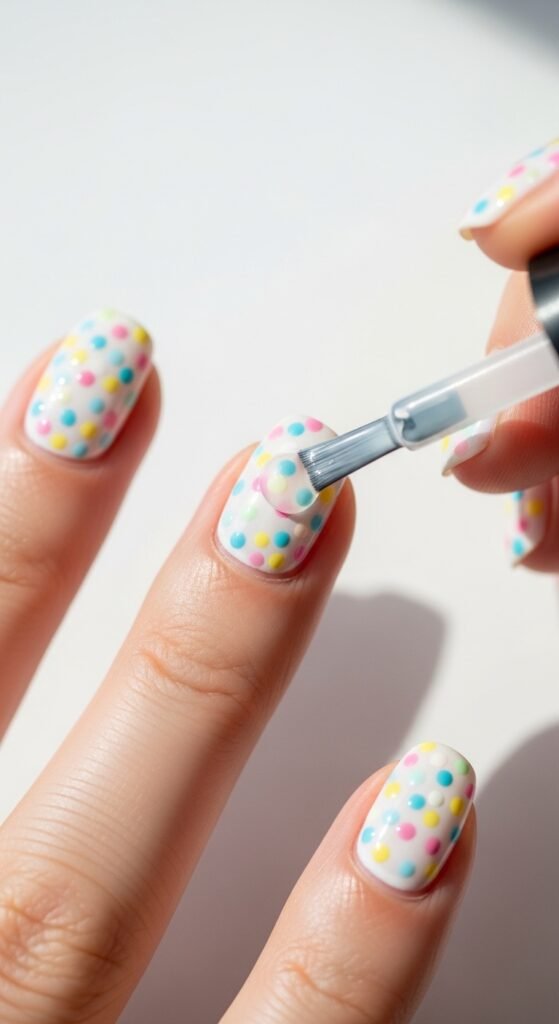
Polka Dot Nails
Classic and timeless.
- Use evenly spaced dots across the nail
- Try alternating dot sizes
- Works great with neutral or bold bases
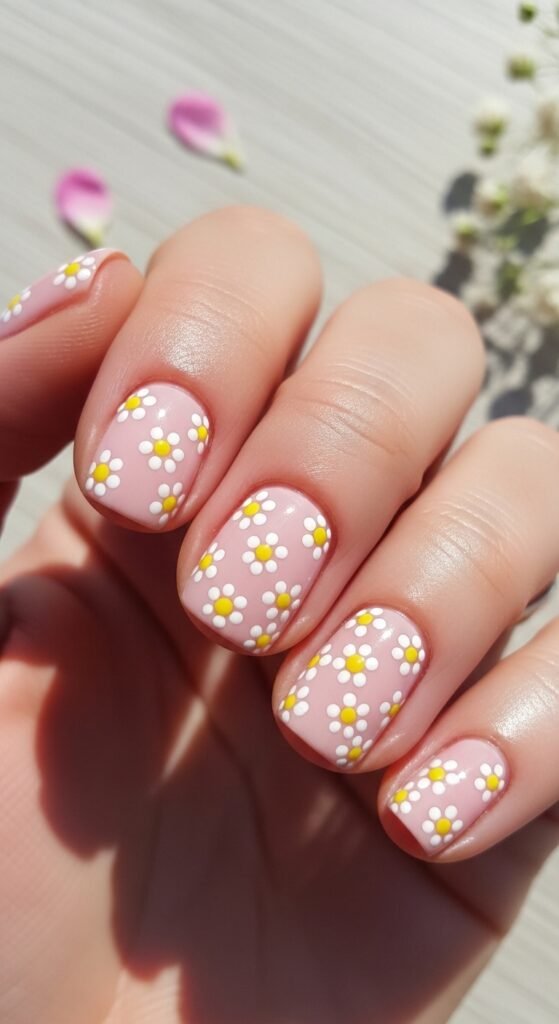
Simple Flowers
Perfect for spring or everyday wear.
- Create 5 dots in a circle
- Add a different color dot in the center
- Looks adorable on accent nails
Minimal Accent Dots
Less is more.
- One or two dots near the cuticle
- Vertical dot lines down the nail
- Perfect for a clean, modern look
Mixing Sizes and Colors for More Impact
Once you’re comfortable, start experimenting.
Try these ideas:
- Use larger dots at the base and smaller ones toward the tip
- Combine two complementary colors for contrast
- Create ombré effects with dot spacing
- Mix matte and glossy finishes
This is where your personal style really comes through. There are no strict rules—just play and see what feels right.
Common Mistakes (and How to Fix Them)
Everyone makes mistakes at first. Here’s how to avoid the most common ones.
- Blobby dots: Use less polish on the tool
- Smudging: Let dots dry before adding a top coat
- Uneven spacing: Lightly mark placement with a toothpick first
- Streaky polish: Apply thin layers and let them dry fully
If a dot goes wrong, dip a clean toothpick in remover and gently lift it off.
Seal and Protect Your Design
Once your design is completely dry, lock it in.
How to apply top coat without smearing:
- Use a floating motion
- Don’t press the brush too hard
- Start in the middle and glide outward
A good top coat adds shine and helps your nail art last longer.
Final Thoughts: Practice Makes It Fun
Nail art with a dotting tool is one of the easiest ways to get creative at home. You don’t need perfect lines or fancy tools—just a steady hand and a little patience.
The more you practice:
- The cleaner your dots become
- The faster you’ll work
- The bolder your designs can get
Save this guide, grab your dotting tool, and start experimenting tonight. Your next favorite manicure might be just a few dots away

Leave a Reply