
Nail art can turn your fingertips into tiny canvases, expressing your personality and creativity. But if you’ve ever tried it and ended up with messy streaks or smudges, don’t worry — mastering nail art with a brush is easier than you think! Whether you’re aiming for delicate florals, bold geometric patterns, or minimalist designs, all you need is a few simple tools, a steady hand, and some tips to get salon-quality results at home.
Gather Your Tools and Materials
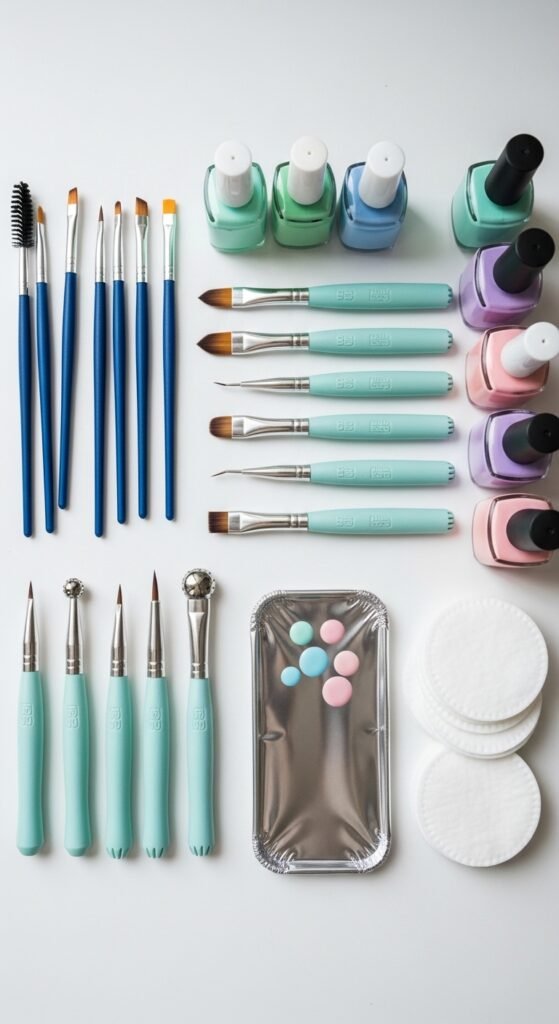
Before diving into the art, make sure you have the right tools. Using a proper brush can make a huge difference in achieving clean lines and detailed designs. Here’s what you’ll need:
- Base coat and top coat – To protect your nails and seal your design.
- Nail polish colors – Choose 2–4 complementary shades for your design.
- Nail art brushes – Fine detail brushes, striping brushes, and flat brushes.
- Dotting tool (optional) – Perfect for creating dots or accents.
- Nail polish remover & cotton swabs – For quick clean-ups.
- Palette or foil – To pour small amounts of polish for easier brush use.
Prep Your Nails for a Smooth Canvas
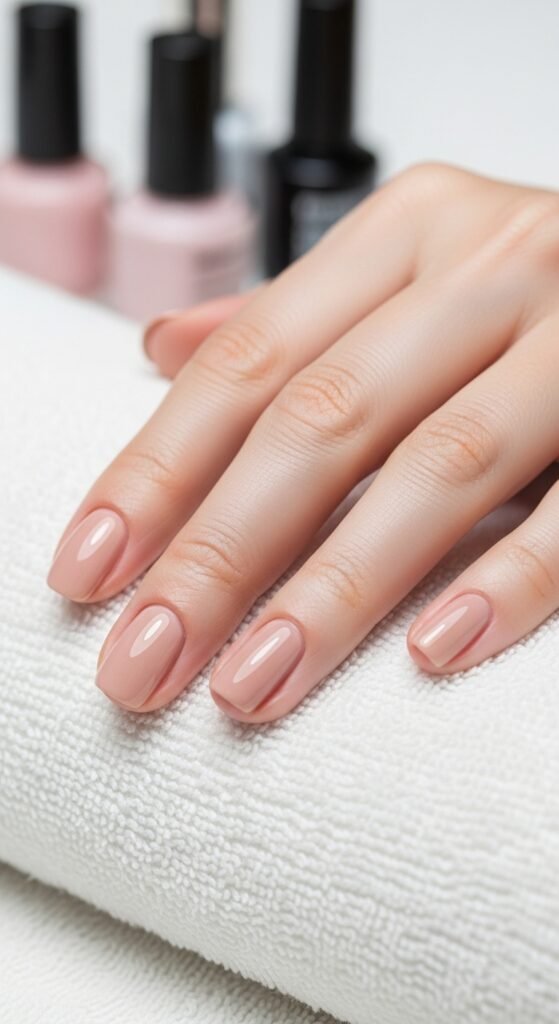
Your design will only look as good as the surface you’re painting on. Nail prep is essential:
- Clean your nails – Remove old polish and wash your hands thoroughly.
- Shape and buff – File your nails to the desired shape and lightly buff the surface.
- Apply base coat – Protects nails from staining and helps polish adhere better.
- Choose your base color – Apply one or two coats and let it dry completely before starting your design.
Tips: Patience is key. Waiting for each layer to dry prevents smudging and ensures crisp designs.
Basic Brush Techniques for Nail Art
Learning a few brush techniques can unlock endless design possibilities:
- Lines and stripes – Use a striping brush for straight or diagonal lines. Pull the brush lightly for a clean stroke.
- Dots and accents – Use the tip of a fine brush or dotting tool to create dots of different sizes.
- Swirls and florals – Lightly drag the brush in curved motions to form petals, leaves, or abstract swirls.
- Layering – Let one color dry completely before adding another layer for multi-dimensional effects.
Pro Tip: Keep a small dish of acetone nearby. If you make a mistake, dip your brush in acetone and gently erase the error.
Step-by-Step Simple Design Ideas
If you’re just starting, here are three beginner-friendly designs using a brush:
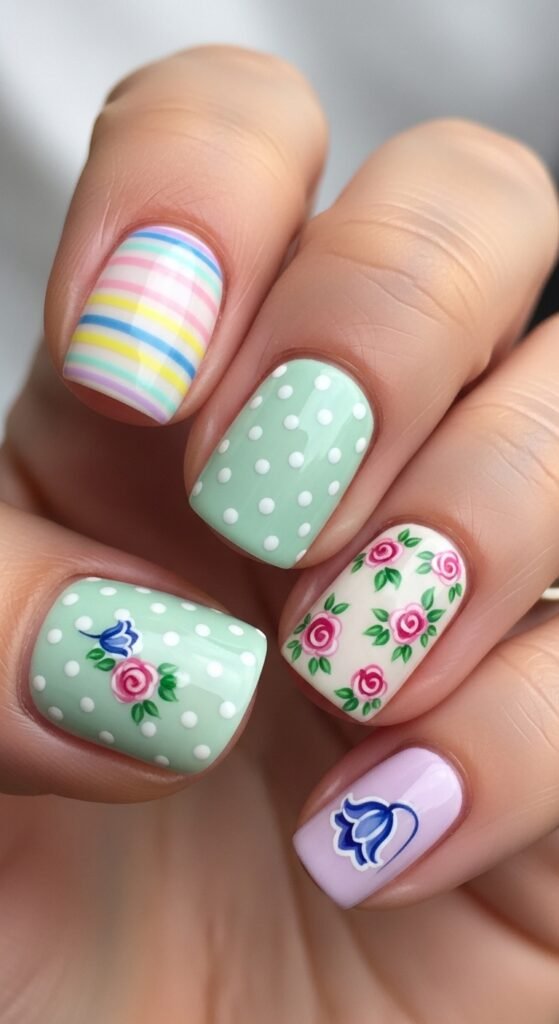
1. Minimalist Stripes
- Paint your nails a solid base color.
- Use a thin striping brush to draw a single line down the center or diagonally.
- Finish with a top coat for shine.
2. Polka Dots
- Apply your base color and let it dry.
- Dip the tip of your brush or dotting tool in a contrasting polish.
- Add dots randomly or in a pattern. Seal with top coat.
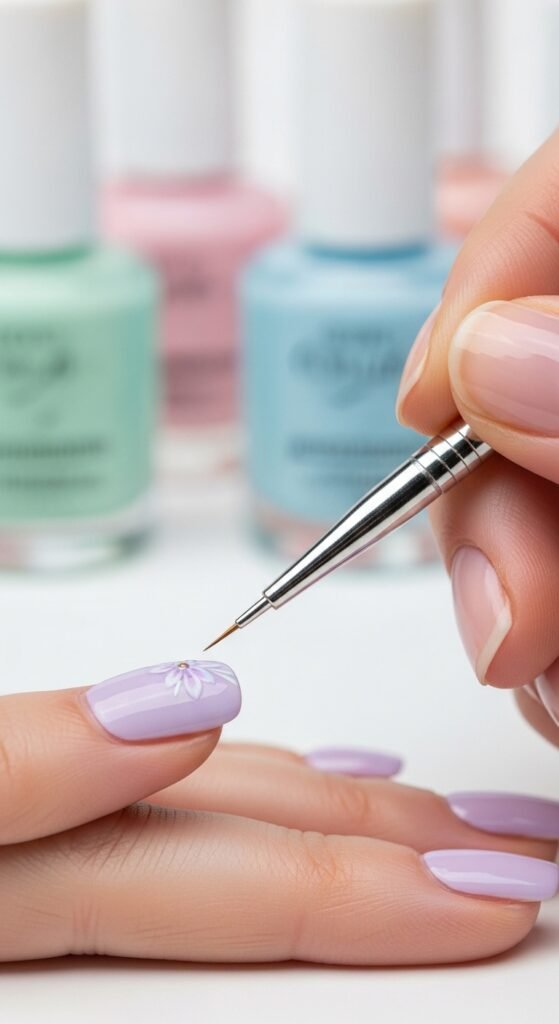
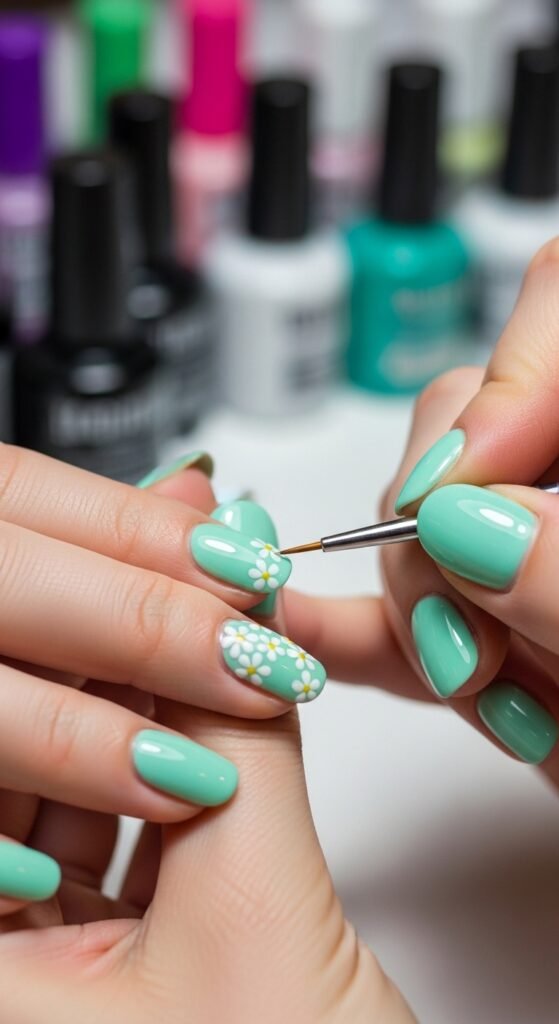
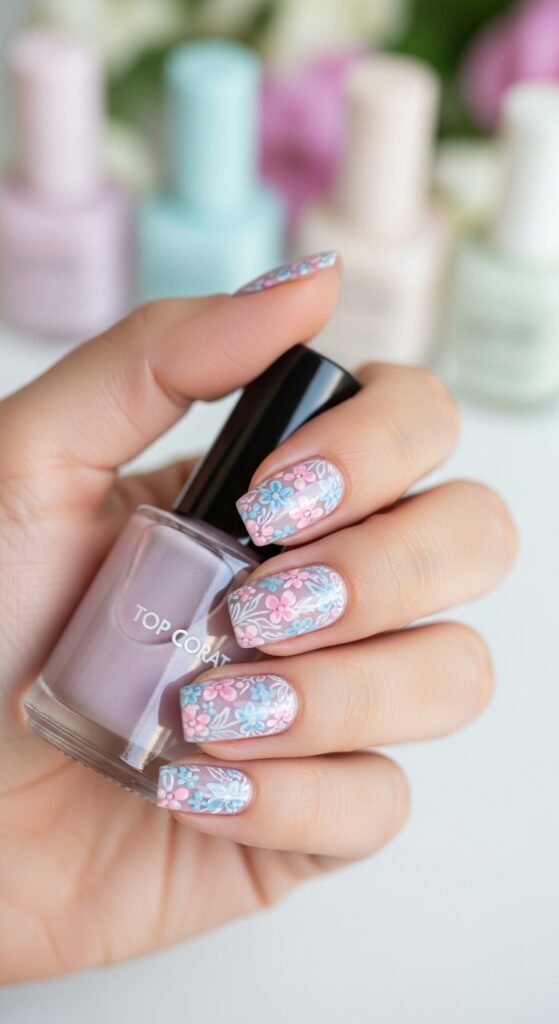
3. Floral Accent
- Choose two nails for floral designs.
- Use a fine brush to paint simple petals and leaves.
- Add dots in the center for detail. Top coat to finish.
Tip: Practice designs on a piece of paper or a nail art wheel before painting directly on your nails. This helps you get comfortable with the brush strokes.
Finishing Touches and Maintenance
After completing your nail art, finishing touches make a big difference:
- Seal with top coat – Prevents chipping and adds a professional shine.
- Clean edges – Use a small brush dipped in acetone to tidy the cuticles.
- Hydrate your cuticles – Apply cuticle oil to keep nails healthy and polished.
Maintenance Tips:
- Avoid heavy cleaning or scrubbing immediately after nail art.
- Apply a fresh top coat every few days to prolong your design.
- Keep nails moisturized to prevent peeling or cracking.
Final Thoughts
Nail art with a brush is a fun, creative way to express yourself, whether you’re going for subtle elegance or bold statement designs. With practice, patience, and the right tools, your nails can look like they belong in a magazine!
Save your favorite designs, experiment with colors, and don’t be afraid to mix techniques. The more you play, the more confident you’ll become — soon, your brush will be your magic wand for stunning nail art.

Leave a Reply