
A wedding is the perfect excuse to glam up your nails! Whether you’re the bride, a bridesmaid, or a guest, having picture-perfect nails can elevate your entire look. But don’t worry—you don’t need to be a professional nail artist to create stunning designs. With a few tools, some creativity, and a little patience, you can turn your nails into miniature works of art.
In this guide, we’ll break down everything you need to know to master wedding nail art—from prepping your nails to adding the final sparkly details.
Prep Your Nails Like a Pro
Before diving into designs, the foundation matters. Prepping your nails properly ensures the polish lasts longer and looks flawless.
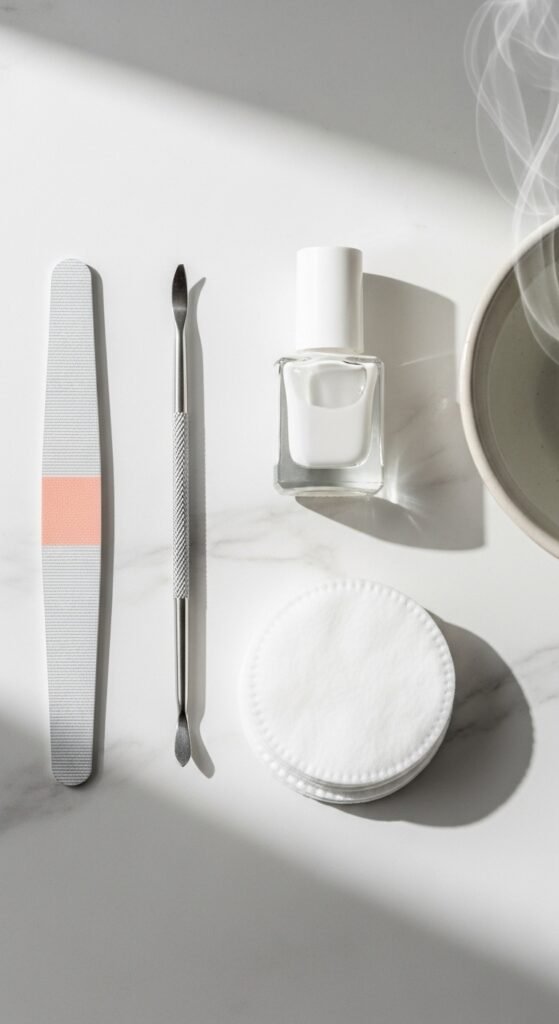
Steps for perfect nail prep:
- Remove old polish: Start fresh by wiping away any remnants of nail polish.
- Trim and shape: Use a nail clipper and file to shape your nails—oval or almond shapes are elegant for weddings.
- Soak and buff: Soak your hands in warm water for 5–10 minutes, then gently push back cuticles and lightly buff the nail surface.
- Apply a base coat: This protects your nails and helps polish adhere better.
Tip: Avoid skipping the base coat—it prevents staining and keeps your colors vibrant.
Choose Your Wedding Nail Color
The color sets the tone for your nail art. Think about the wedding theme, your outfit, and the season.
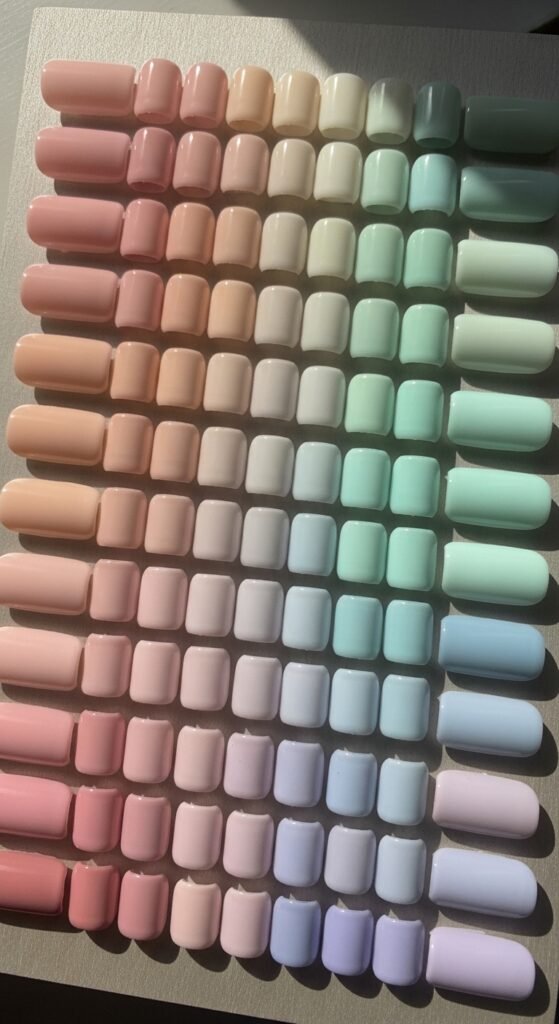
Popular choices include:
- Soft pastels: Light pink, lavender, or mint for a romantic vibe.
- Neutrals: Beige, cream, or soft peach for timeless elegance.
- Metallics or shimmer: Rose gold or silver for a subtle sparkle.
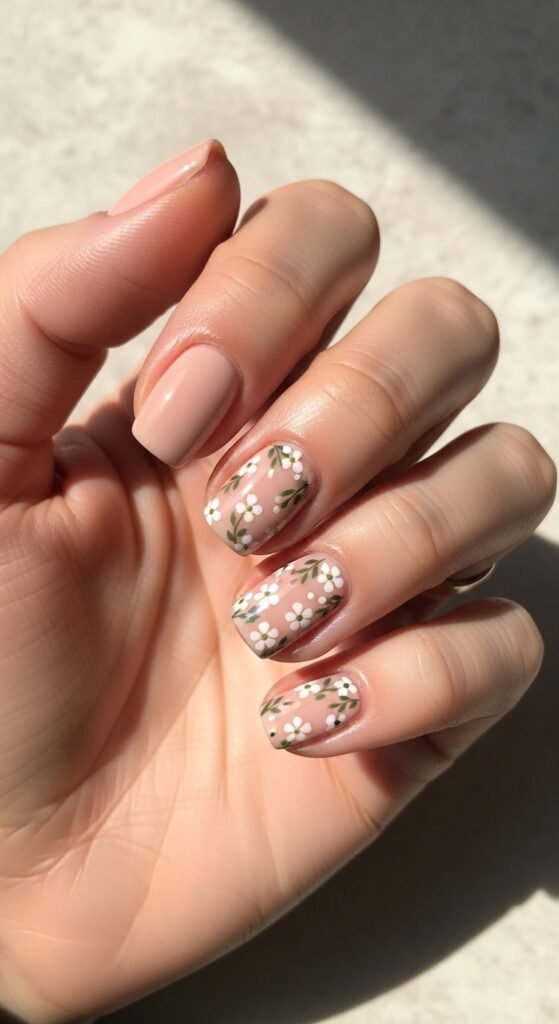
Pro tip: If you’re unsure, a nude base with delicate accent designs is always safe and chic.
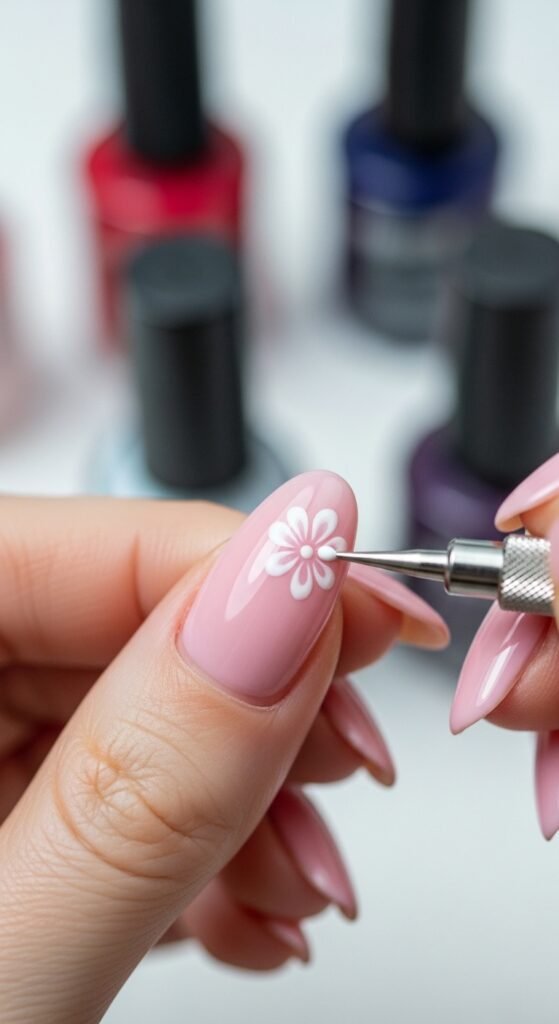
Add Simple Designs
You don’t need to be Picasso to create wedding-worthy nail art. Start simple, then experiment with tiny accents.
Ideas for easy nail art:
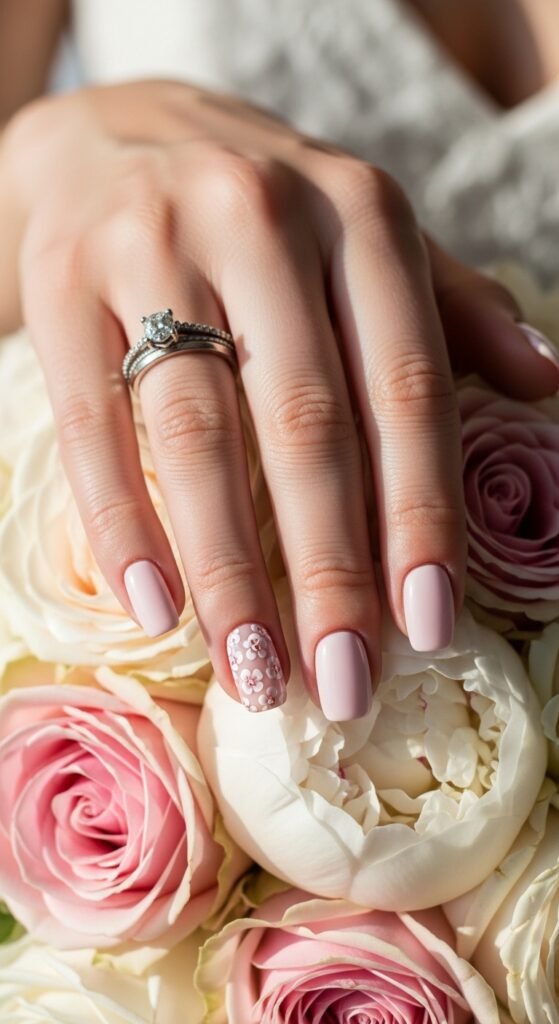
- Floral patterns: Tiny flowers on an accent nail look delicate and bridal.
- Glitter gradients: Apply glitter at the tips for a subtle sparkle.
- Minimalist lines: Thin stripes or dots using a nail art pen can look modern and sophisticated.
- Rhinestones or gems: A small crystal at the base of a nail adds instant glamour.
Tip: Only decorate 1–2 nails per hand if you want a subtle, elegant look.
Master the Technique
Nail art is all about steady hands and layering. Here’s a simple approach for beginners:
- Start with a solid base: Two thin coats of your chosen color.
- Let each layer dry: Avoid smudging by allowing sufficient drying time.
- Use fine brushes or dotting tools: For flowers, dots, or lines.
- Add embellishments carefully: Use tweezers for rhinestones or decals.
- Seal with a top coat: This locks in your design and adds shine.
Extra tip: If you make a mistake, dip a thin brush in nail polish remover and gently fix it. Perfection comes with patience!
Maintain Your Wedding Nails
Once your nails are ready, you want them to stay flawless throughout the big day.
- Top coat refresh: Apply a thin layer every 2–3 days for extra protection.
- Moisturize cuticles: Keep them healthy with cuticle oil.
- Avoid harsh chemicals: Gloves are your friend when doing dishes or cleaning.
- Gentle touch: Be mindful when opening bottles, handling fabrics, or using your phone.
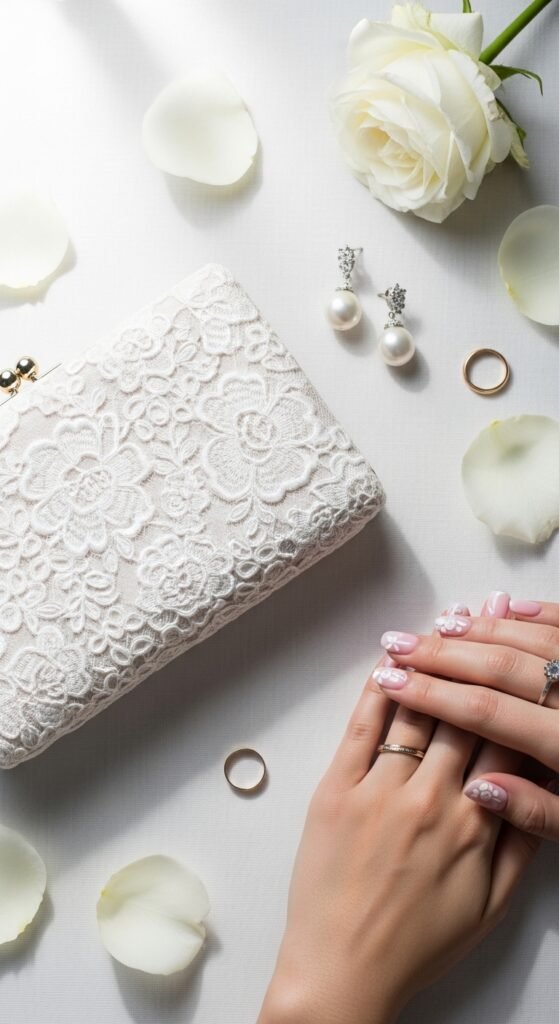
Final Touches
When it comes to wedding nail art, small details make a big difference. Pair your nails with:
- Matching accessories, like delicate rings.
- A soft manicure-inspired hand massage for glow.
- Coordinated colors that complement your dress or outfit.
Your nails can be a conversation starter and a perfect detail in wedding photos!
Takeaway
Wedding nail art doesn’t have to be complicated or expensive. With careful prep, a thoughtful color palette, and simple designs, anyone can create stunning nails that last all day. Save these tips, grab your brushes, and get ready to dazzle at the wedding!

Leave a Reply