
Want nails that stand out before you even say a word? Whether it’s a wedding, Eid, birthday, or a formal dinner, the right nail art can instantly elevate your entire look. The best part is that you don’t need to visit a salon to achieve beautiful results. With a little practice and the right steps, you can create stunning nail art at home.
Let’s walk through everything you need to know to create perfect nails for any special occasion.
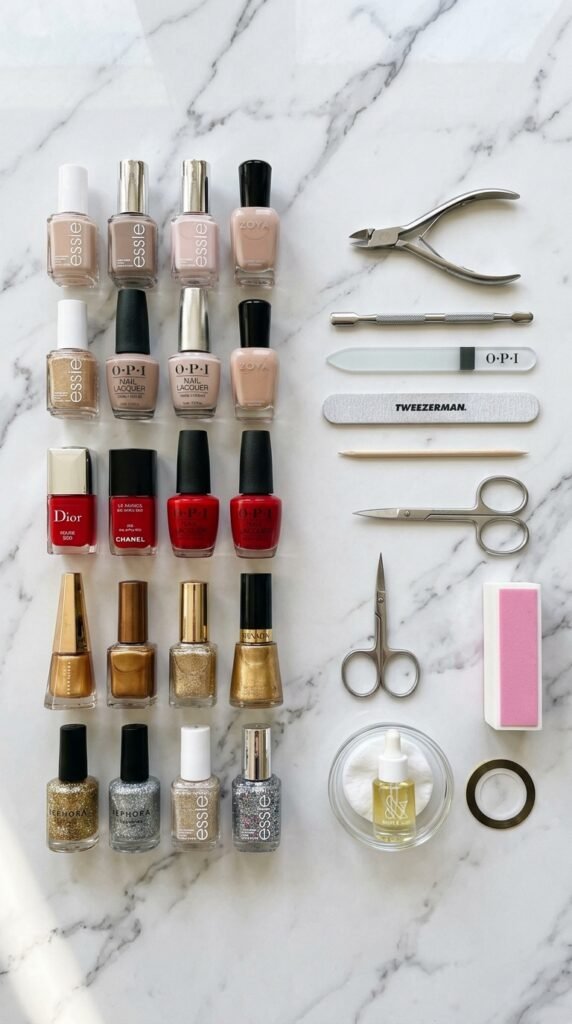
Start with the Perfect Base
Great nail art begins with proper nail care. A clean and smooth base helps your design look neat and last longer.
Follow these simple steps:
- Remove any old nail polish
- Trim and shape your nails (oval or almond shapes work well for special events)
- Push back your cuticles gently
- Buff the nail surface for a smooth finish
- Apply a clear base coat
This step protects your nails and ensures your polish applies evenly.
Choose a Theme That Matches the Occasion
Your nail design should match both your outfit and the event.
Here are some ideas to guide you:
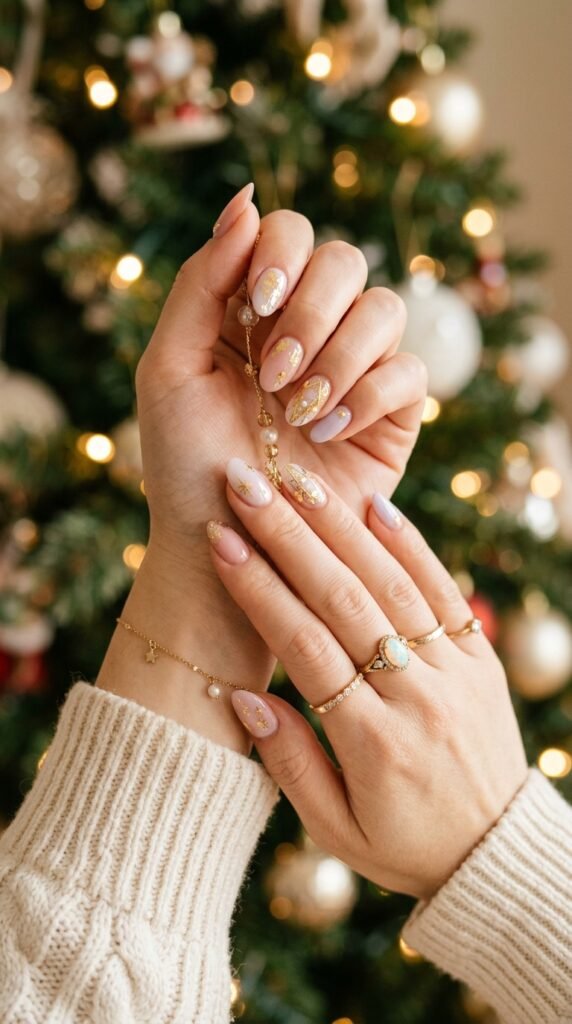
- Weddings: Soft shades like nude, blush pink, or white with gold accents
- Eid or festive events: Deep colors, glitter, and detailed patterns
- Birthdays: Bright colors, shimmer, or playful designs
- Formal dinners: Minimal styles such as French tips or metallic tones
Think of your nails as part of your overall style, not an afterthought.
Easy Nail Art Techniques You Can Try
You don’t need professional tools to create beautiful designs. These simple techniques work well for beginners:
Dot Design
- Use a toothpick or dotting tool
- Create small dots to form flowers or patterns
- Works best with contrasting colors
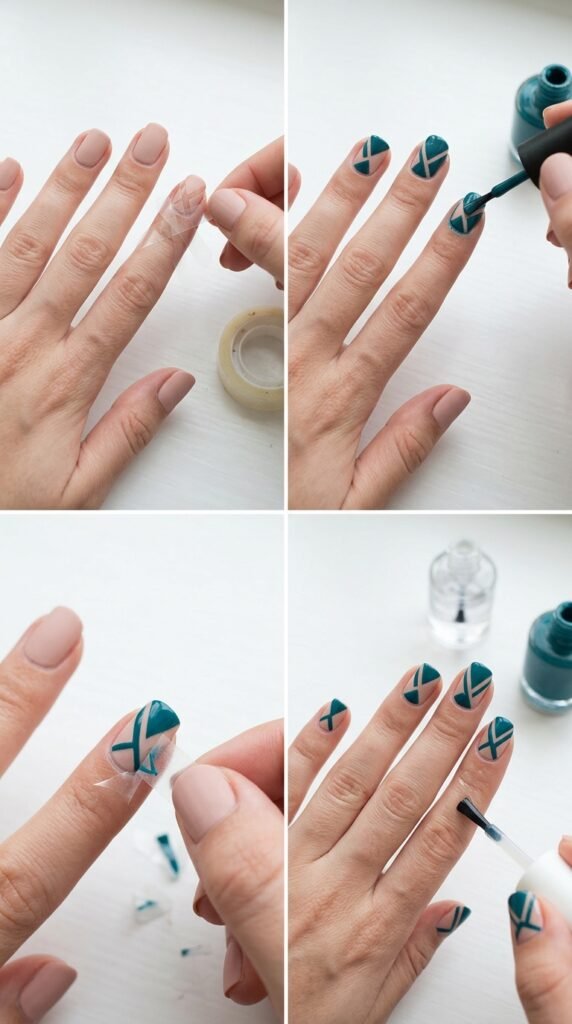
Tape Designs
- Place tape on your nails to create lines or shapes
- Paint over it and remove for clean edges
Glitter Accent Nail
- Paint all nails in one color
- Add glitter polish to one or two nails for contrast
French Tip Variation
- Replace the classic white tip with colors
- Add a thin glitter line for a refined look
Add Details for a More Elegant Look
Small details can make a big difference. This is where your nail art becomes more eye-catching.
You can add:
- Rhinestones or small gems
- Metallic foil
- Nail stickers or decals
- Hand-painted floral patterns
It’s best to keep it balanced. Focus on one or two accent nails rather than decorating every nail.
For example:
- Nude nails with gold foil on one finger
- Deep red polish with a single rhinestone accent
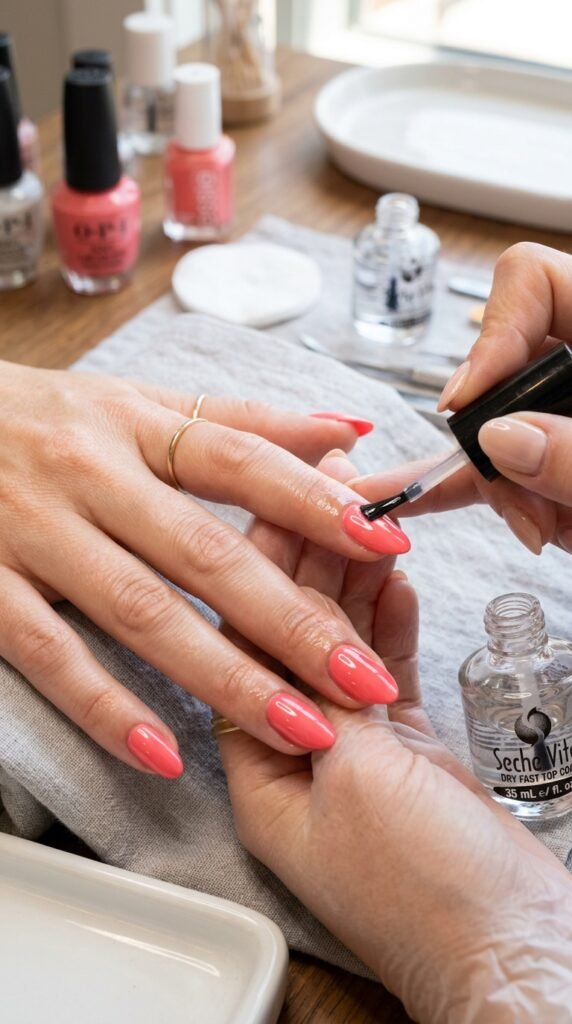
Let Your Nails Dry Properly
Drying time is important. Rushing this step can ruin your design.
- Wait a few minutes between each layer
- Avoid touching surfaces immediately after finishing
- Use a quick-dry top coat if available
Taking your time here ensures a clean and professional result.
Finish with a Top Coat
A top coat is essential for a polished look.
It helps to:
- Seal your design
- Add shine
- Prevent chipping
You can also use a matte top coat if you prefer a softer finish.
Tips to Make Your Nail Art Last Longer
To keep your nails looking fresh for longer:
- Avoid water for at least one hour after application
- Wear gloves while doing household work
- Apply cuticle oil daily
- Reapply top coat every few days
These simple habits help maintain your nail art and keep it looking neat.
Keep It Simple and Personal
Nail art is a form of self-expression. You don’t need complicated designs to make an impact.
- Choose colors you enjoy
- Try new patterns gradually
- Match your nails with your outfit or mood
Even simple designs can look elegant when done carefully.
Final Thoughts
Creating nail art for special occasions at home is easier than it seems. With the right preparation, simple techniques, and a bit of patience, you can achieve a polished and stylish look without professional help.
Save this guide for later and try your own nail art design for your next event.

Leave a Reply