
Short nails are often overlooked in the world of nail art, but the truth is they can look just as stunning as long nails with the right design! Whether you’re new to nail art or just need some ideas for your shorter nails, this guide will walk you through some easy steps and tips to help you create beautiful designs that make a statement. No need to worry about long nails – short nails can shine in their own right!
Step 1: Prep Your Nails
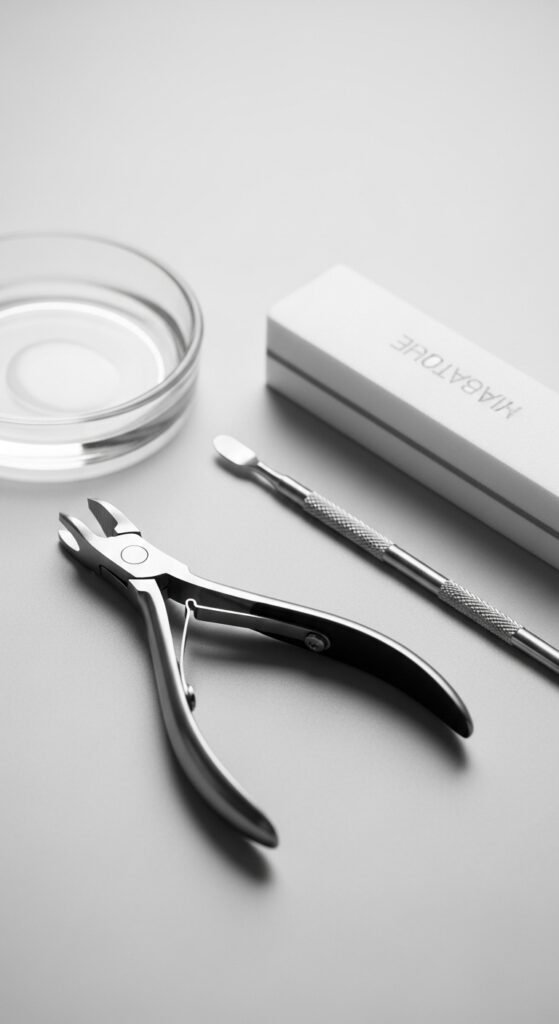
Before diving into nail art, it’s essential to start with a clean, smooth base. Here’s how to prep your short nails for the best nail art:
- Trim and File: If your nails need a trim, make sure to use a sharp nail clipper and file them into your desired shape. Whether you prefer round, square, or oval nails, a good shape sets the foundation for flawless nail art.
- Push Back Cuticles: Gently push your cuticles back with a cuticle pusher to give your nails a neat, clean appearance.
- Buff: Lightly buff your nails to remove any rough edges and ensure a smooth surface for your polish.
- Cleanse: Wipe your nails with a nail cleanser or acetone to remove any oils or residue. This ensures that your nail polish sticks well.
Step 2: Choose Your Nail Art Design
When it comes to short nails, the designs you choose can make all the difference. You don’t need to go over-the-top – simplicity is key! Here are some ideas:
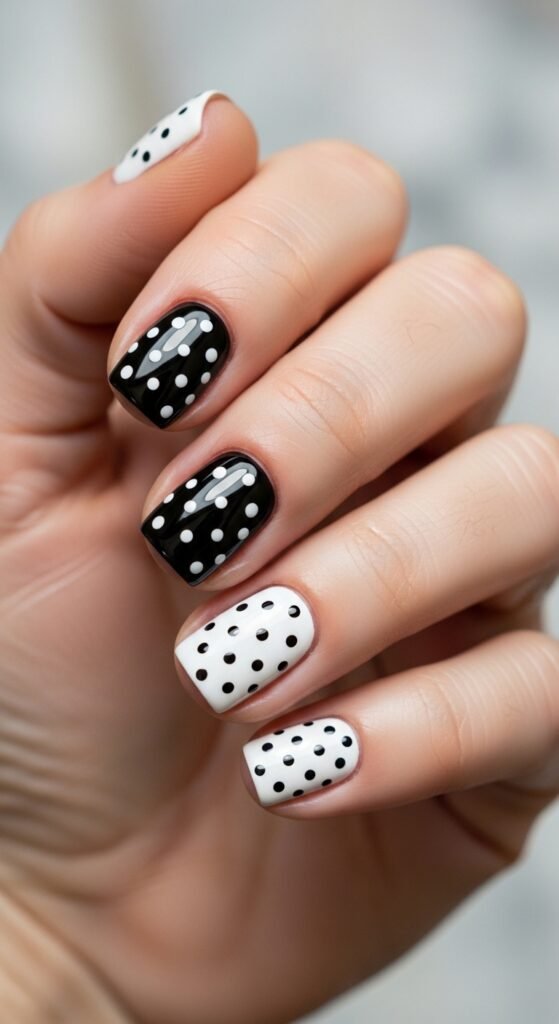
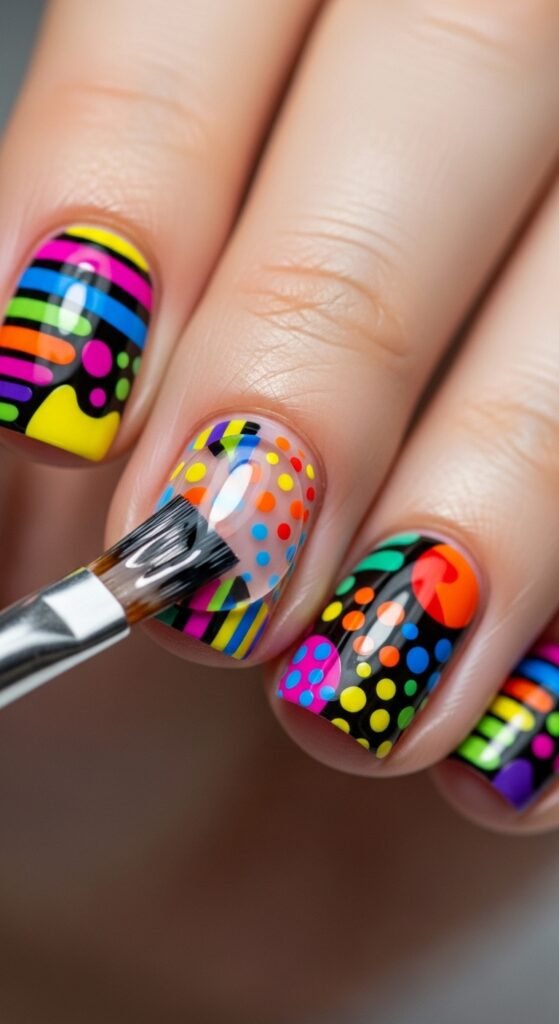
- Polka Dots: Create a playful look with small dots in contrasting colors. Stick to two to three colors for a clean, balanced look.
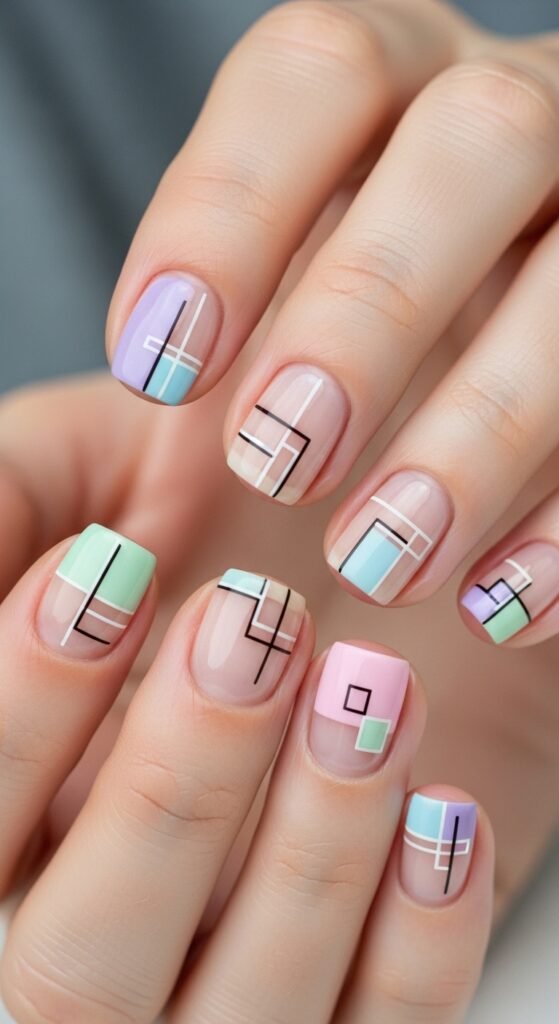
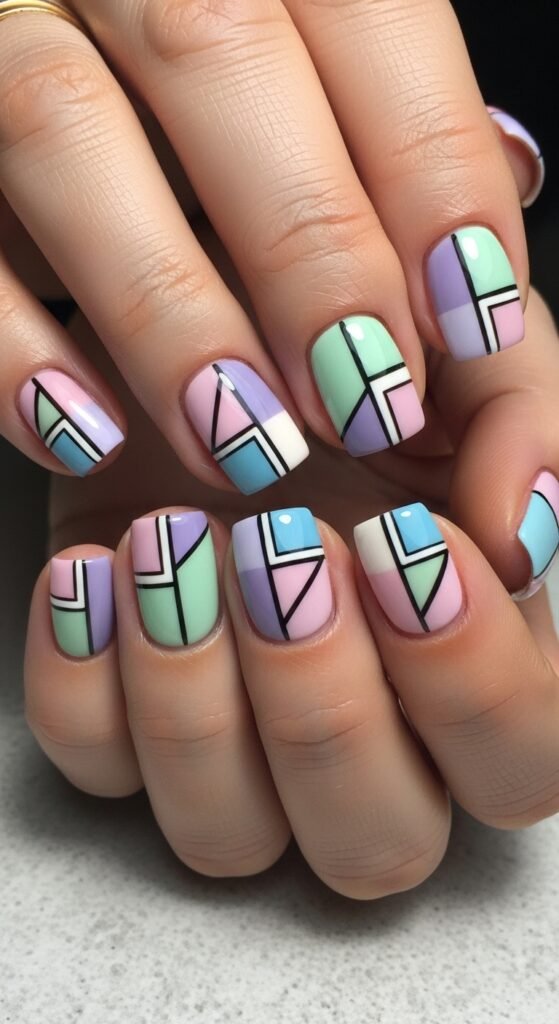
- Negative Space: This is a great way to make a design stand out without overwhelming your nails. Leave some areas of the nail bare and use tape or a stencil to create geometric designs.
- Stripes: A classic look that works perfectly on short nails. Horizontal or vertical stripes in bold colors can add dimension to your nails.
- Minimalist Art: Thin lines, tiny triangles, and dots in neutral or metallic shades can give your nails a chic and modern feel.
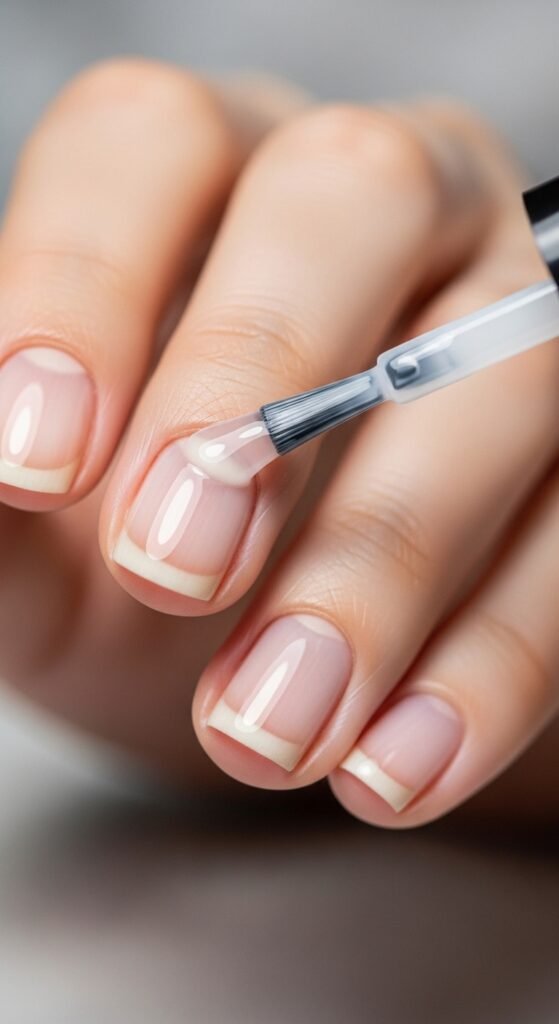
Step 3: Apply a Base Coat
Before you begin painting your design, always apply a base coat. This helps protect your nails from staining and allows your polish to go on more smoothly. A good base coat also extends the wear time of your design.
- Apply a Thin Layer: Make sure to apply a thin layer of base coat to ensure smooth coverage.
- Let it Dry: Allow the base coat to dry completely before moving on to color.
Step 4: Add Your Nail Art
Now comes the fun part: adding your design! Here’s how to execute some of the popular designs mentioned earlier:
- Polka Dots: Use a dotting tool or a bobby pin to create small dots on each nail. Be sure to space them evenly and mix up the sizes for a fun, balanced look.
- Negative Space: Use striping tape or painter’s tape to outline your design. Paint the exposed areas and remove the tape while the polish is still wet.
- Stripes: Use a striping tape or a fine brush to create thin lines across the nail. For a more intricate look, layer different colors on top of each other.
- Minimalist Art: Use a fine nail art brush or a thin striping tool to paint simple shapes like triangles, diagonal lines, or crosses on your nails.
Step 5: Seal the Deal
After you’ve completed your design, it’s important to finish it off with a top coat. This seals the design in place and adds shine for a professional, polished look.
- Apply Top Coat: Apply a generous layer of top coat to protect your nail art and prevent it from chipping.
- Let it Dry: Be patient and let your nails dry completely before touching anything to avoid smudging your design.
Tips for Short Nail Nail Art Success
- Use Light Colors: Lighter shades tend to make short nails appear longer. If you’re going for a more minimalist look, nude, pastel, and white colors are perfect.
- Keep Designs Simple: Short nails don’t need heavy, intricate designs. Focus on small, neat details like dots, stripes, and geometric shapes.
- Avoid Overcrowding: Don’t overwhelm your nails with too many designs. Stick to one or two simple elements to keep it classy and elegant.
Conclusion
Nail art on short nails can be just as stunning as on longer nails. With the right design, prep, and tools, you can achieve gorgeous, trendy nails that make a statement. Whether you’re opting for a minimalist design or a playful pattern, short nails provide the perfect canvas for all kinds of creativity. Don’t forget to save this guide for your next nail art session, and experiment with different designs to find what works best for you!
Save this article for later and try these fun ideas next time you want to add a little flair to your nails!

Leave a Reply