
The holidays are the perfect excuse to go a little extra—and your nails deserve the spotlight too. Whether you’re dressing up for a festive dinner, a wedding, or just want to feel a bit more put together, holiday nail art can instantly elevate your look. The best part? You don’t need a salon visit to create stunning designs at home.
Let’s walk through simple, stylish, and totally doable nail art ideas you can try right now.
Start with the Basics: Prep Your Nails
Before jumping into designs, prep is everything. Clean nails make your art look professional and last longer.
Here’s what to do:
- Remove any old polish completely
- Trim and shape your nails (square, oval, or almond—your choice)
- Gently push back cuticles
- Buff the surface lightly for smooth polish application
- Wash and dry your hands
Pro Tip: Always apply a base coat. It protects your nails and helps polish stick better.
Choose Your Holiday Color Palette
Picking the right colors sets the tone for your nail art. Think about the holiday vibe you’re going for.
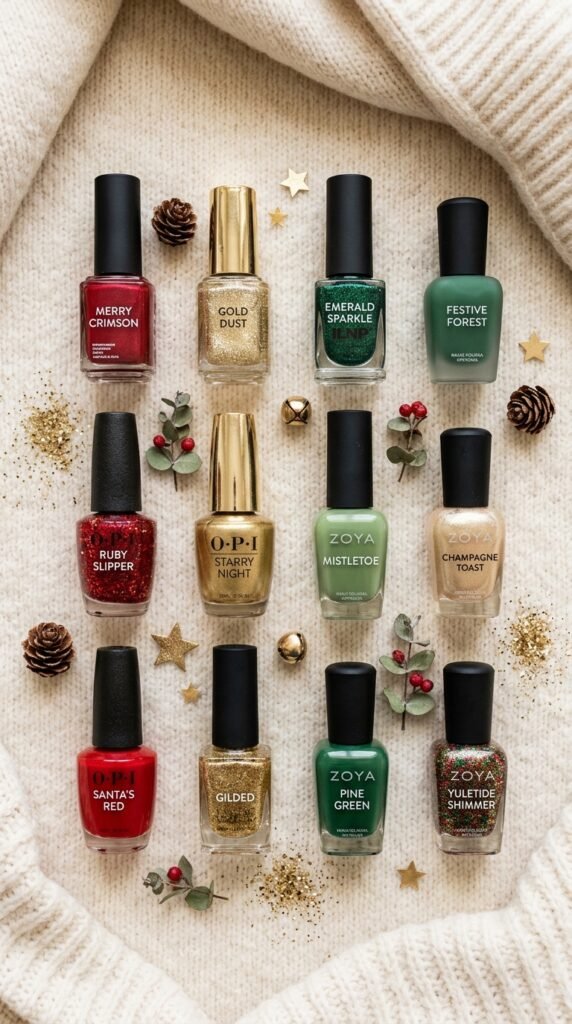
Popular holiday shades:
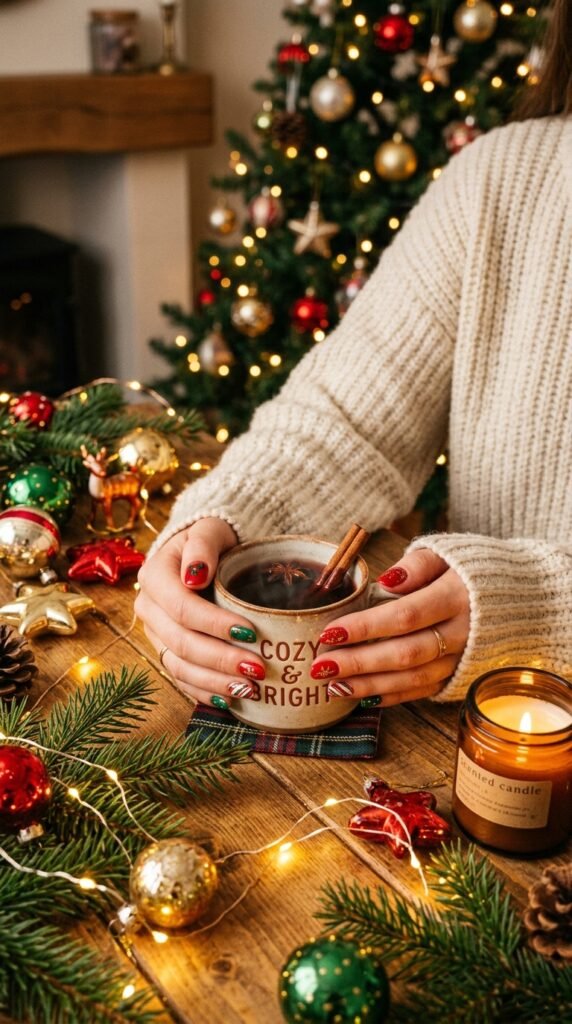
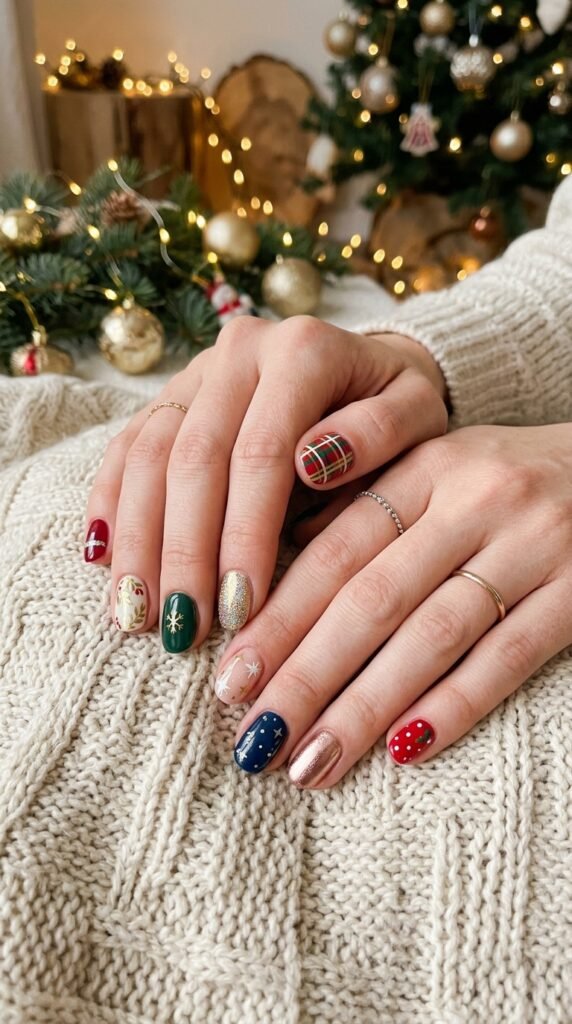
- Deep red and gold for a classic festive look
- Emerald green and silver for a chic winter feel
- Soft nude with glitter for a subtle glow
- Bright colors for fun celebrations like Eid or weddings
Easy Nail Art Designs You Can Try
You don’t need to be a pro. These simple designs look amazing and are beginner-friendly.
1. Glitter Accent Nail
Paint all nails one color and add glitter polish on one or two nails.
Why it works: It’s simple but still eye-catching.
2. Polka Dots Design
Use a toothpick or dotting tool to create small dots over a base color.
Steps:
- Apply base color and let it dry
- Dip your tool in a contrasting polish
- Lightly dot across the nail
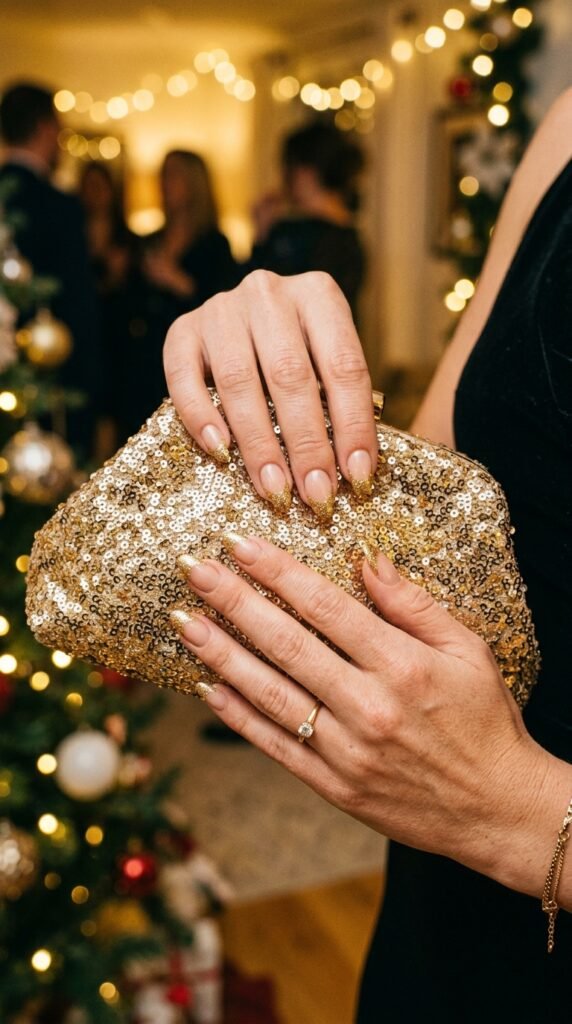
3. French Tip with a Twist
Instead of white tips, try gold, silver, or glitter tips.
Pro Tip: Use tape as a guide for clean lines.
4. Minimal Snowflakes or Floral Patterns
Perfect for winter or wedding holidays.
How to do it:
- Use a thin brush or toothpick
- Draw tiny lines or dots to create shapes
- Keep it simple—less is more
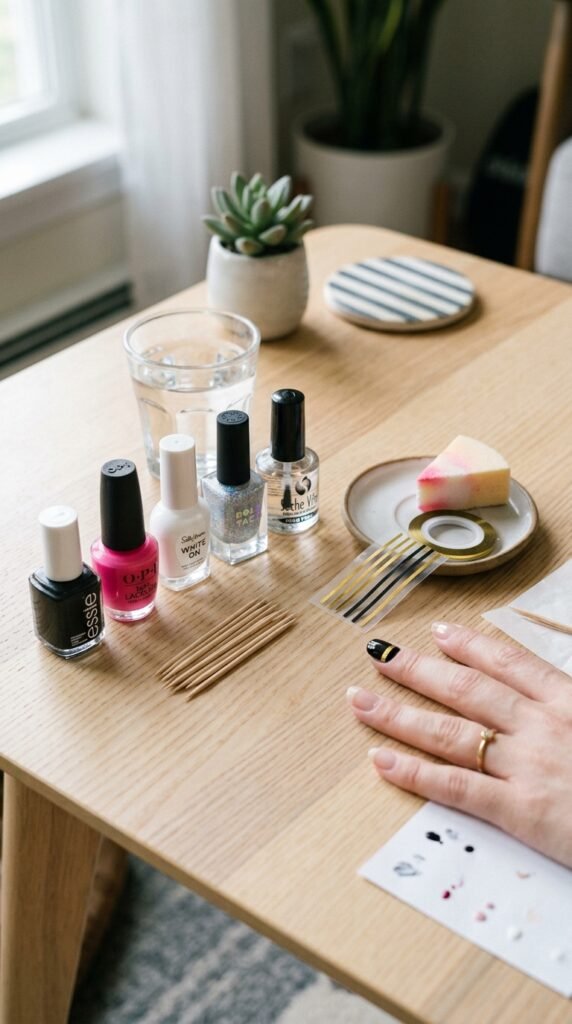
Use Nail Tools (or Household Hacks)
You don’t need fancy tools to get creative.
Try these:
- Toothpicks → for dots and lines
- Tape → for clean edges and patterns
- Sponge → for gradient or ombre effects
- Bobby pins → perfect dotting tool
Add Finishing Touches
Once your design is complete, lock it in with a top coat.
Why it matters:
- Adds shine
- Prevents chipping
- Makes your design last longer
Optional extras:
- Stick-on gems or rhinestones
- Metallic foil accents
- Matte top coat for a modern look
Quick Tips for Perfect Results
- Work in thin layers to avoid smudging
- Let each layer dry before adding the next
- Clean edges with a small brush dipped in remover
- Practice on one nail before doing the full set
Make It Your Own
Holiday nail art is all about expressing your style. You don’t have to follow strict rules—mix colors, try new patterns, and experiment.
Whether you love bold glitter or soft, minimal designs, the goal is to have fun and feel confident.
Final Thoughts
You don’t need expensive tools or salon skills to create beautiful holiday nails at home. With a little creativity and patience, you can design something that looks stunning and feels personal.
So grab your nail polishes, put on your favorite playlist, and start creating.
Save this guide for later and try a new nail art style for your next holiday!

Leave a Reply