
You don’t need a UV lamp, fancy salon tools, or gel polish to have cute, eye-catching nails. Seriously. With a few basic supplies and a little patience, you can create beautiful nail art right at your kitchen table.
Whether you love soft florals, minimalist dots, or bold color blocks, regular nail polish can do more than you think.
Let’s break it down step by step so you can start creating salon-worthy nails — without gel.
Start with the Right Supplies
Before you jump into designs, make sure you have the basics. The good news? You probably already own most of them.
Here’s what you’ll need:
- Regular nail polish (2–3 colors)
- A base coat
- A top coat (quick-dry works great)
- Nail polish remover
- Cotton pads or cotton buds
- Toothpicks or bobby pins (for dot designs)
- Thin nail art brush (optional but helpful)
- Clear tape (for clean lines)
- A small piece of foil (for mixing polish)
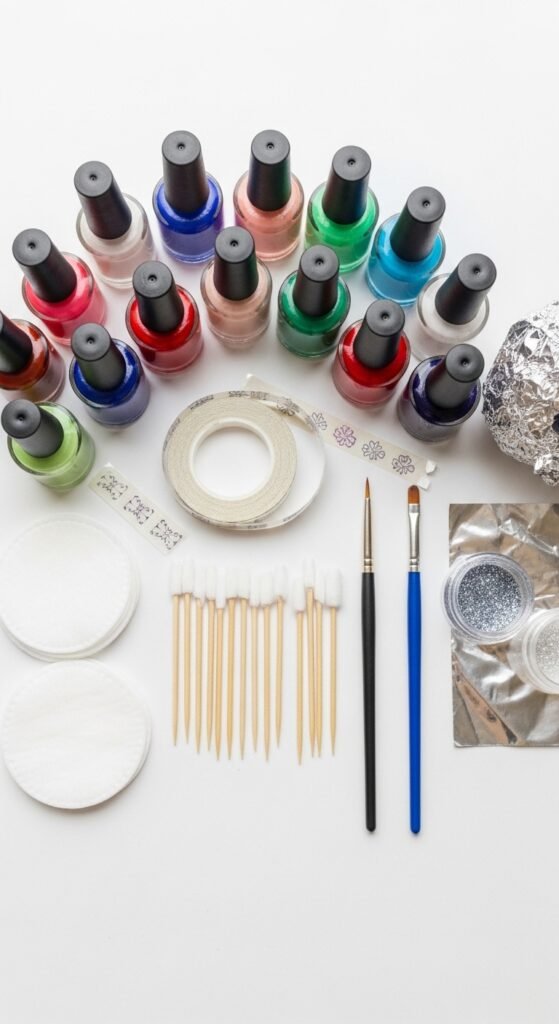
You don’t need expensive tools. A toothpick can create dots. A bobby pin can make tiny flowers. Tape can help with straight lines. Simple and budget-friendly.
Prep Your Nails Properly
This step makes a big difference. If your nails aren’t prepped, your design won’t last.
Here’s what to do:
- Remove any old polish completely.
- Shape your nails using a file.
- Push back cuticles gently.
- Wash your hands and dry them well.
- Apply a thin layer of base coat.
Let the base coat dry fully. This protects your nails and helps the polish stick better.
Don’t rush this part. Good prep = longer-lasting nail art.
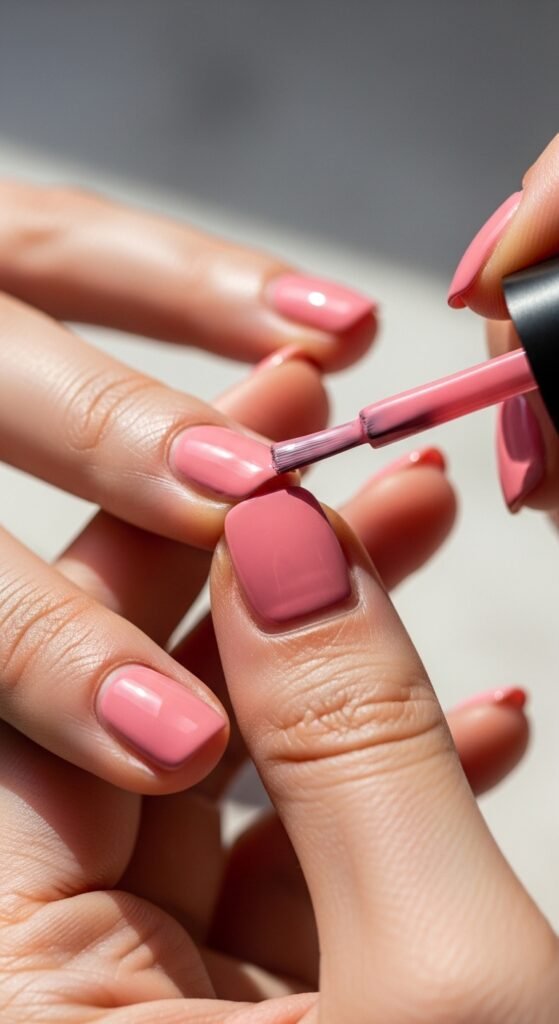
Apply Your Base Color
Pick a base color that complements your design. If you’re unsure, soft pink, nude, white, or pastel shades are safe and pretty choices.
Apply:
- One thin coat first.
- Let it dry for 2–3 minutes.
- Add a second thin coat if needed.
Thin layers are better than thick ones. Thick polish takes forever to dry and smudges easily.
Now comes the fun part — the art.
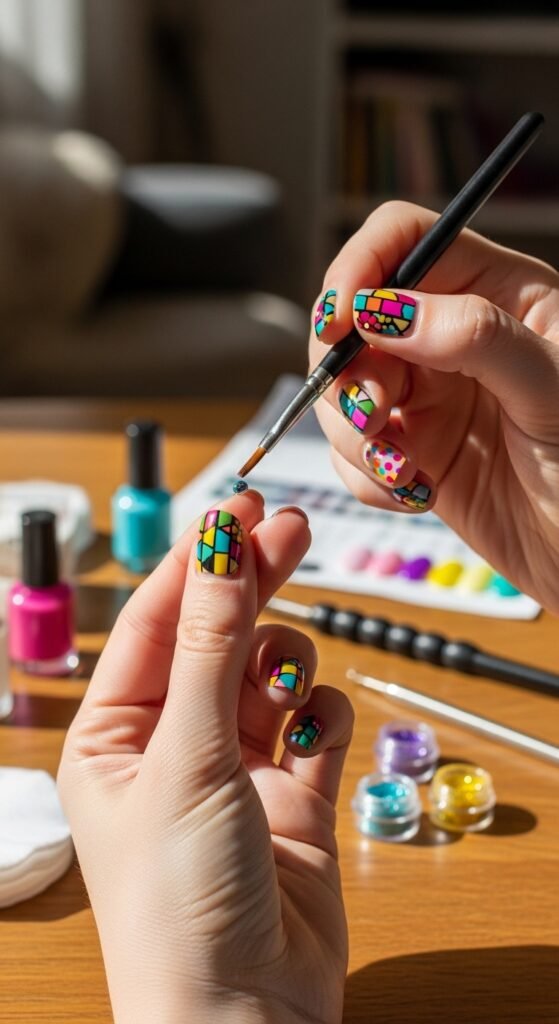
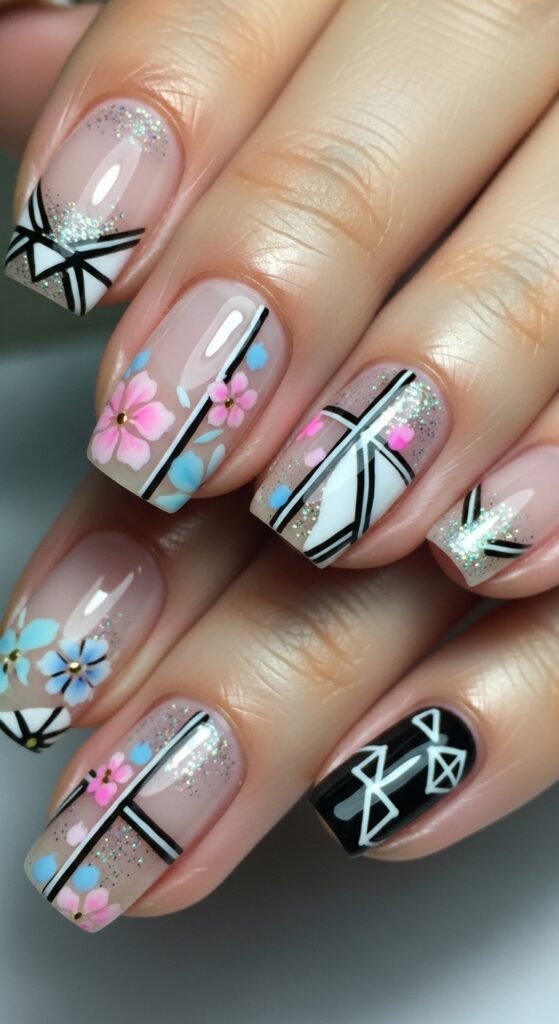
Easy Nail Art Designs You Can Try
You don’t need advanced skills. Start simple and build confidence.
1. Polka Dots
This is perfect for beginners.
- Dip a toothpick or bobby pin into a contrasting polish color.
- Gently press small dots onto your nail.
- Space them evenly or create a random pattern.
Try white dots on pastel blue. Or black dots on nude. Clean, cute, and timeless.
2. French Tip with a Twist
Instead of classic white, try:
- Neon tips
- Glitter tips
- Double-colored tips
Use tape to create a clean curved line. Paint the tip carefully and remove the tape before it fully dries.
Let it dry completely before adding top coat.
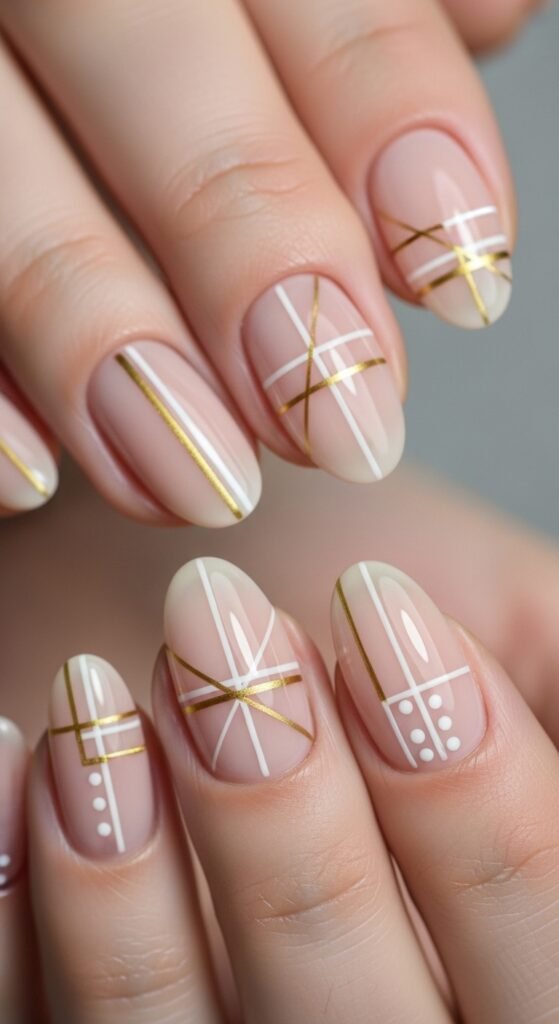
3. Minimalist Lines
Modern nail art often uses simple lines.
- Use a thin brush.
- Dip lightly into polish.
- Draw a small line across the nail — vertical, diagonal, or near the cuticle.
If you mess up, dip a small brush in remover and clean the edges.
4. Tiny Flowers
Floral designs look complicated, but they’re not.
- Add 4–5 small dots in a circle (same color).
- Add a tiny dot in the center using a different shade.
That’s it. Instant flower.
Soft yellow centers with white petals look especially fresh.
Let It Dry (Seriously)
This is where most people ruin their nail art.
Regular polish needs time.
After finishing your design:
- Wait at least 10–15 minutes.
- Avoid touching anything.
- Keep your hands flat on a surface.
If you’re impatient, dip your nails in cold water for 1–2 minutes after they’re touch-dry. It helps harden the polish faster.
Seal Everything with a Top Coat
Never skip this step.
A good top coat:
- Protects your design
- Adds shine
- Makes nails last longer
- Smooths out texture
Apply one thin layer gently so you don’t drag the design underneath.
Tips to Make Your Nail Art Last Longer
Regular polish doesn’t last as long as gel — but you can make it last up to a week with proper care.
Try these tips:
- Reapply top coat every 2–3 days.
- Avoid hot water for long periods.
- Wear gloves while cleaning.
- Don’t use your nails as tools (we all do it… try not to).
Small habits make a big difference.
Common Mistakes to Avoid
If your nail art keeps smudging or chipping, it’s usually because of:
- Applying thick layers
- Not letting each layer dry
- Skipping base or top coat
- Painting too close to the cuticle
Slow down. Thin coats. Patience.
Nail art isn’t about perfection. It’s about having fun and expressing yourself.
You Don’t Need Gel to Have Gorgeous Nails
Gel polish is great, but it’s not the only way to get pretty nails. With regular polish, a few tools, and some creativity, you can design endless looks at home.
Start simple. Practice often. Experiment with colors you love.
And remember — even imperfect nail art still looks cute because you made it yourself.
Save this for your next self-care night and try one design this week

Leave a Reply